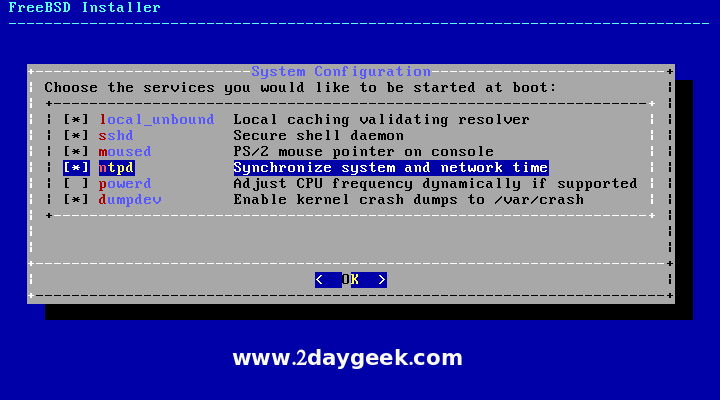
Use Space bar to choose the services need to be start on boot, then hit Enter to continue.
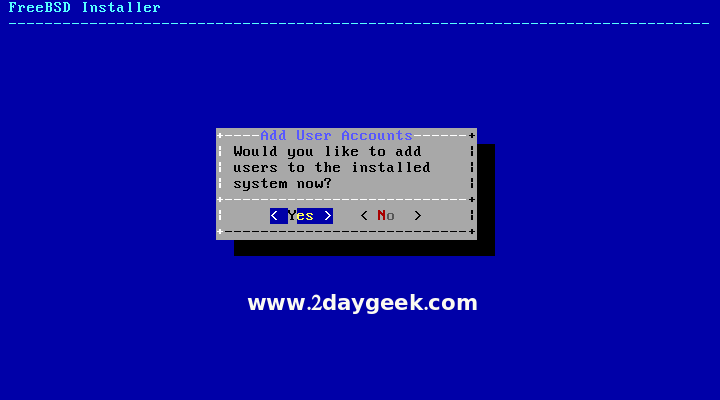
Hit Yes to create new account on your system.
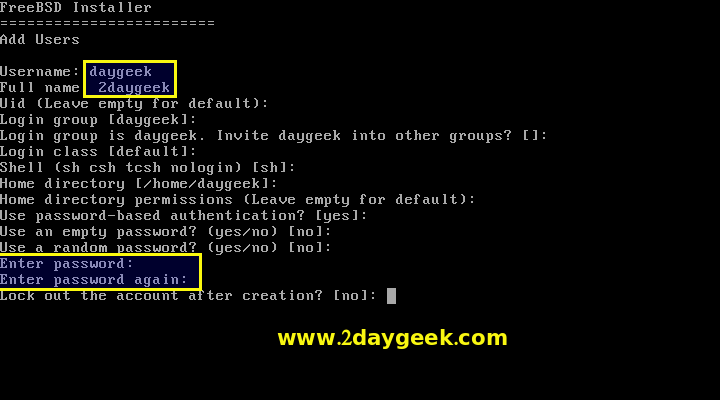
The screen similar to below. Enter the User Name twice and hit Enter until Password prompt, then enter your password twice and finally hit Enter.
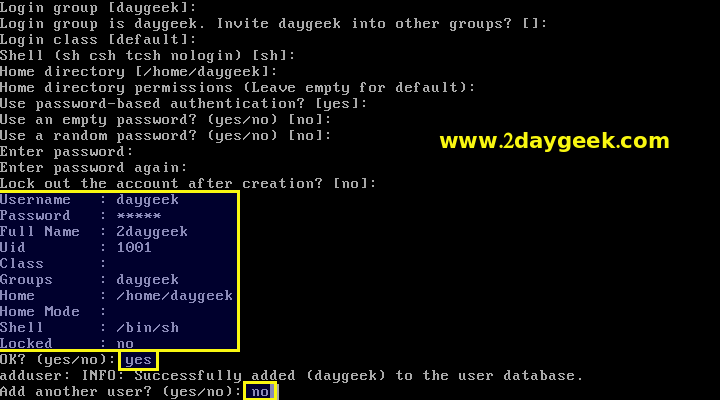
You will get below screen with details of new user account, hit Yes & No to complete this task.
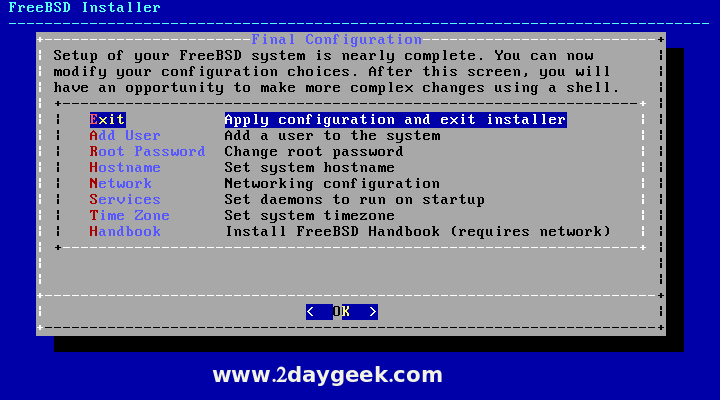
We have successfully installed FreeBSD. The below list of configuration has been done by us as of now and if you want to make any changes you can do by choosing corresponding option. Otherwise hit Enter to continue.
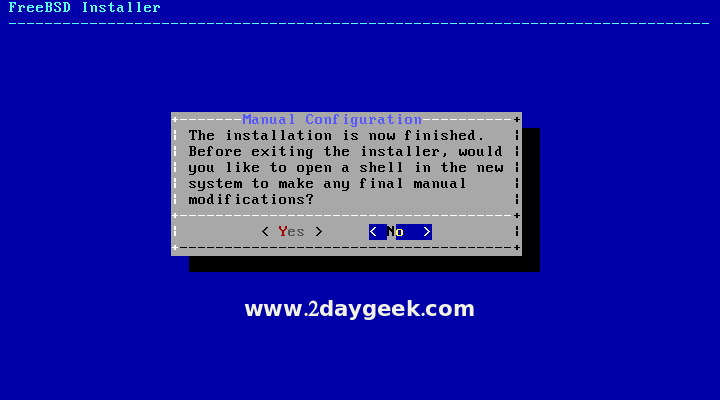
Again it will give a option to add a new Manual Configuration, nothing to configure simple hit Enter to continue.
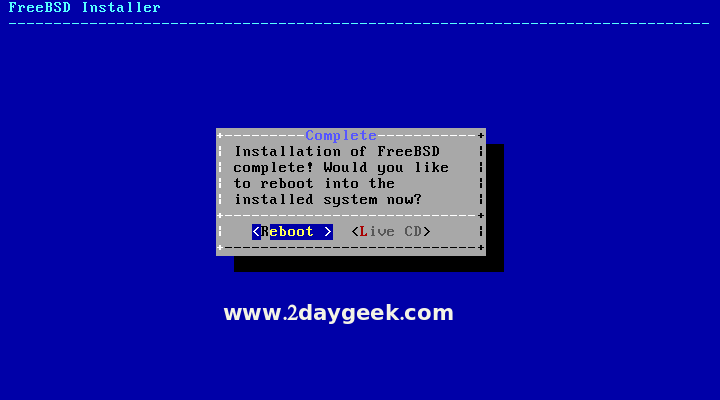
Finally hit Reboot to access the newly installed FreeBSD System. Also remove the installation media.
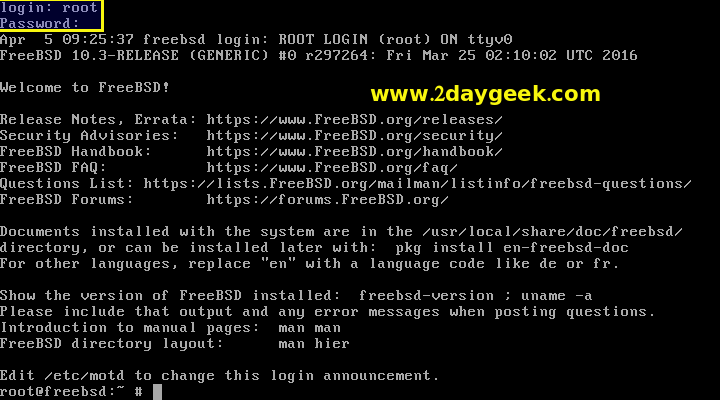
Hit Enter or wait, it will automatically boot the system and prompt for User Name : root & Password : Your password.
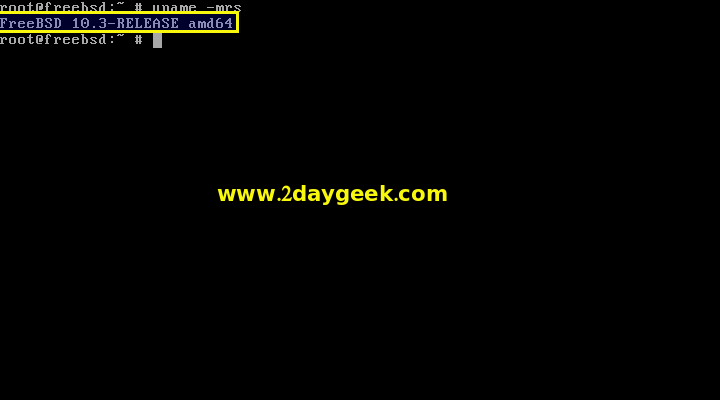
Yes, we are using latest version of FreeBSD 10.3R
NOTE : If you trouble to connect Internet, edit /etc/resolv.conf and comment everything then add Google DNS nameserver:8.8.8.8 & nameserver:8.8.4.4.
Enjoy…)