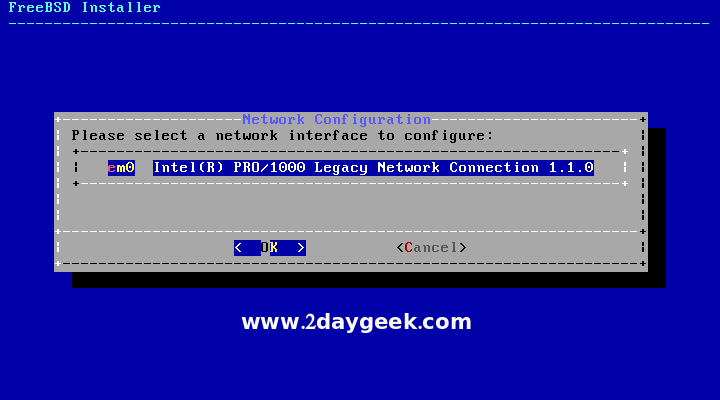
Select a Network interface card to configure your network, then hit Enter to continue.
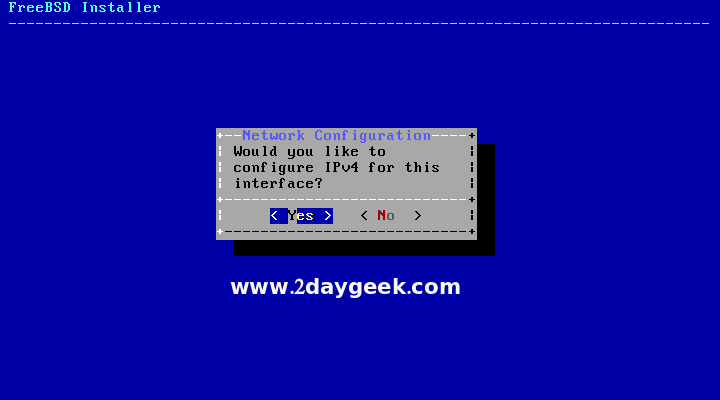
Hit Yes to configure IPv4 for this interface.
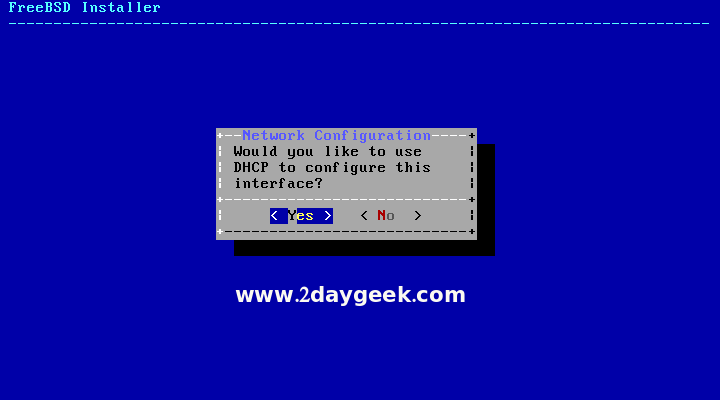
Hit Yes to obtaining IPv4 automatically with help of DHCP for this interface.
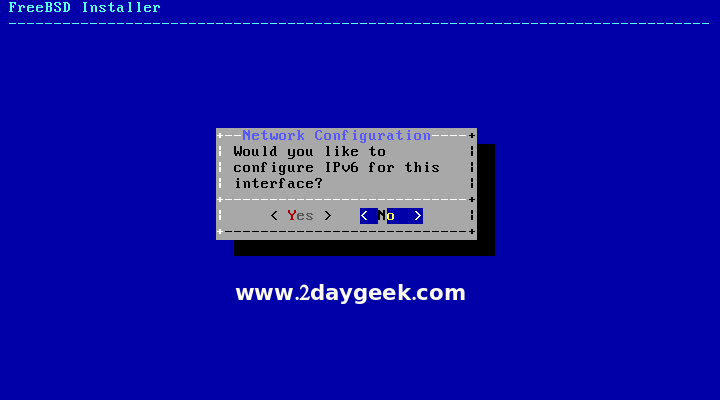
Hit No to avoid IPv6 configuration for this interface.
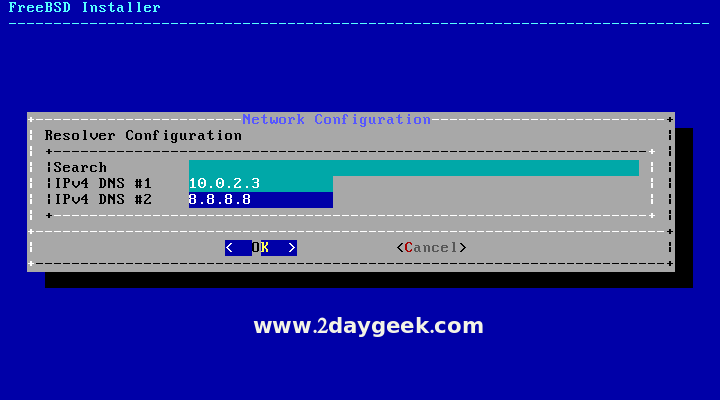
Configure DNS Resolver, by default it would have local address based on your network. In my case i’m having 10.0.2.3 as DNS1 & i’m going to configure Google DNS 8.8.8.8 as DNS2, then hit Enter to continue.
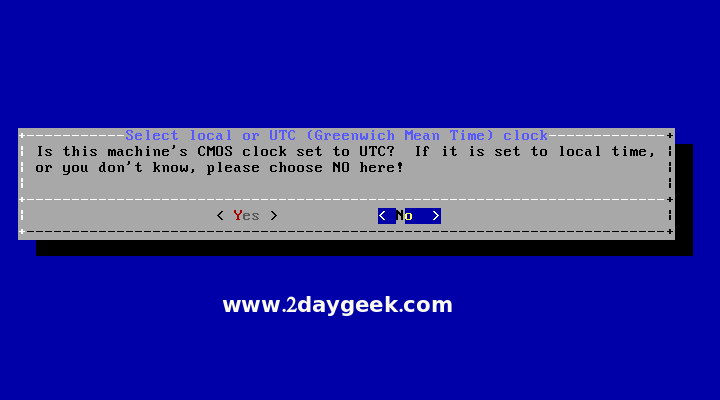
Timezone configuration, hit No to configure specific Timezone (Country based).
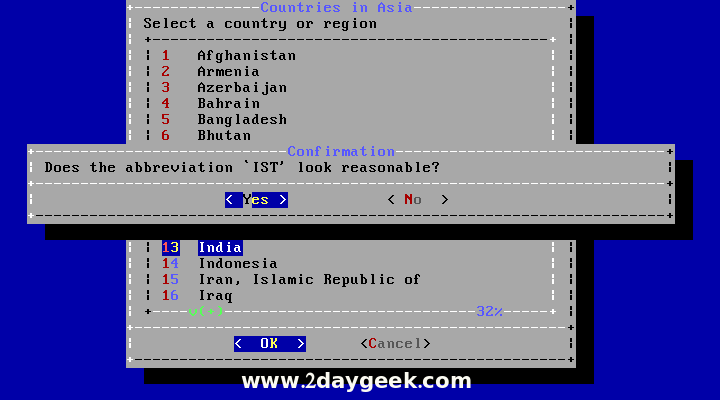
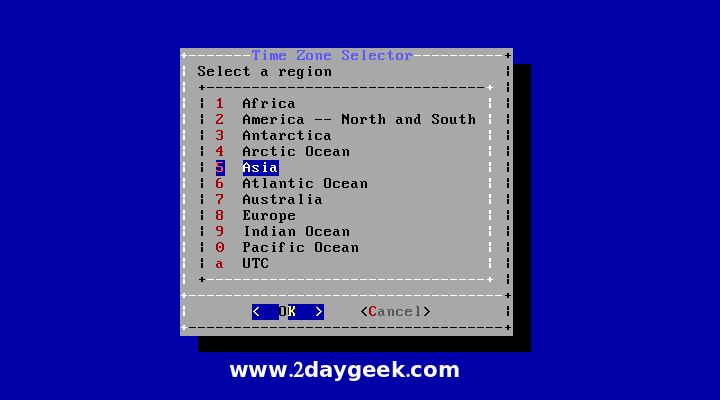
I’m from INDIA so, I’m choosing Asia.
Sub-zone selection Kolkata, then hit Enter Double time to continue.