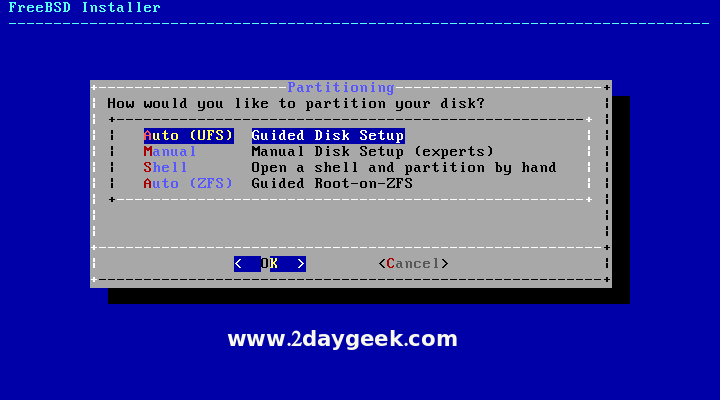
For beginner & testing purpose we can go with Auto partition, then hit Enter to continue. If you want to create separate partition for /, swap & home you can choose Manual and do it manually.
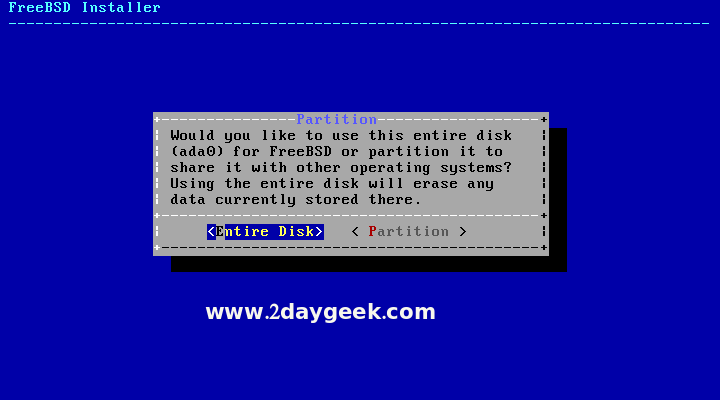
Choose Entire Disk, then hit Enter to continue.
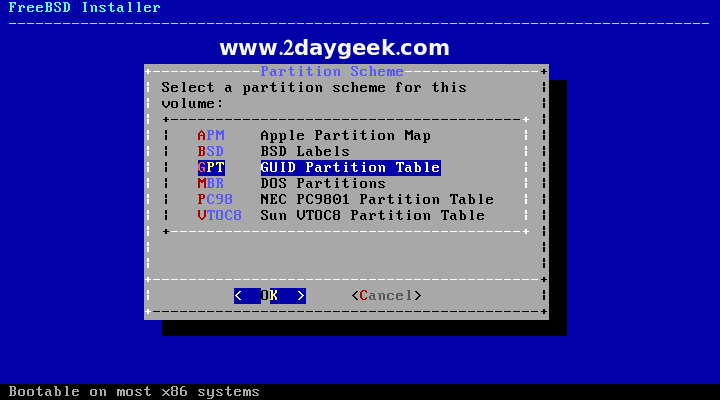
For partition scheme, by default it’s selected GPT, then hit Enter to continue.
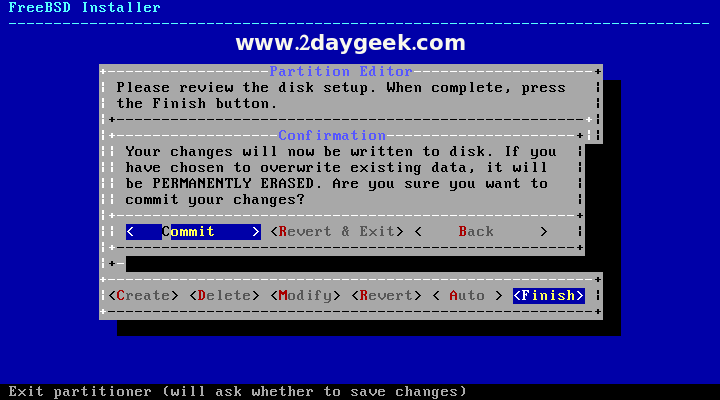
Review the partition details, then choose Finish and hit Enter to continue.

Choose Commit and hit Enter to write the changes on disk.
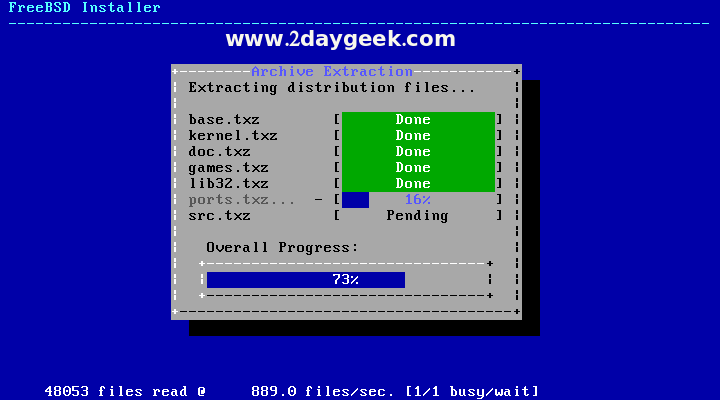
FreeBSD installation under process and take a while to complete.
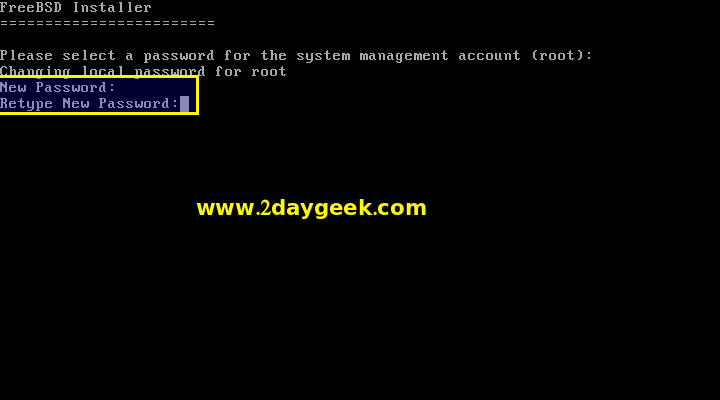
Post installation, it will ask you to set root password.