The CentOS Project is pleased to announce the release of CentOS 7 on July 7th 2014. CentOS is RHEL clone. IN real world 95% of cPanel servers running with CentOS. The new release of CentOS 7 have lots of new features compare with previous release. In this article I’m going to install CentOS 7 GNOME based Desktop installation with detailed steps and Screen-shots.
New features in CentOS 7
CentOS 7 was release with lots of new features.
- Implemented Systemd
- GNOME 3.10
- Default filesystem XFS
- Kernel updated to 3.10
- Support for Linux Containers
- OpenJDK-7 as default JDK
- LVM-snapshots with ext4 and XFS
- Implemented firewalld and GRUB2
- KDE 4.10
- Apache HTTP Server 2.4
- MariaDB 5.5
- PostgreSQL 9.2
- Samba 4.1.0 with many new features and improvements. For complete change log
- For Detailed change logs
- CentOS official home page
Download CentOS 7 images
Only one ISO for everything (CentOS 7 GNOME Desktop, CentOS 7 KDE Desktop, CentOS Server).
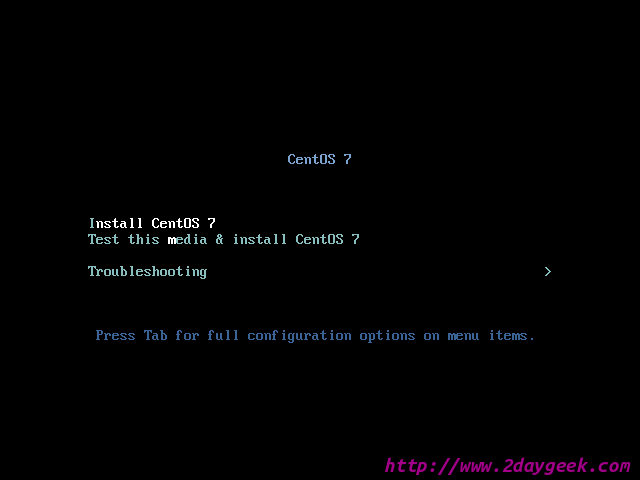
1) Booting Computer with CentOS 7 installation media.
Boot your computer with CentOS 7 installation media like (Burned CD/DVD or USB or ISO image). Choose your Boot option, For fresh installation you need to choose Install CentOS 7 and hit Enter button.
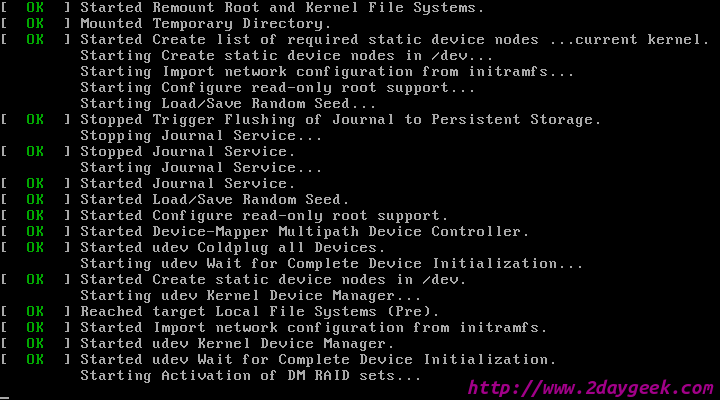
Starting all the services from init and run level.
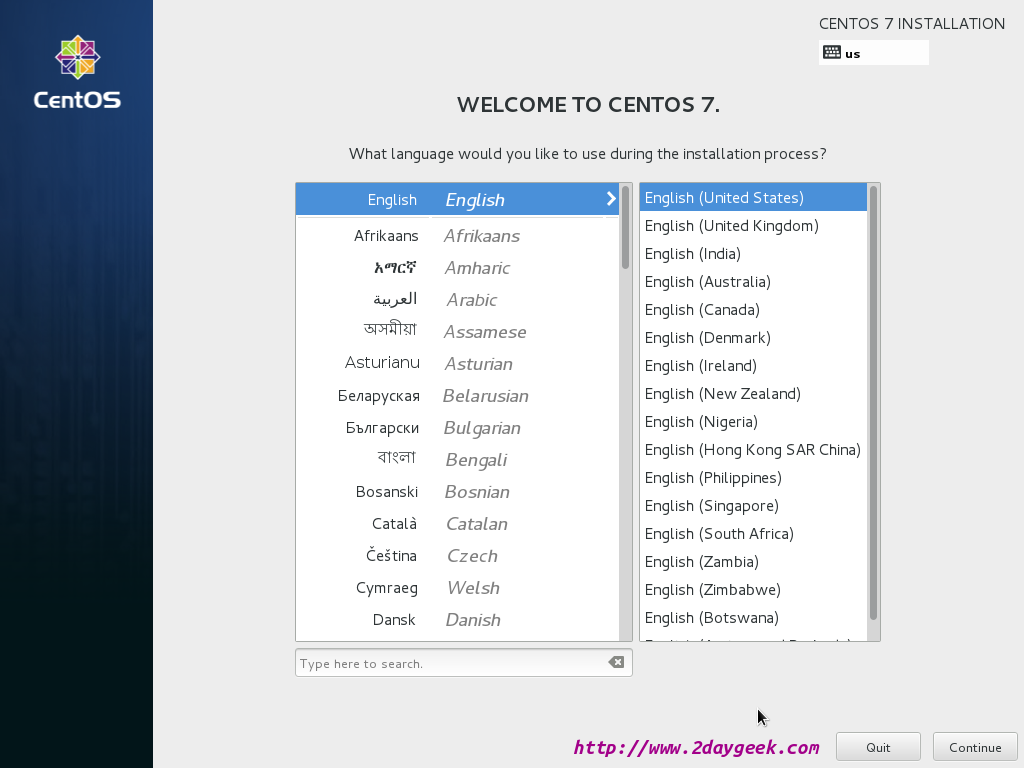
Welcome screen and Choose your prepared language, then hit Continue.
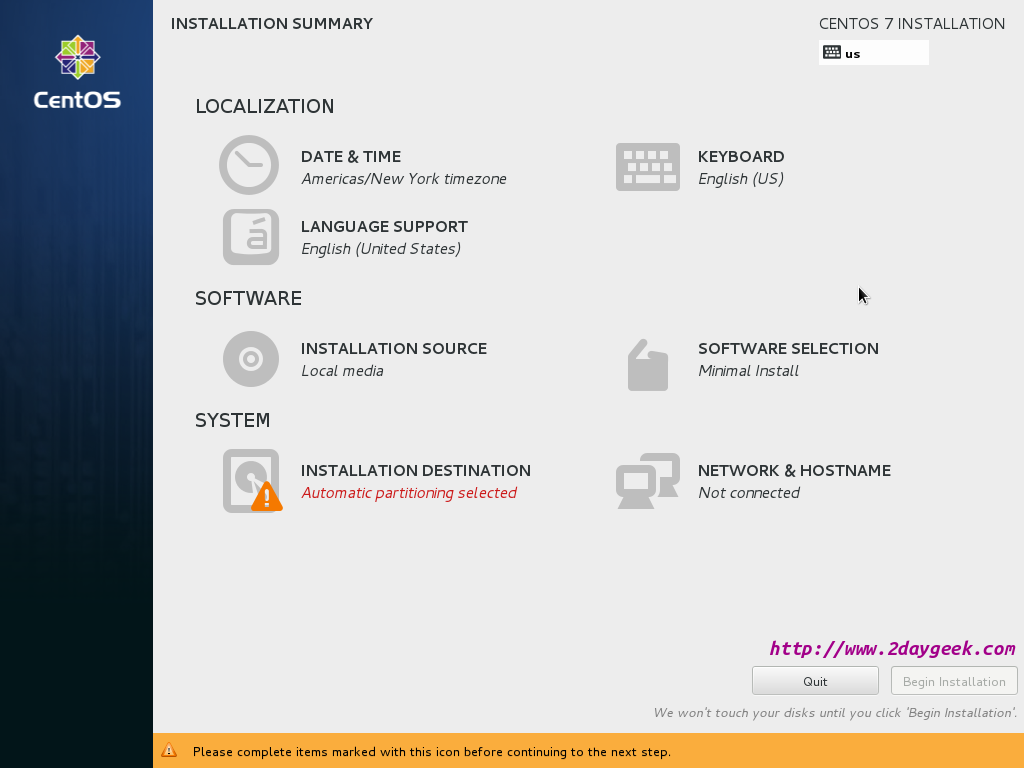
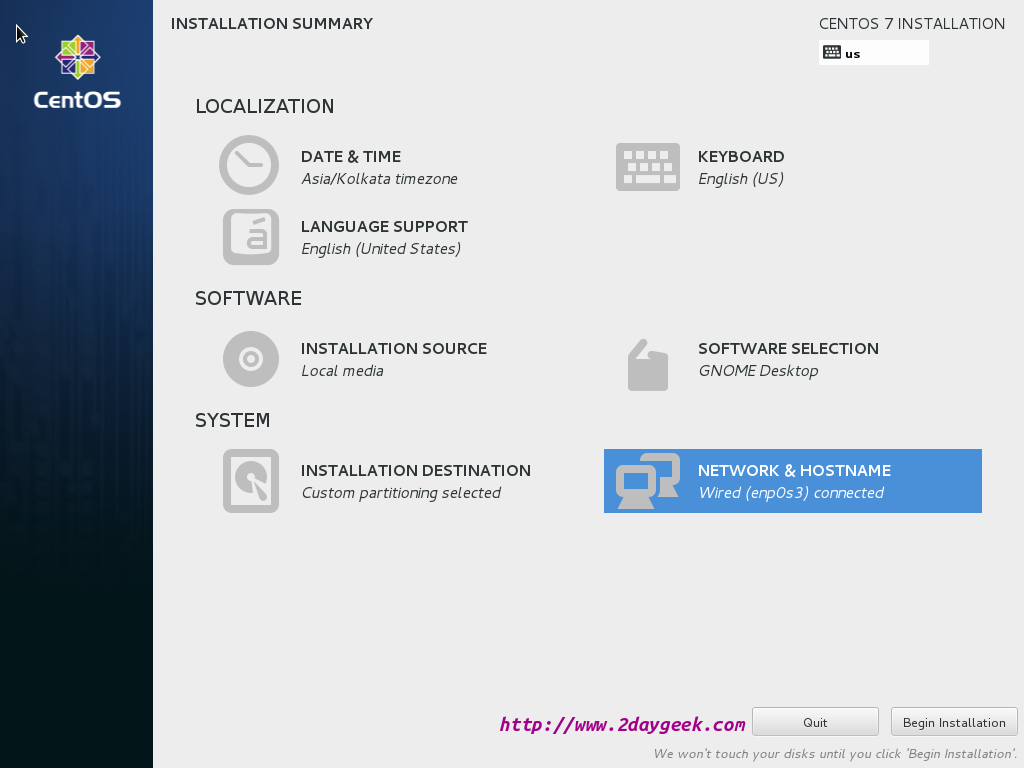
Installation SummaryIn Installation Summary steps you will complete 90% of process. So make sure all the option you need to choose properly such as Date & Time, Keyboard, Language support, Installation source, Software selection, Installation destination and Network & hostname.
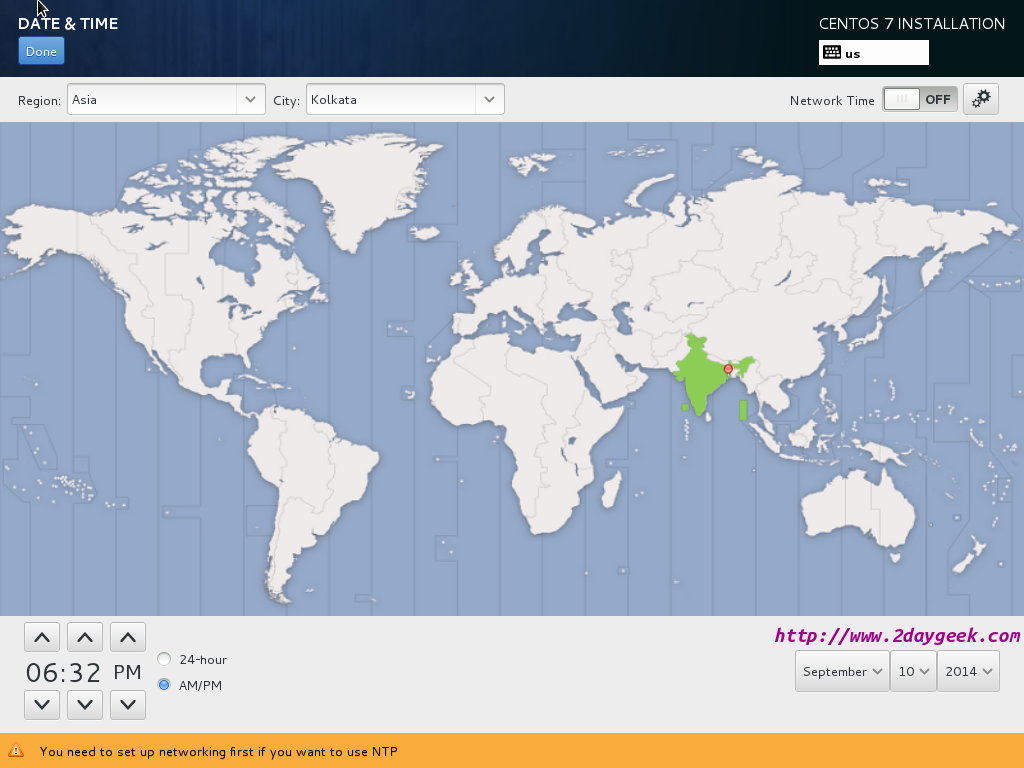
2) Date & Time Selection
Choose your location (Your country) to set your time zone and date, then hit Done which is in topmost left.
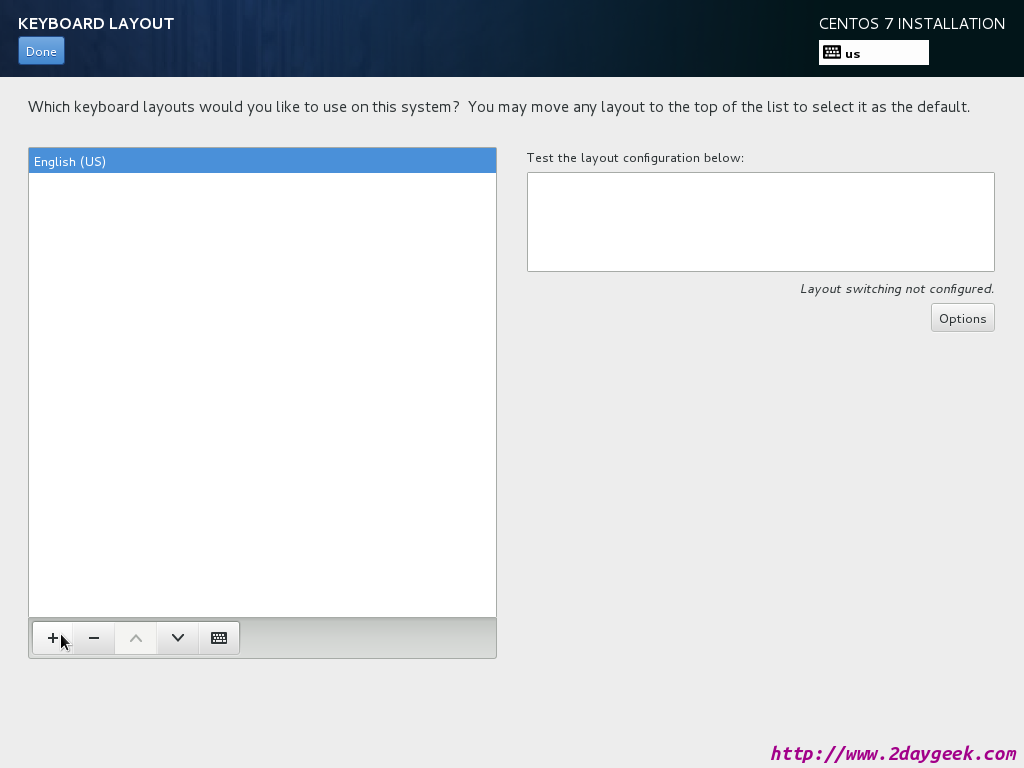
3) Keyboard layout Selection
Choose your preferred Keyboard layout to set default one, then hit Done which is in topmost left.
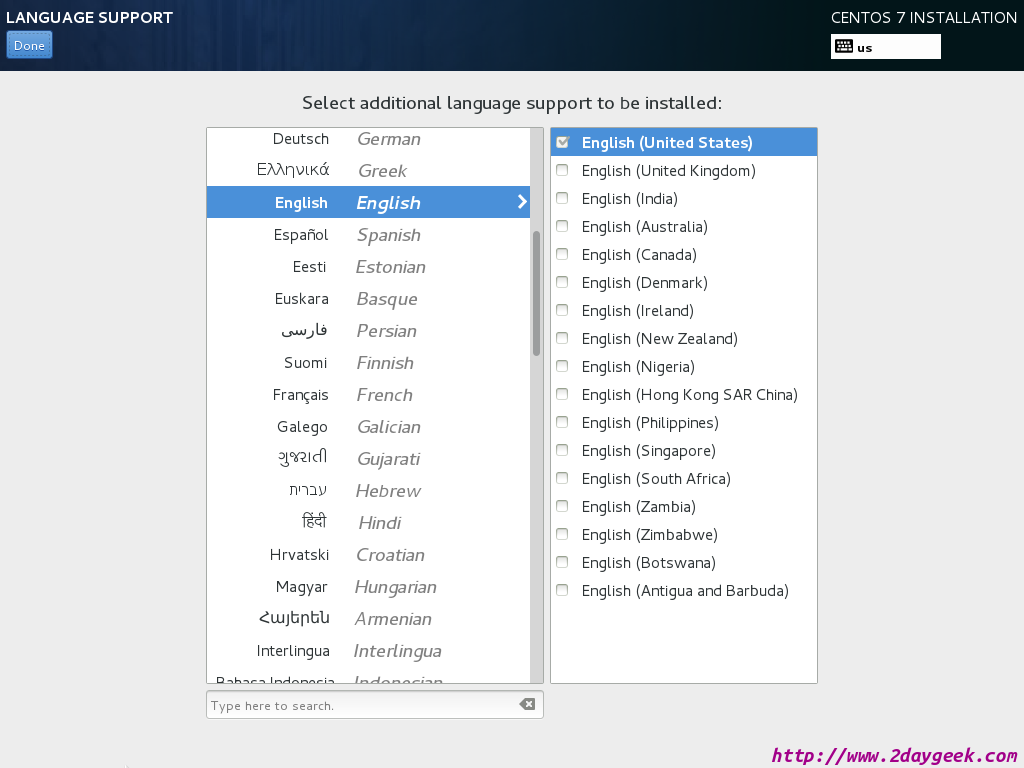
4) Language
Choose your prepared language to set default one, then hit Done which is in topmost left.
5) Installation source
By Default its chooses the Auto-detected installation media, so just verify it, then hit Done which is in topmost left.

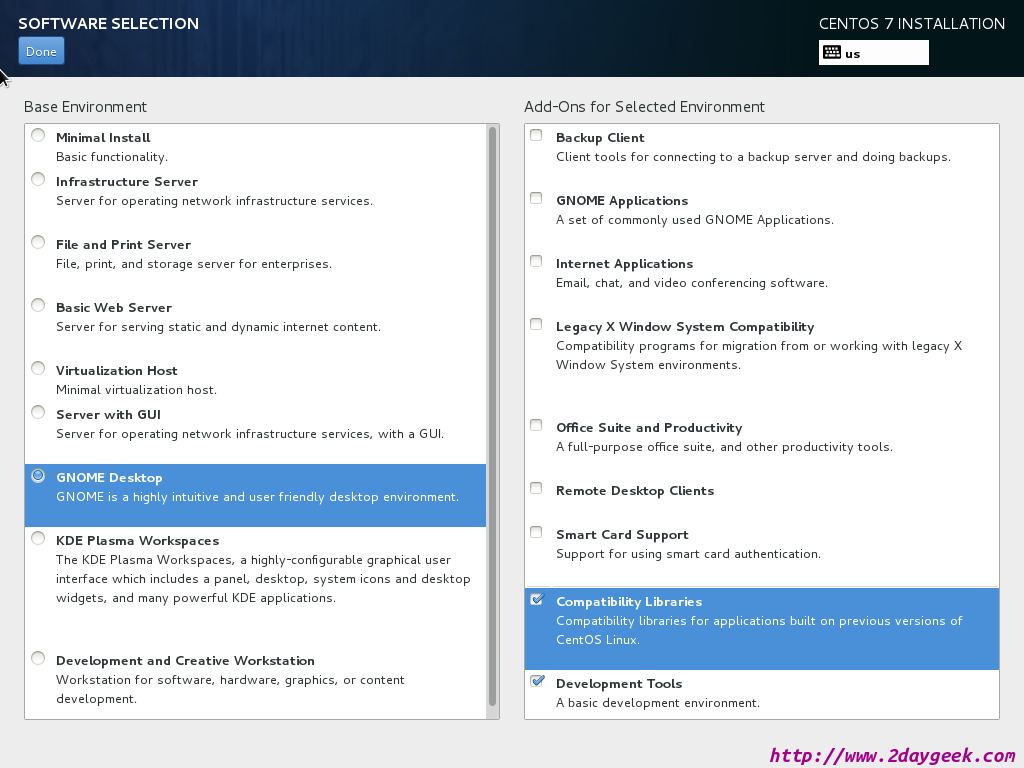
6) Software selection
This is important step-1 for you because whether you are going to install (Desktop or Server) Edition. Choose your option properly, then hit Done which is in topmost left.
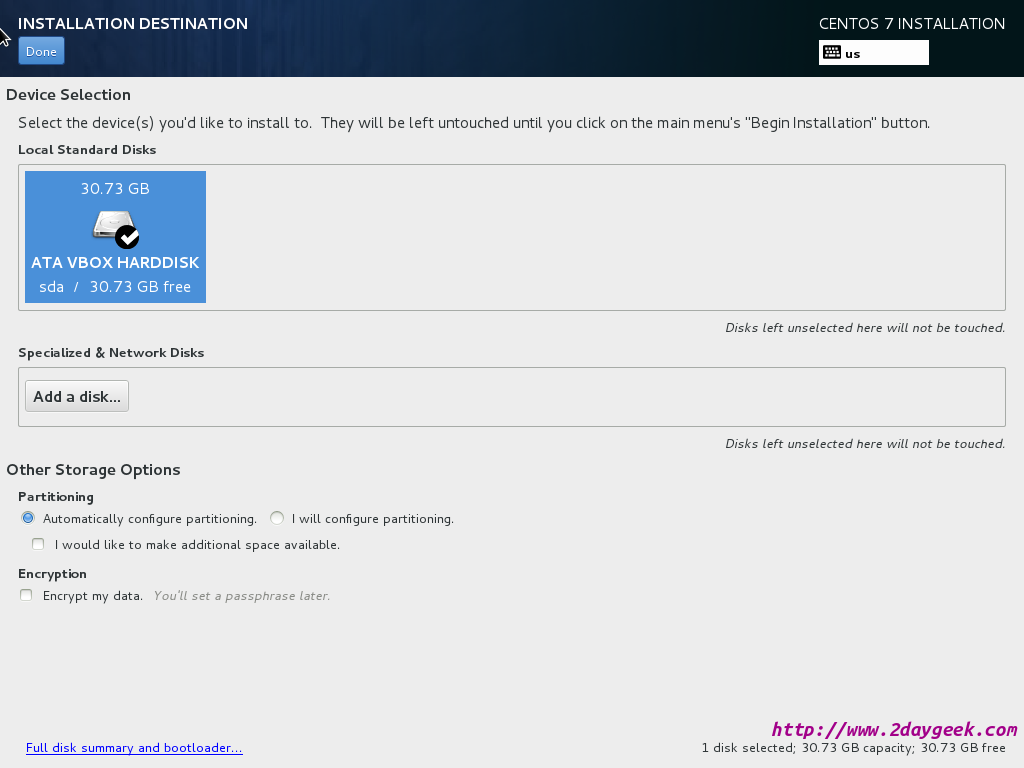
7) Installation Destination
This is important step-2 for you. If you choose Automatically configure partition based on your available disk it will create three partition and one major partition (/root, /boot & /swap). In this scenario /home partition is not separated one and it was comes under /root partition. Its not recommended one and highly RISK. So i would advise you to create the partition manually by following the below steps.
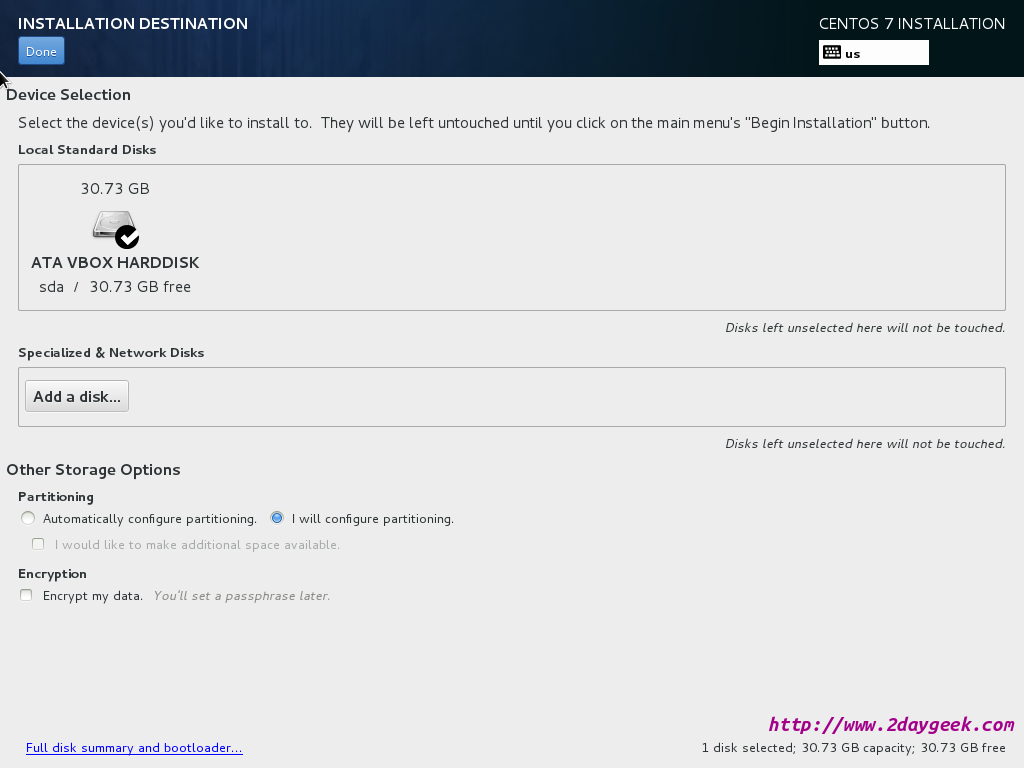
Choose Second radio button I will configure partitioning. Then hit Done which is in topmost left.
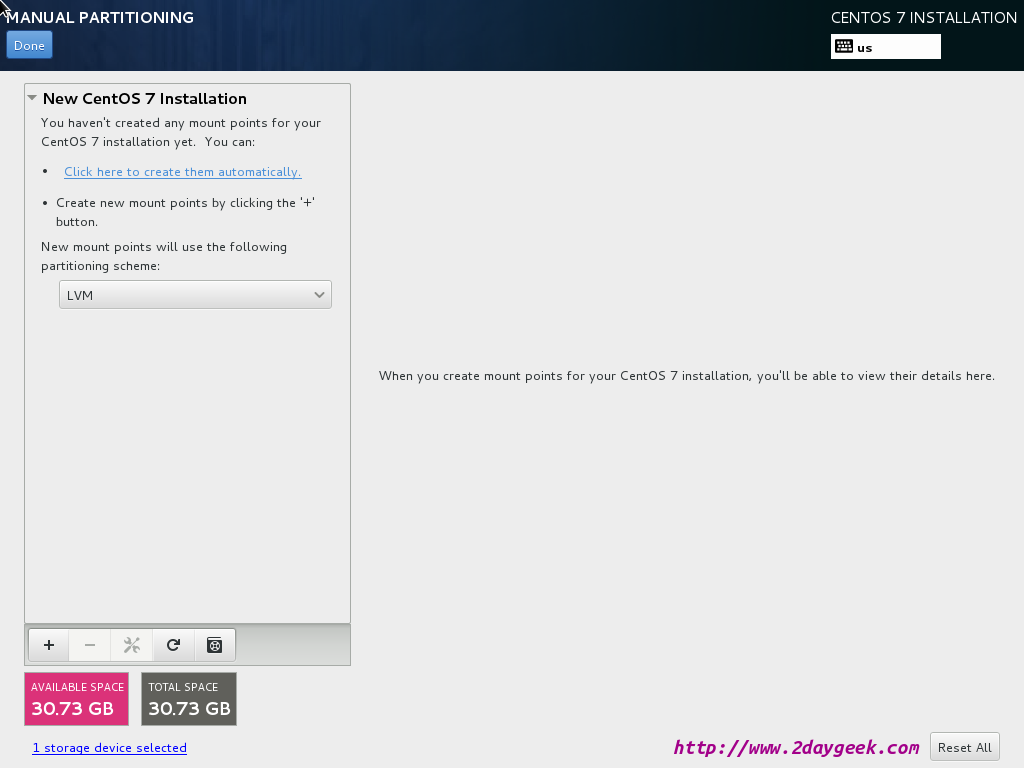
Choose the partition Scheme, Then hit Done which is in topmost left.
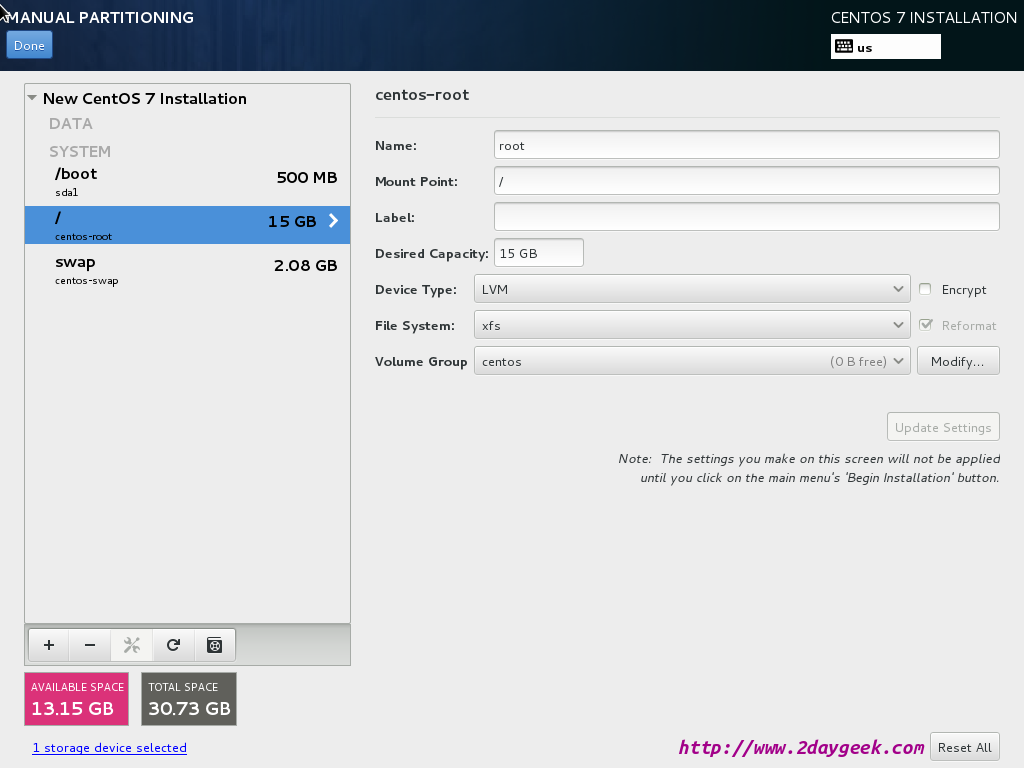
See the Default mount point size which was assigned by system itself and there is no /home mount point. It seem’s /root mount point took remaining spaces.
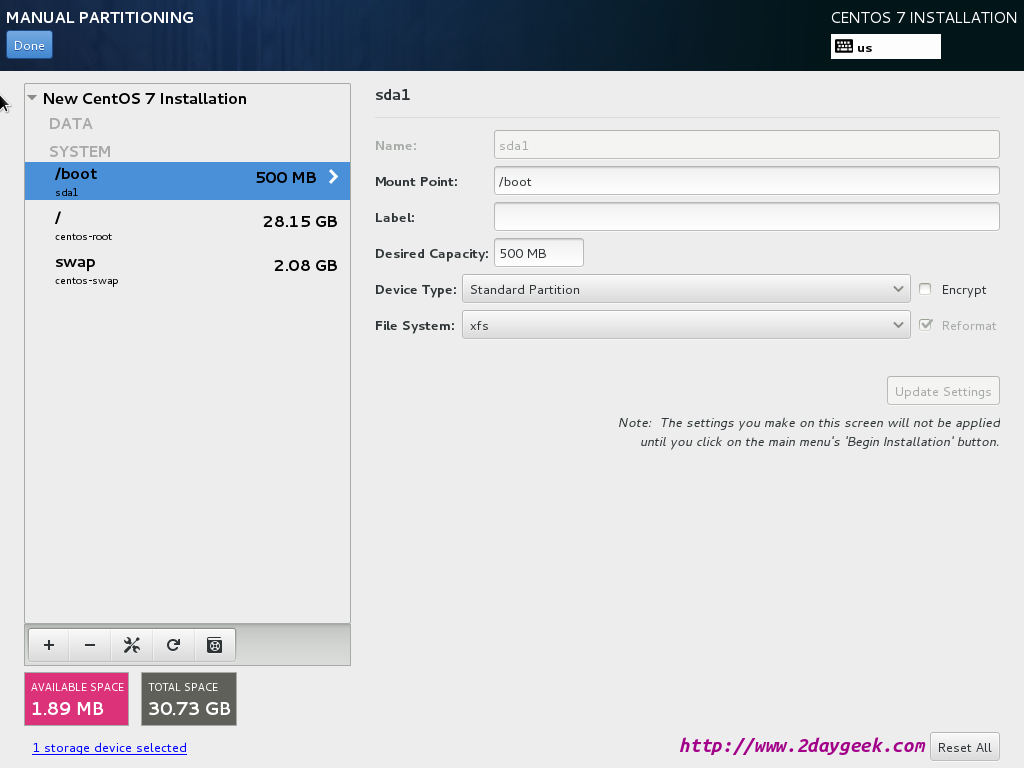
Resizing /root mount point. Here I’m going resize the root mount point from 28.15GB to 15GB. Choose the root mount point and enter your new described size, then hit Update Settings.
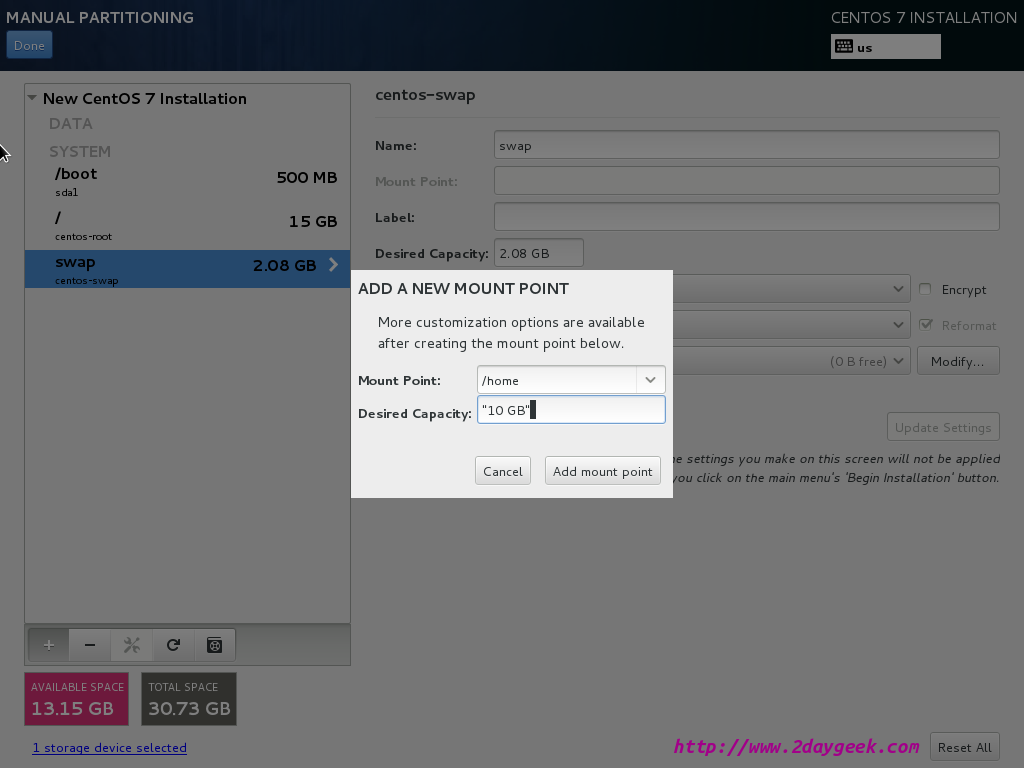
Adding /home mount point. Click the plus (+) button which is showing in leftmost bottom and it will pop-up new window like below. Choose mount point name and capacity (values should be “disk space GB”), then hit Add mount point button to mount it.
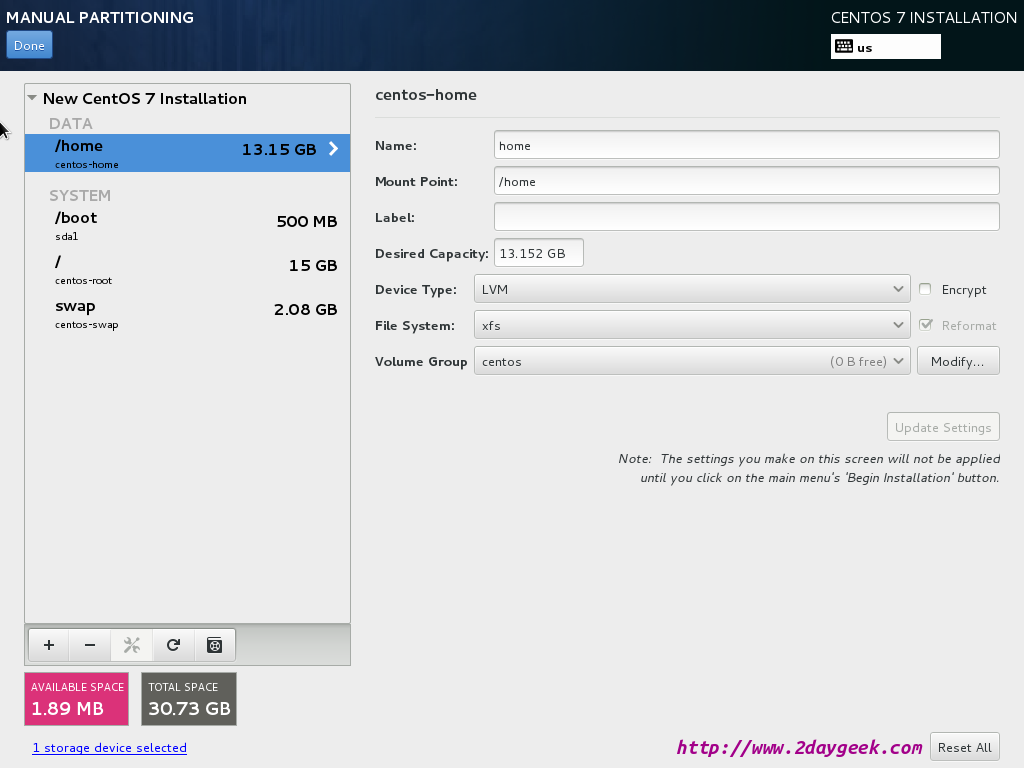
New mount point added, then hit Done button which is in topmost left.
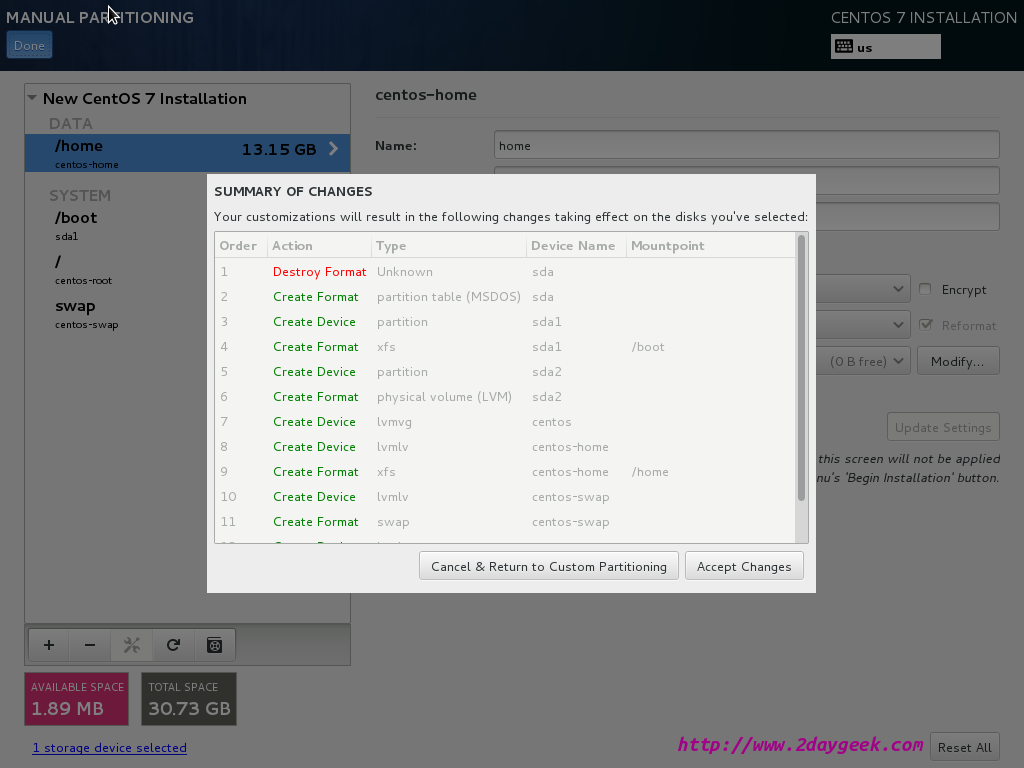
Accept the summary of changes that’s it.
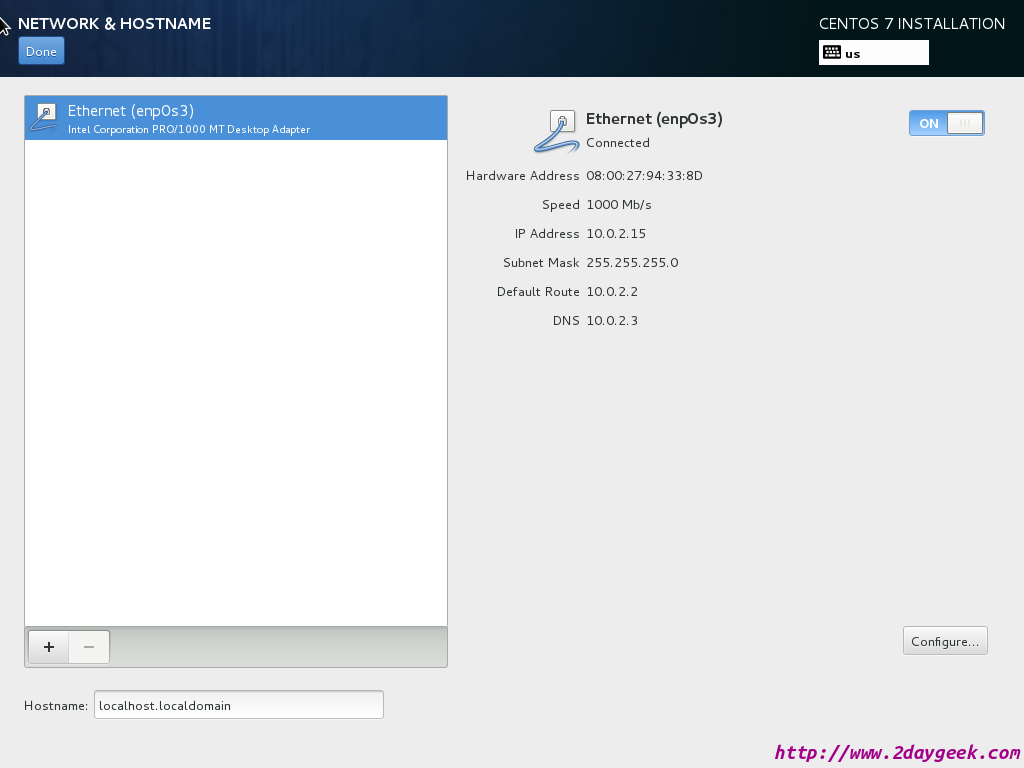
8) Network & Hostname selection
Enable your network settings and if you have static IP click Configure option to set properly and add your Hostname, then hit Done Button which is in topmost left.
9) Initiate CentOS 7 Installation
Now you have configured almost 90% of configuration, then hit Being Installation Button to initiate the CentOS 7 installation.
Installation process initiated successfully.
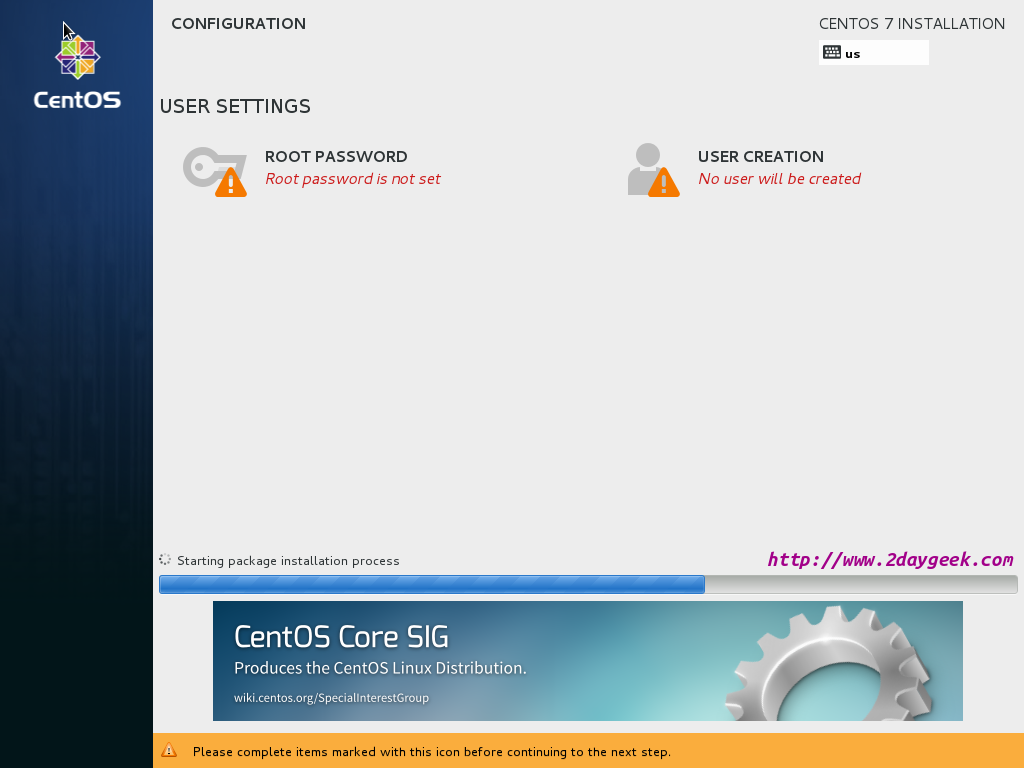
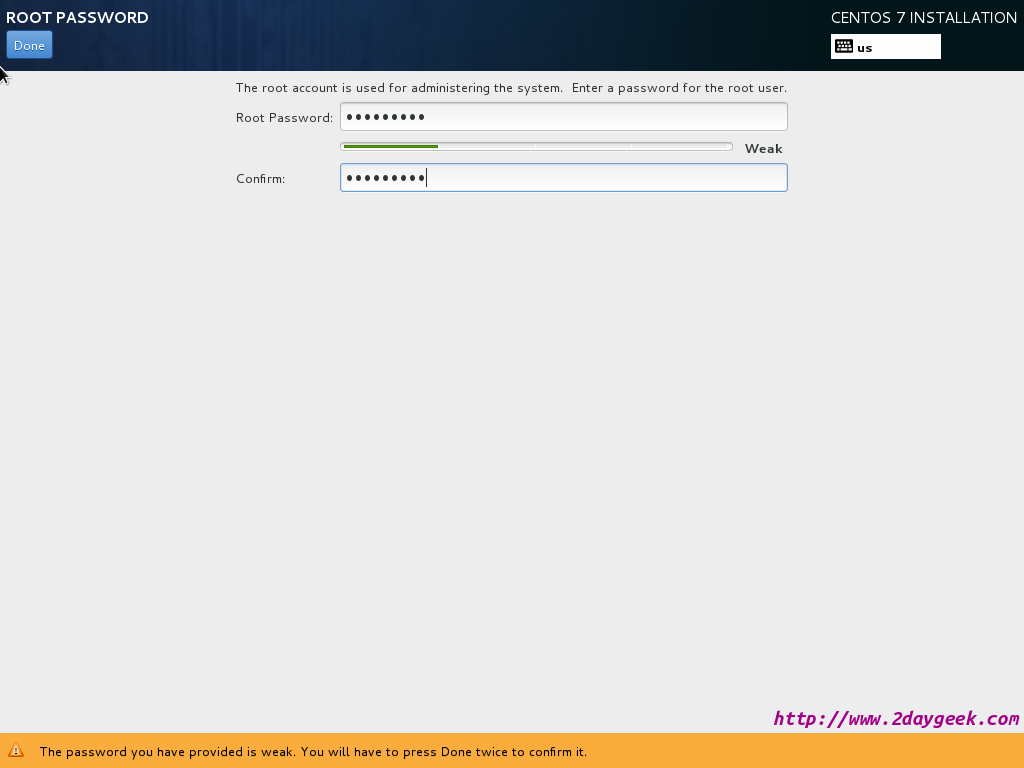
10) Setting up root password
Its time to setup your root password, then hit Done Button which is in topmost left.
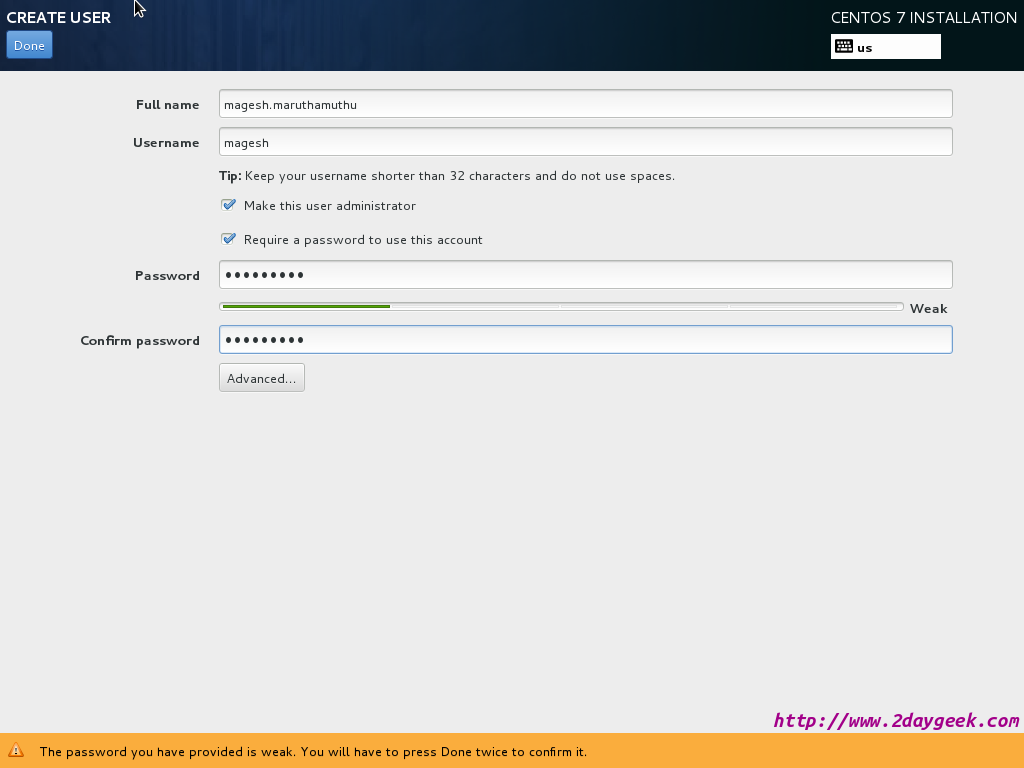
11) Create new user and password
Its time to create new user and password on your system, then hit Done Button which is in topmost left. First need to enter FULL Name of the new user.
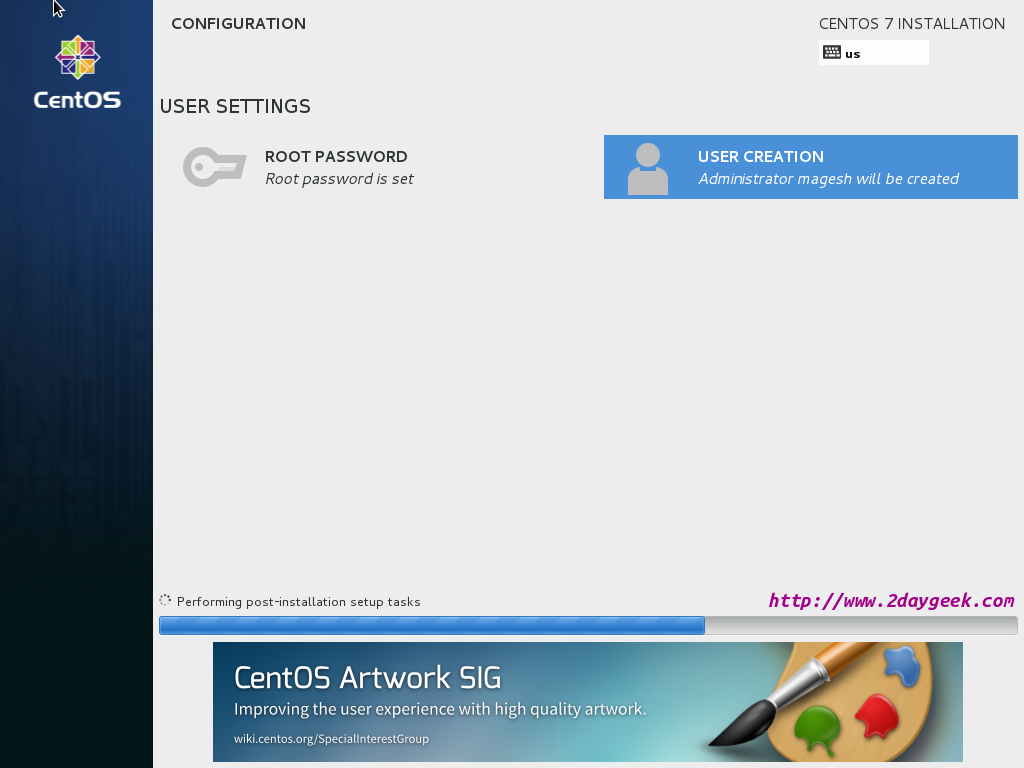
12) Installation process is on-going
CentOS 7 Installation process is on-going and it will take shot while to complete the installation.
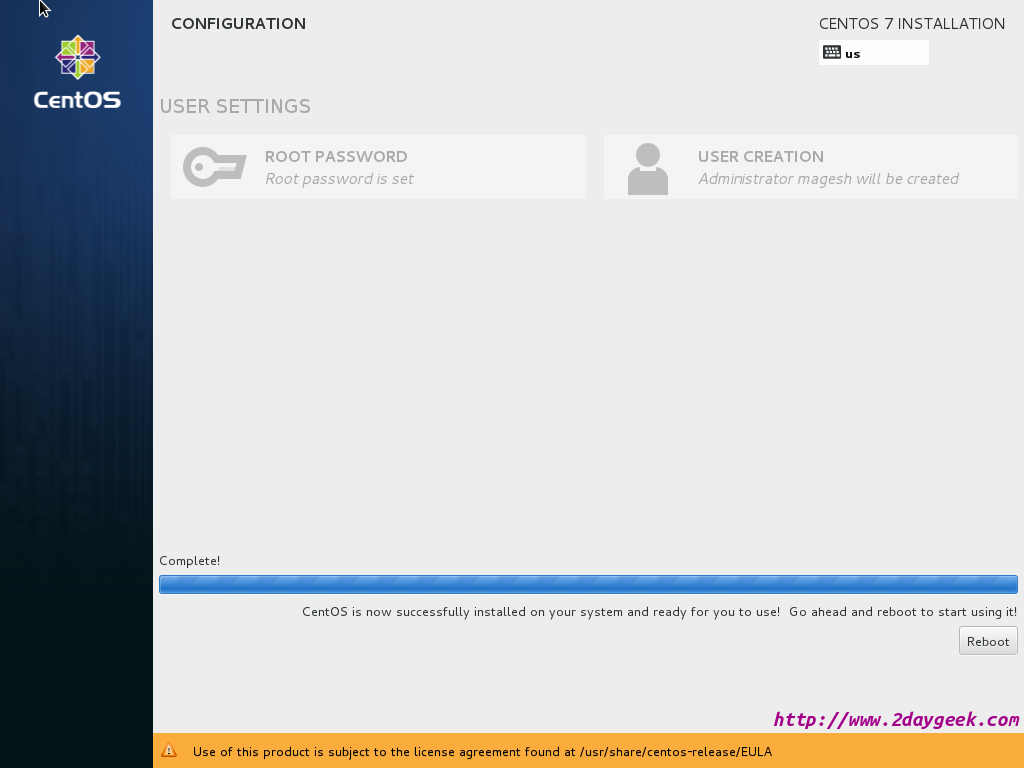
13) Installation got over
CentOS 7 successfully installed on your system and ready for use, go ahead and Reboot your system.
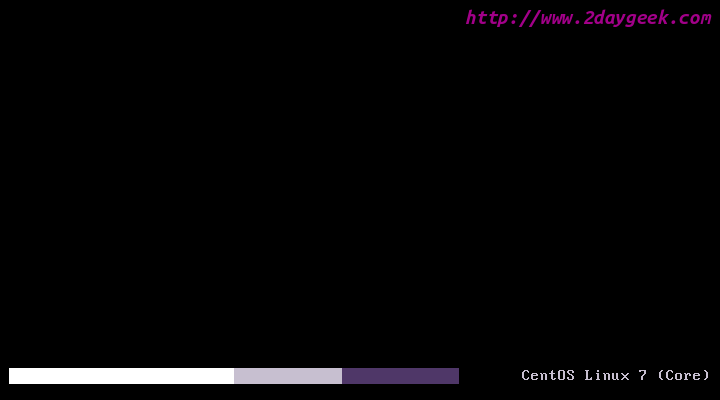
14) System rebooting
System rebooting wait a while for Initial Setup screen.
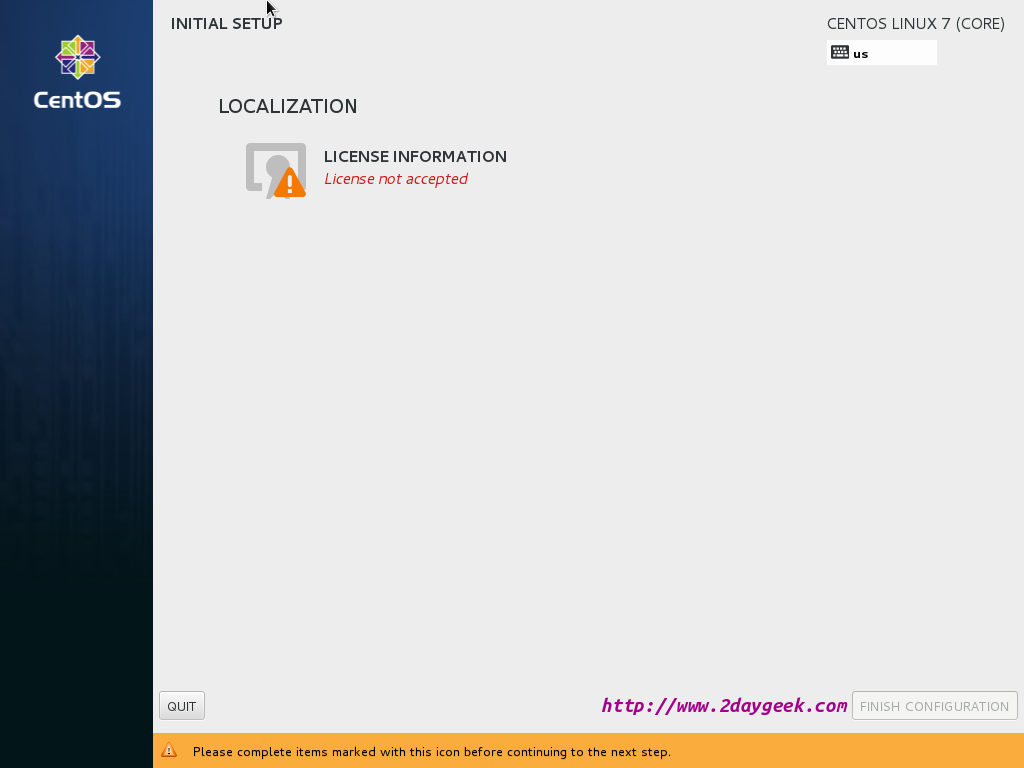
15) License Information
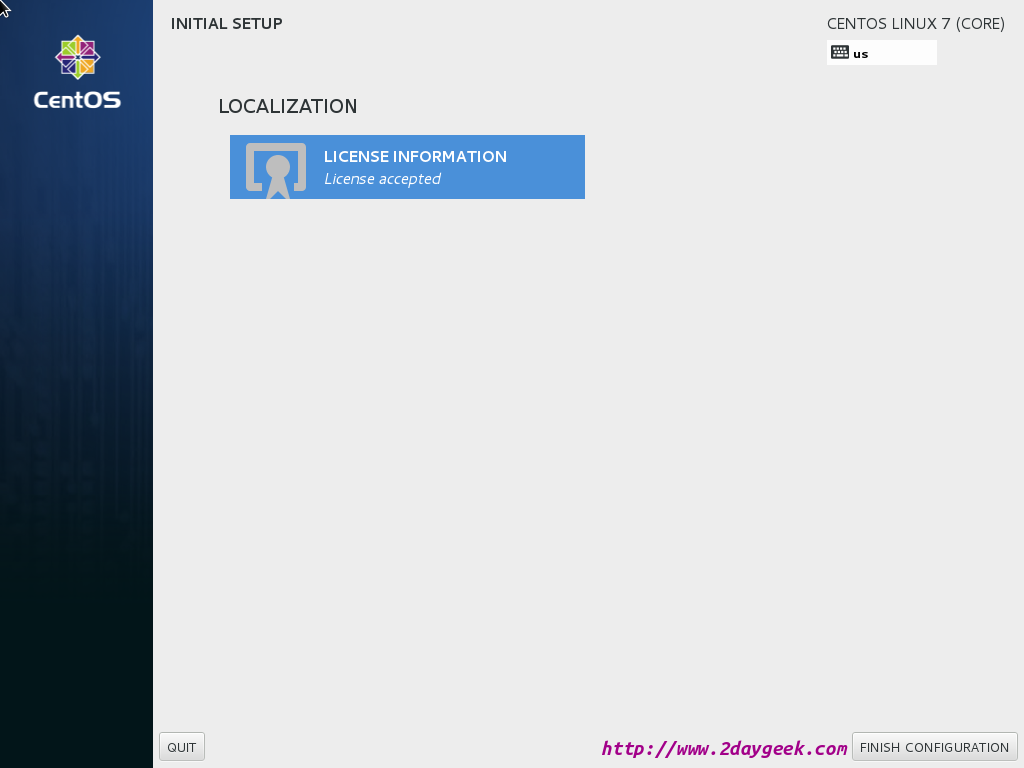
Accept the license information, then hit Finish Configuration Button.
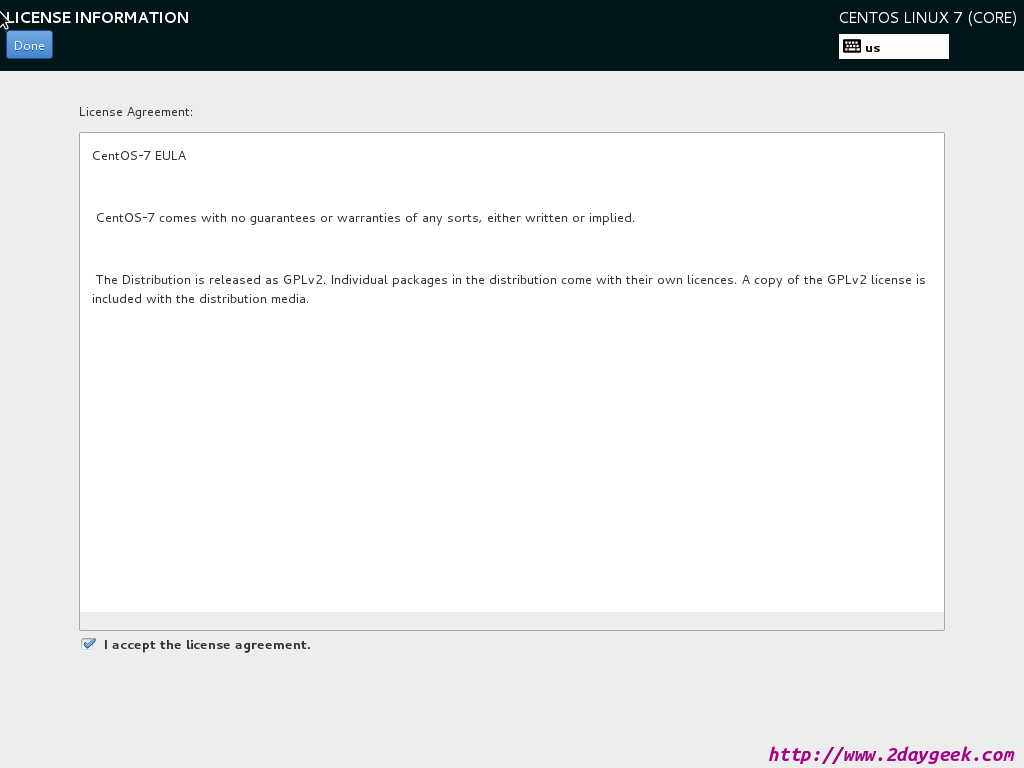
Accepting License Agreement.
Finishing Configuration.
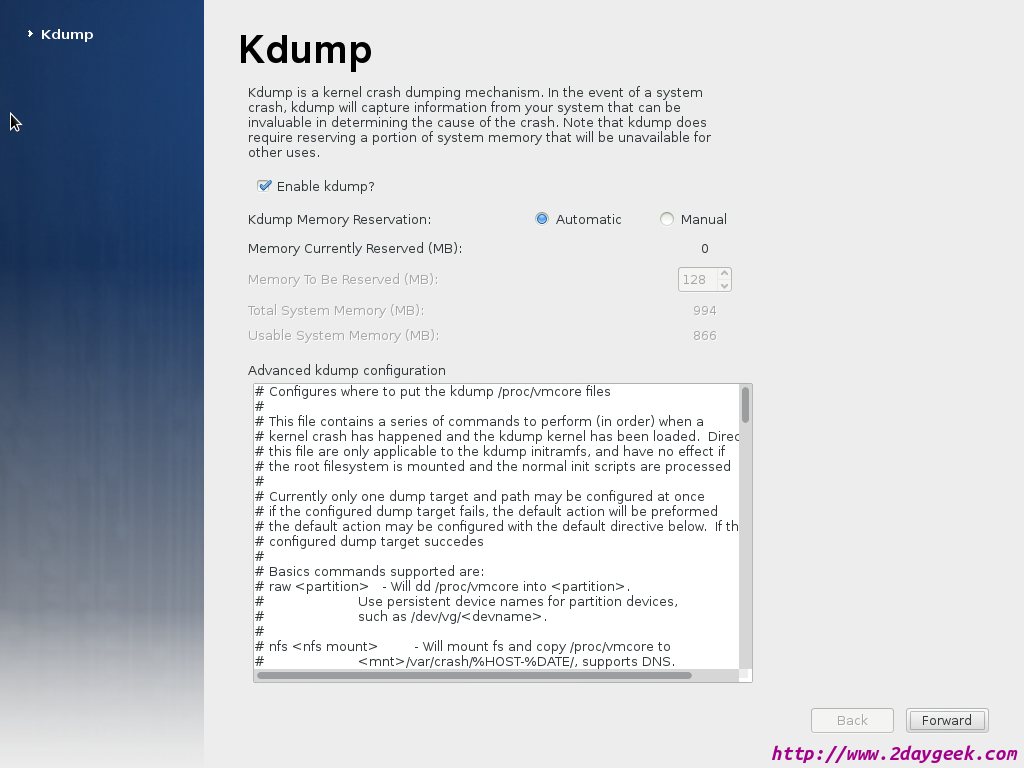
16) KDUMB Setup
Enabling kdumb In cause your system got crash kdumb capture the information which will help you to identify the root causes of issue, then hit Forward Button.
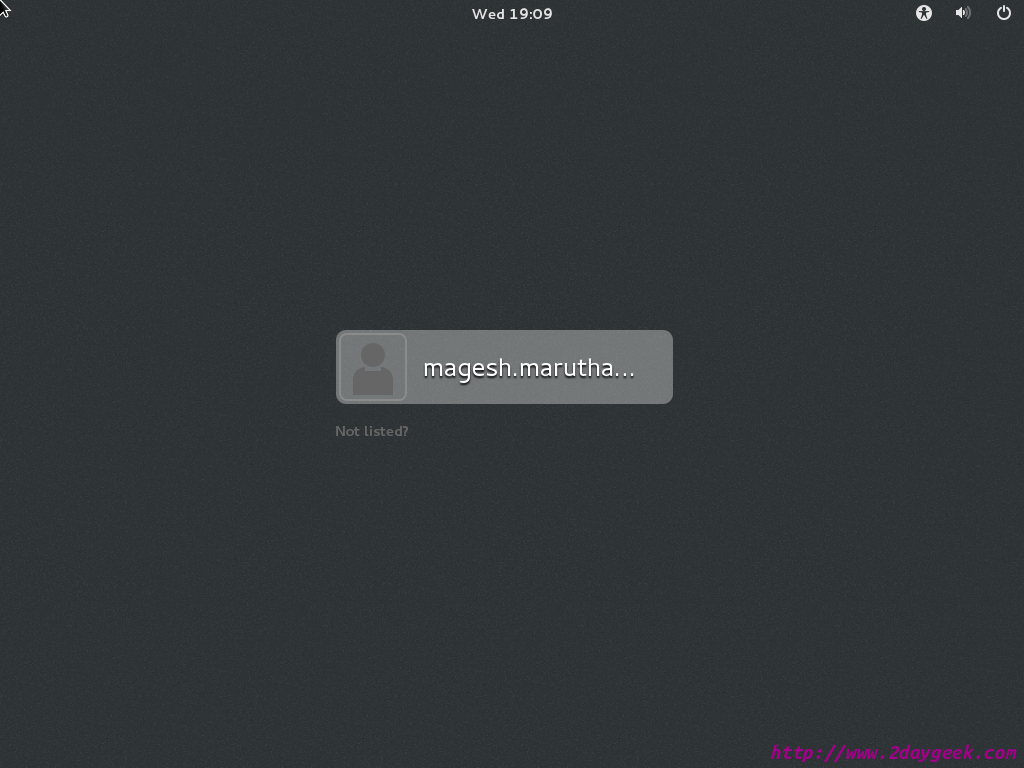
17) CentOS 7 GNOME Desktop login screen
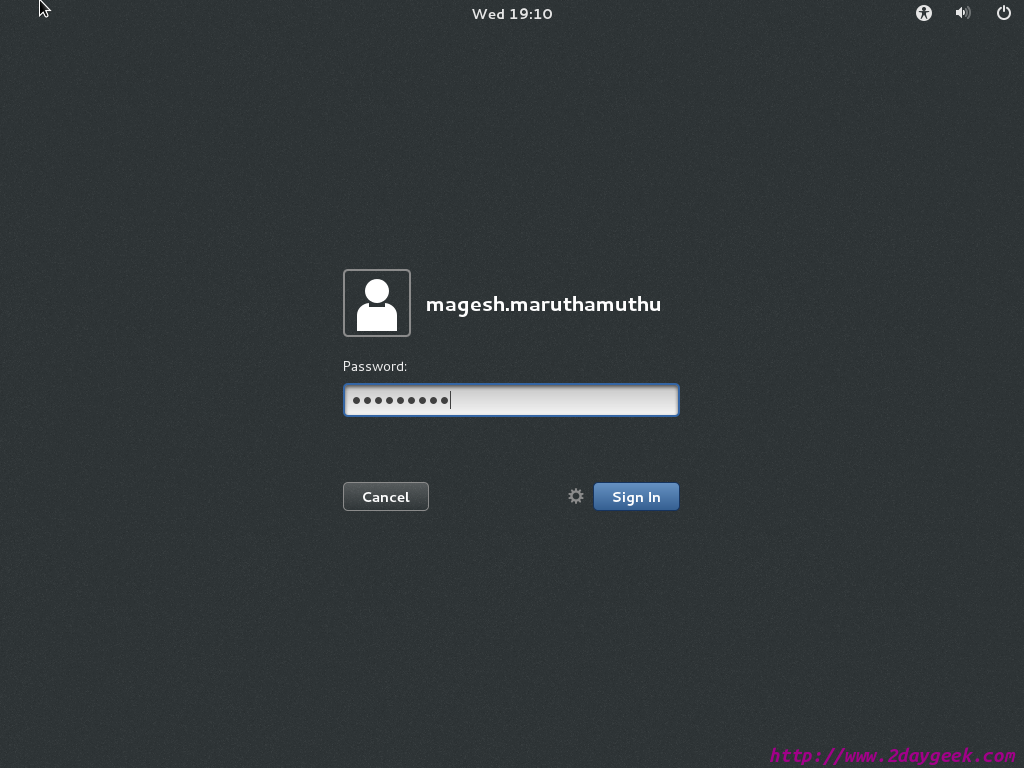
Press your username and it will ask you to enter your password.
Enter your password and hit Sign In button to launch your Desktop.
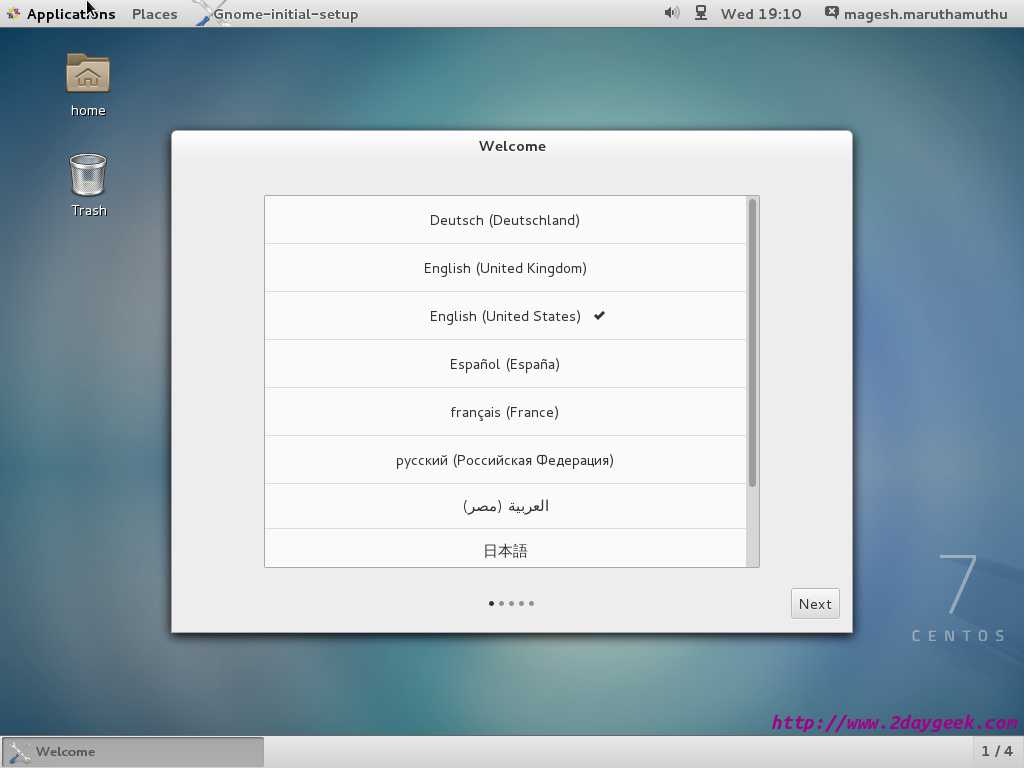
18) Gnome Initial Setup
Gnome Initial Setup Welcome screen, then hit Next Button.
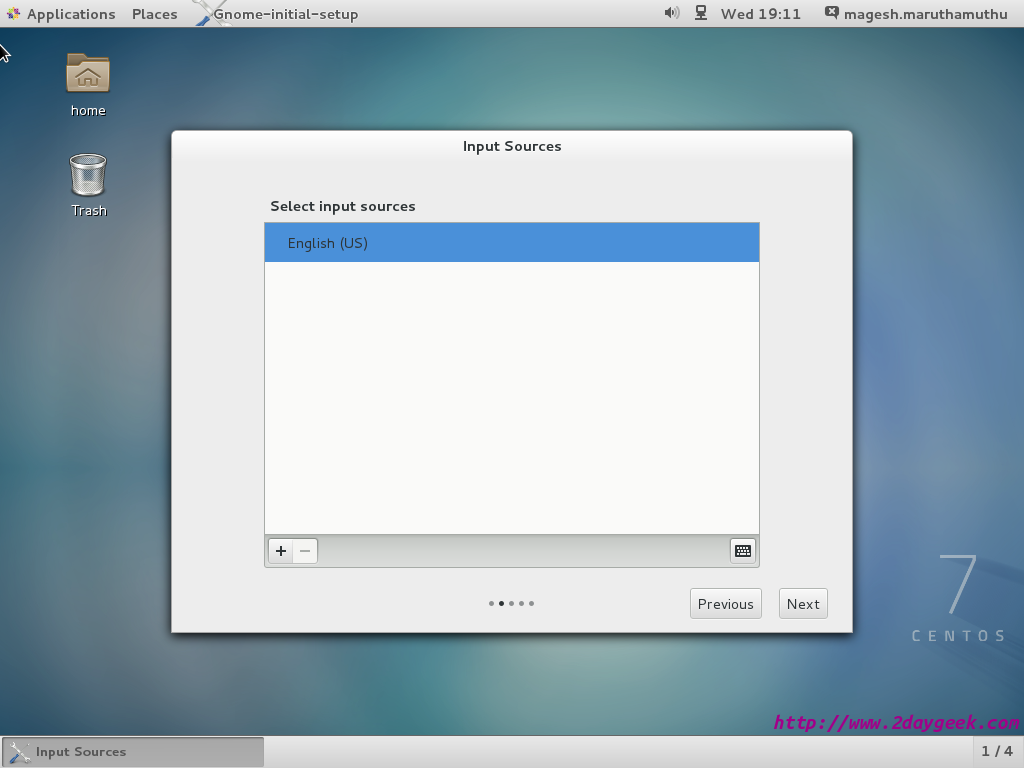
19) Gnome Input Source
Choose Input Sources, then hit Next Button.
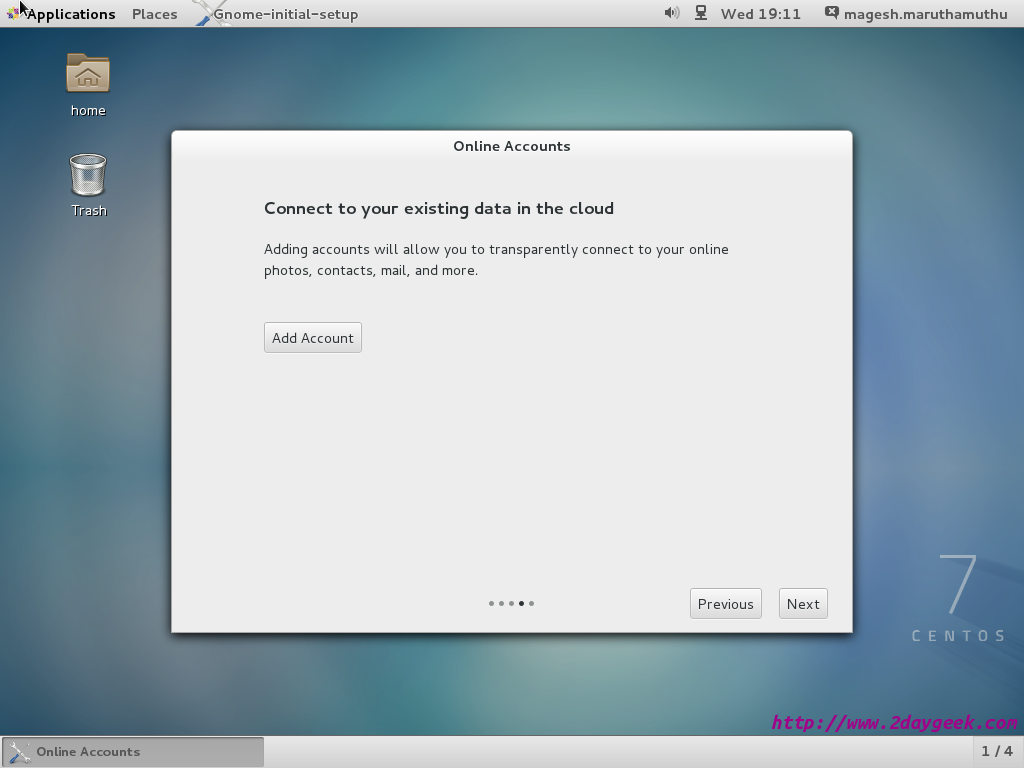
20) Gnome Online Accounts
Adding online cloud account, then hit Next Button.
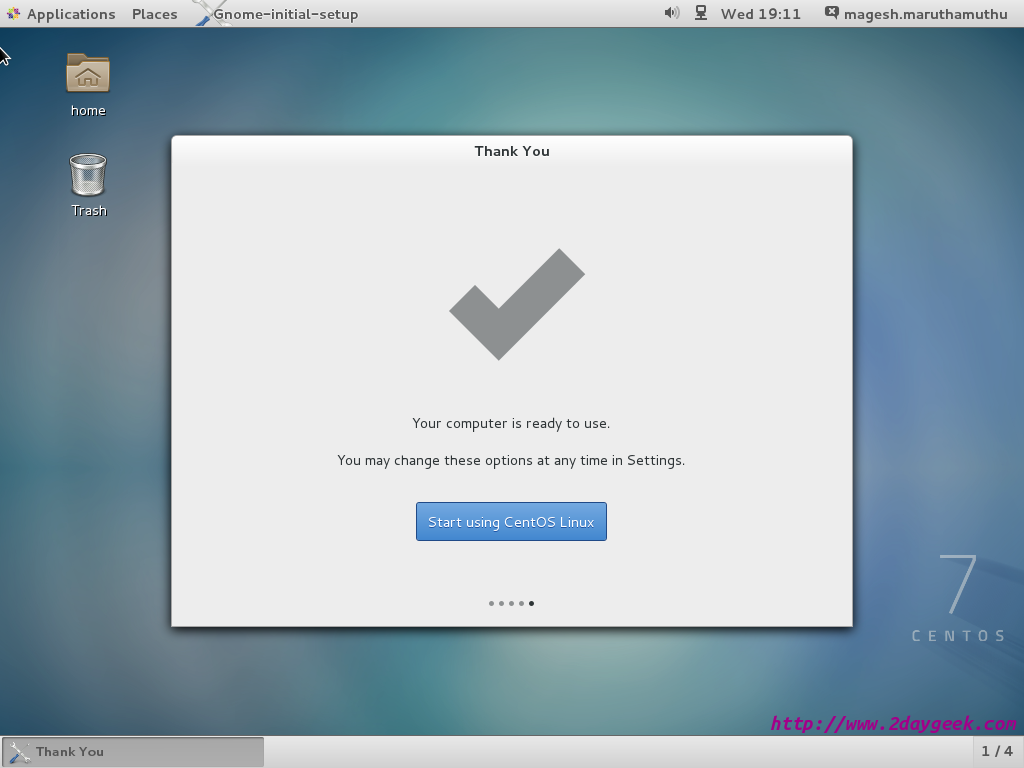
21) Gnome Initial Setup completed
Gnome Initial Setup got completed and play with CentOS 7.
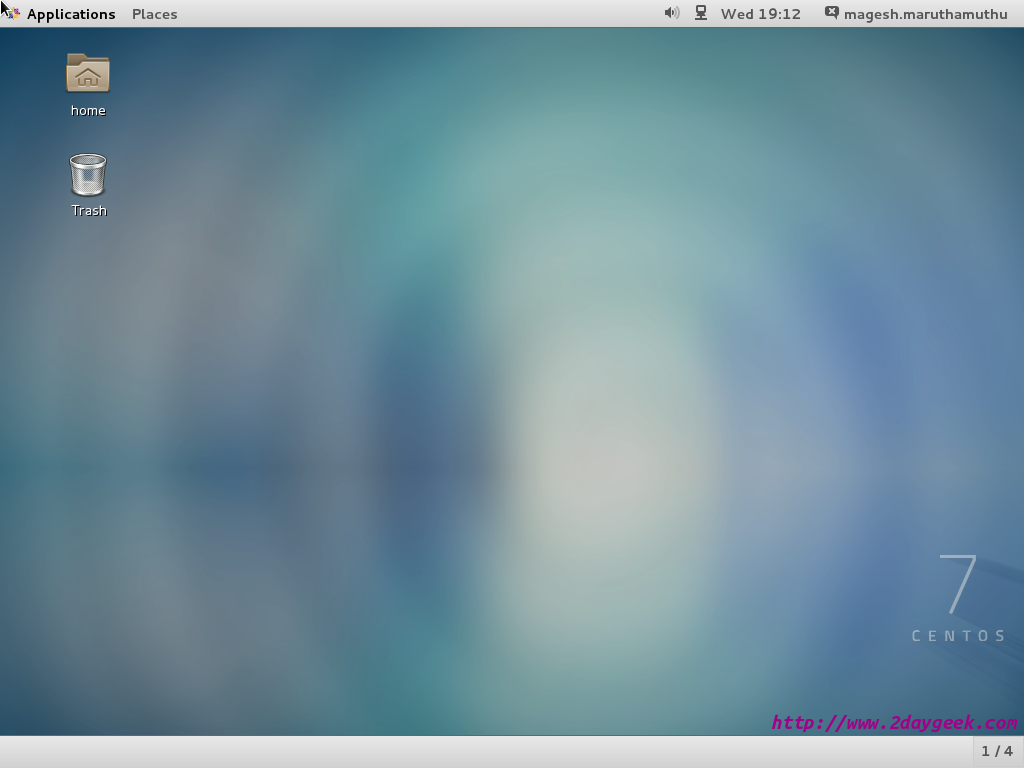
22) CentOS 7 Desktop screen
CentOS 7 Desktop screen shot.
23) CentOS 7 Desktop screen with menu
CentOS 7 Desktop screen shot with menu.

We are preparing all articles in-depth to understand by all level/stage Linux administrators. If the article is useful for you, then please spend less than a minute to share your valuable comments in our commenting section.
Please stay tune with us…Good Luck.


Hello, Thanks for posting this very helpful guide. I’m stuck though. I think I checked all of the right boxes and performed the correct settings at setup, but after installation and reboot. I get a line of code asking for “c” to continues, “l” for library and “q” to quit, but none of those letters work alone. What else do I need to type there? Thanks in advance, Dave
I didn’t understand the message, can you please share the screenshot to [email protected] so that I can have a look.
Very nice tutorial… Exact what I needed. Although, there are some grammatical errors, it is clean and understandable. I’ll be sure to recommend it to future CentOS users 😉
@Alex,
Thanks for your notification, will keep a eye on grammatical errors.
hello
@vivi,
Mention your query clearly, so that we will help you further.
Hi,
Thank you very much,
i have installed successfully, how to use Hadoop after installion.(centos 7)
Ps: Hadooop is inbuilt with Centos .
@Kishore,
No, its not inbuilt with centos, you need to download the archive file from http://apache.claz.org/hadoop/common/stable/ and do it manually.