phpMyAdmin is a free open source web-based application that allows users to easily manage or administrate MySQL and MariaDB databases.
This is a great tool for users unfamiliar with the command line options.
phpMyAdmin can be used to perform most administration tasks, including creating a database, running queries, and adding user accounts.
This brief tutorial shows you how to install, configure and secure phpMyAdmin on Ubuntu 20.04, which works seamlessly on Ubuntu derivatives such as Debian and Linux Mint.
Prerequisites
Make sure that you have already installed LAMP stack on Ubuntu as a prerequisite of phpMyAdmin. Otherwise, please refer the following tutorial to install LAMP.
Updating Ubuntu system
Your system should always be up to the date. If no, run:
$ sudo apt update && upgrade
Installing phpMyAdmin
You can install phpMyAdmin on your Ubuntu 20.04 distribution from the default package repository, but it will be a slightly older version.
$ sudo apt install phpmyadmin
If you want to install the latest version of phpMyAdmin, see the following article:
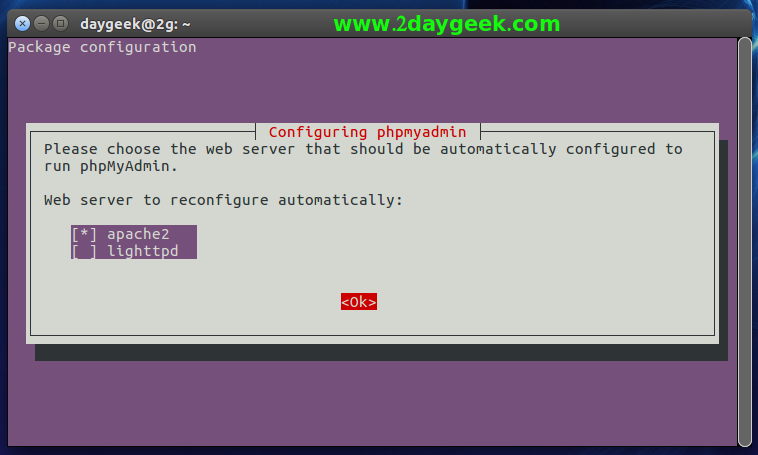
Step-1 (Web Server Selection) : During installation, the installer prompts you to select a web server to configure, and then select apache2 to proceed.
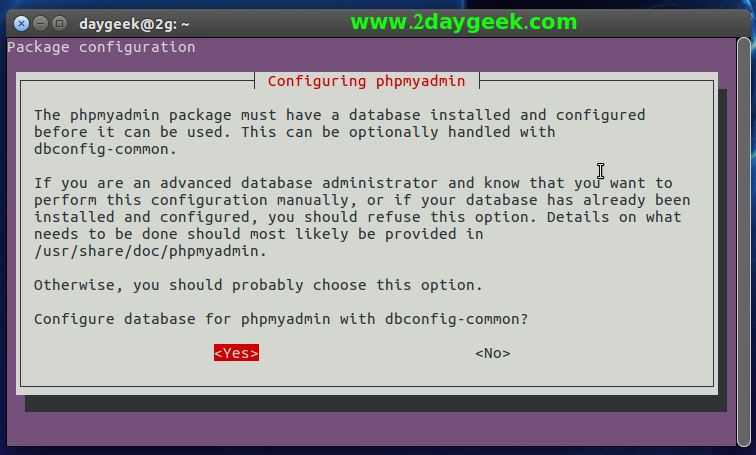
Step-2 (Database Configuration for phpMyAdmin) : To configure a new database for phpMyAdmin with ‘dbconfig-common’ select ‘Yes’ and press the ‘space bar’ to proceed.
Step-3 (Creating Database for phpMyAdmin) : Enter your MySQL root password to create a new database for phpMyAdmin, and hit Space Bar to proceed.
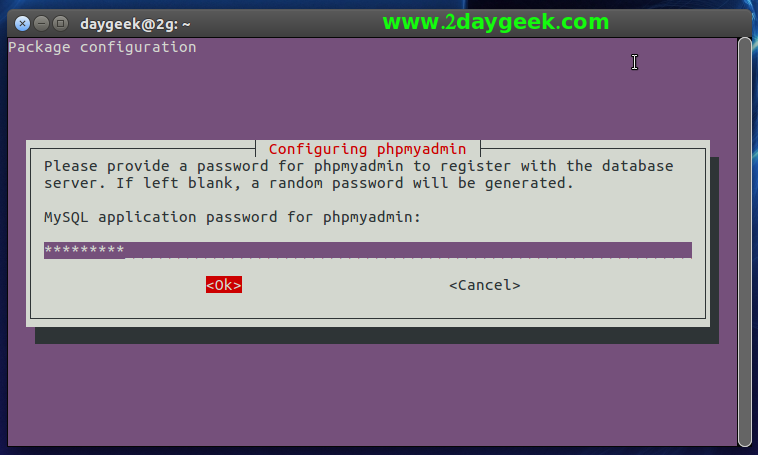
Step-4 (Create a Password) : Create a password for phpMyAdmin to access over the web, then hit Space Bar to proceed.
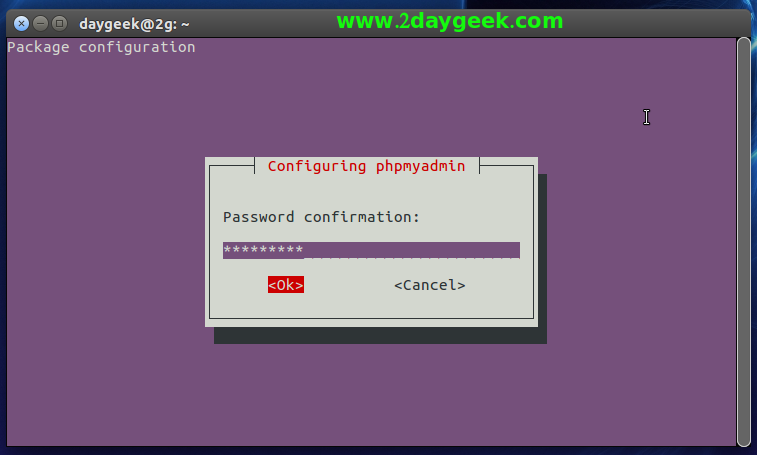
Step-4a (Confirm a Password) : Re-Enter the password once again to confirm the phpMyAdmin password, then hit Space Bar to proceed.
Step-5 (Restart Apache2) : Once the installation is done, restart Apache for changes to take effect:
$ sudo systemctl restart apache2
Accessing phpMyAdmin
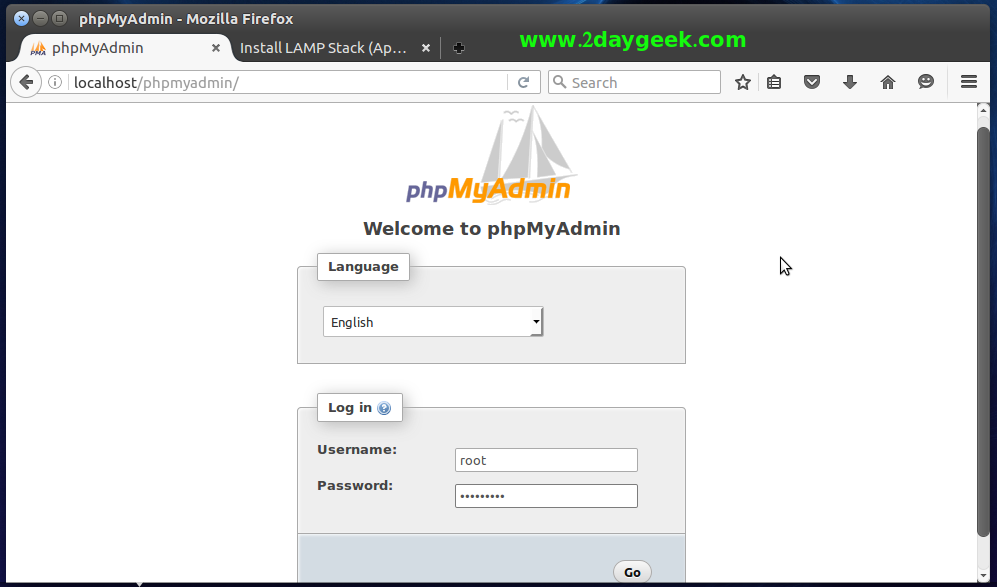
You have successfully installed and configure phpMyAdmin on Ubuntu. To access, open your web browser and navigate to ‘http://localhost/phpmyadmin‘ or ‘http://your-server-ip-address/phpmyadmin’ and enter ‘root’ MySQL/MariaDB database password to access it.
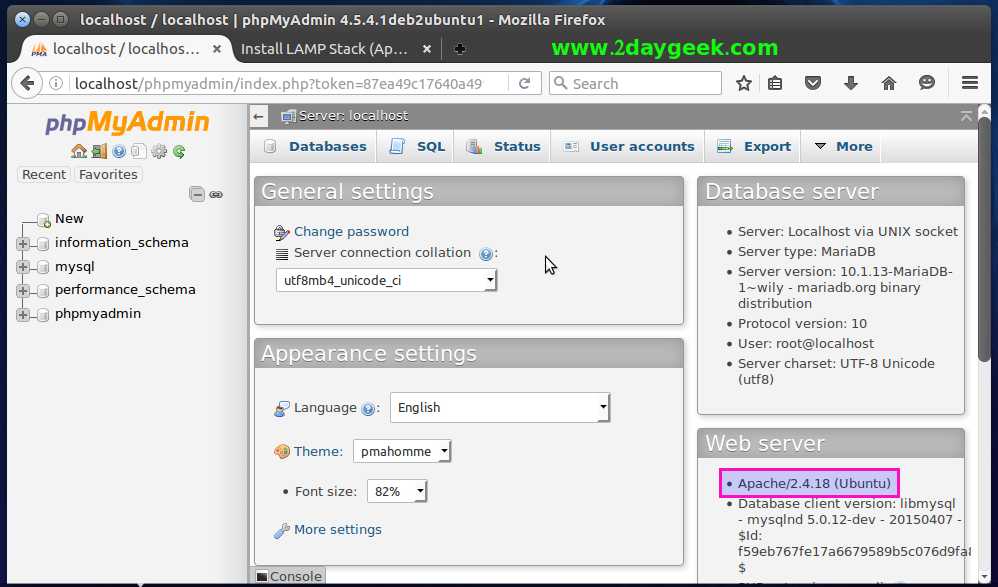
Now, you can easily manage all my MySQL/MariaDB databases using the phpMyAdmin.
Closing Notes
In this guide, we’ve shown you how to install and configure phpMyAdmin on Ubuntu 20.04 and their derivatives.
If you have any questions or feedback, feel free to comment below.


i can’t run phpmyadmin in browser then what should i do?
Can you share me the error message to know more about it? Please make sure that you have already install LAMP on the server as a prerequisite for phpmyadmin.
Very useful article. Thanks for sharing the knowledge.
Welcome