Openfire is a real time collaboration (RTC) server and groupchat server licensed under the Open Source Apache License. It uses widely adopted open protocol for instant messaging, XMPP (also called Jabber) server written in Java. Openfire is incredibly easy to setup and administer, but offers rock-solid security and performance. Here i’m going to explain how to install Openfire Server in Linux such as RPM & DEB based system. The Ignite Realtime Community is pleased to announce the latest release of Openfire 4.0.0 version on January 11, 2016.
- Openfire Upgrade
- Openfire Migration
- Spark IM Client for Openfire
- Integrate Openfire with Thunderbird
- Integrate Openfire with Pidgun
1) Download & Install Openfire
Use the below link to download the Openfire server pack for RPM & DEB based system to install major Linux distribution such as RHEL, CentOS, Fedora, Ubuntu, Debian, openSUSE & Mint systems. Make sure JAVA is mandatory to run openfire.
- Oracle JAVA Installation in CentOS/Fedora/RHEL using rpm
- Oracle JAVA Installation in Ubuntu/LinuxMint/Debian using java alternative
- OpenJDK 7 installation in Ubuntu/LinuxMint/Debian
- Setting up JAVA Environment Variable in linux
- Remove Oracle Java and OpenJDK in Linux
- OpenJDK 8 installation in Ubuntu 14.10
# Download RPM Package #
$ sudo wget http://download.igniterealtime.org/openfire/openfire-4.0.0-1.i386.rpm

# Download DEB Package #
$ sudo wget http://download.igniterealtime.org/openfire/openfire_4.0.0_all.deb

# Install Openfire to RHEL,CentOS, Fedora, openSUSE #
$ sudo rpm -ivh openfire-4.0.0-1.i386.rpm

# Install Openfire to Debian, Ubuntu, Mint #
$ sudo dpkg -i openfire_4.0.0_all.deb
2) Start the Openfire Server
Use the below commands to start the Openfire server.
# For sysvinit systems #
$ sudo service openfire start

# For systemd systems #
$ sudo systemctl start openfire.service
3) Configure Openfire
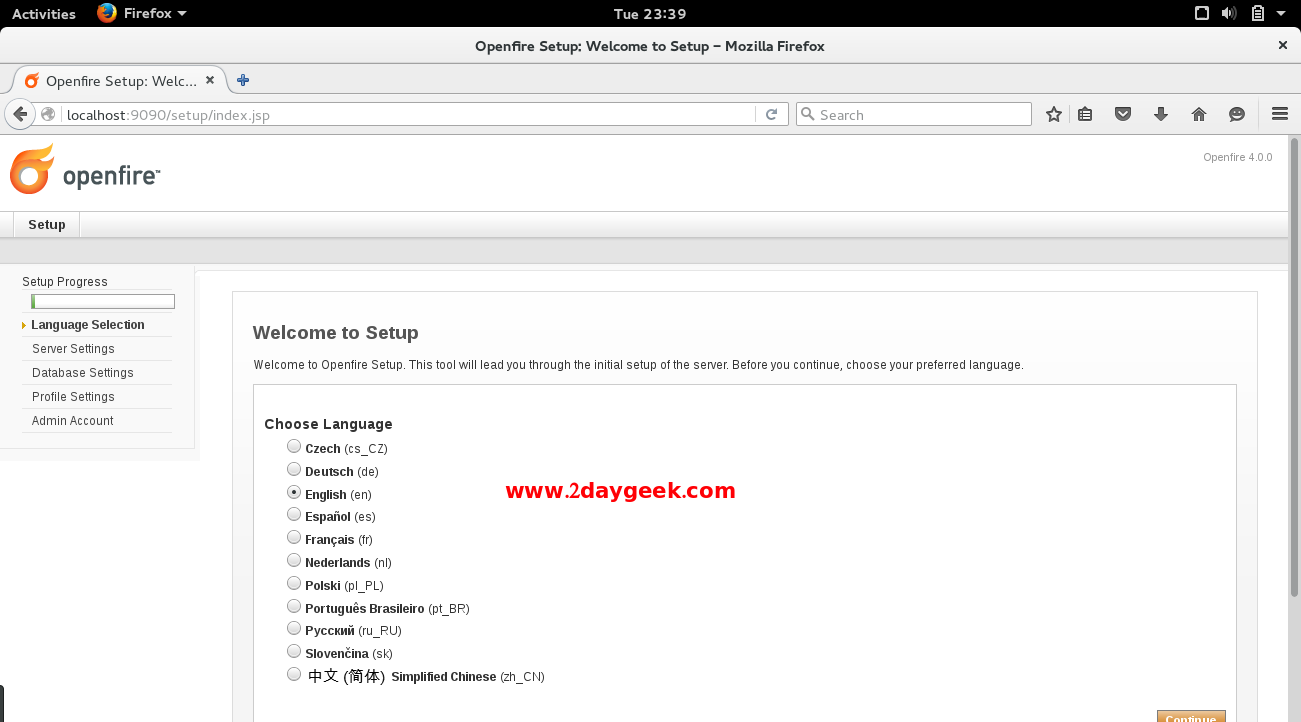
You have successfully installed Openfire Instant Messaging Server, it’s time to setup by navigating the web browser to to http://localhost:9090/ or http://your-server-ip-address:9090/ or http://127.0.0.1:9090/ and choose your preferred language.
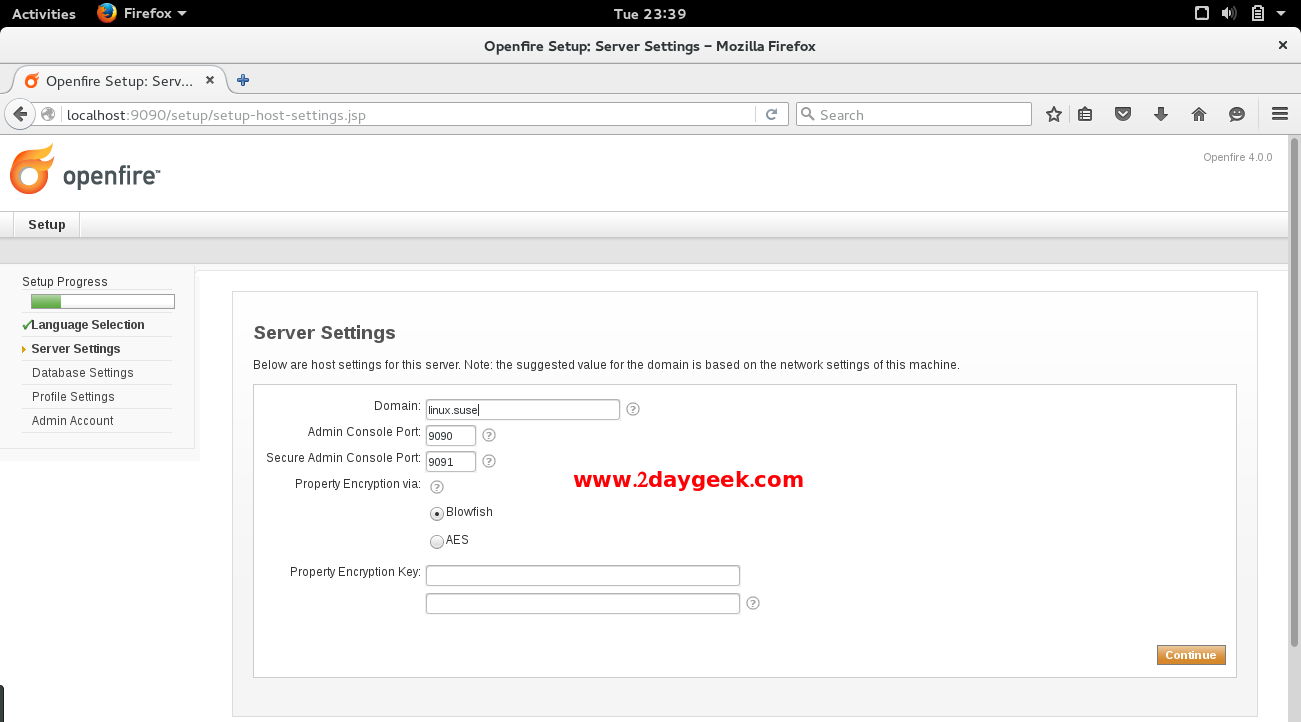
4) Validate the Server Settings
Check the server hostname whether its correct or not and hit Continue.
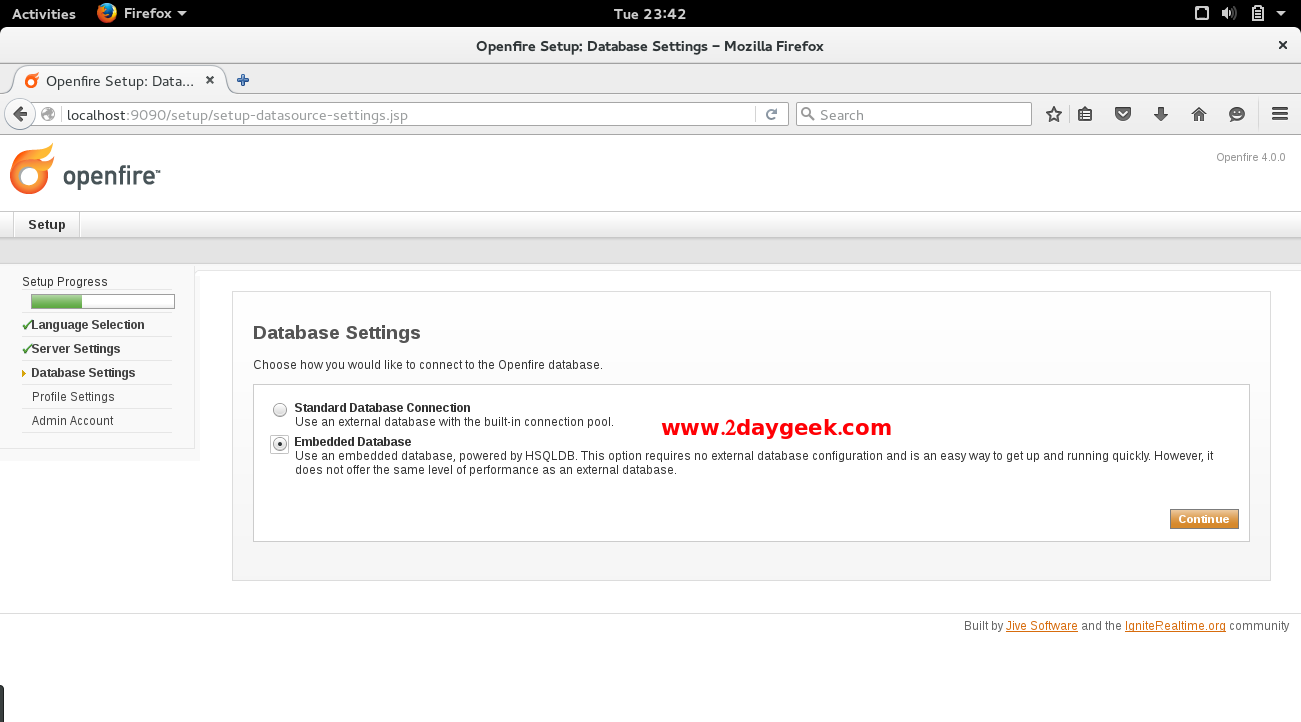
5) Chose the Database
You have a option to choose the database which you want, i’m going to use Embedded Database and hit Continue.
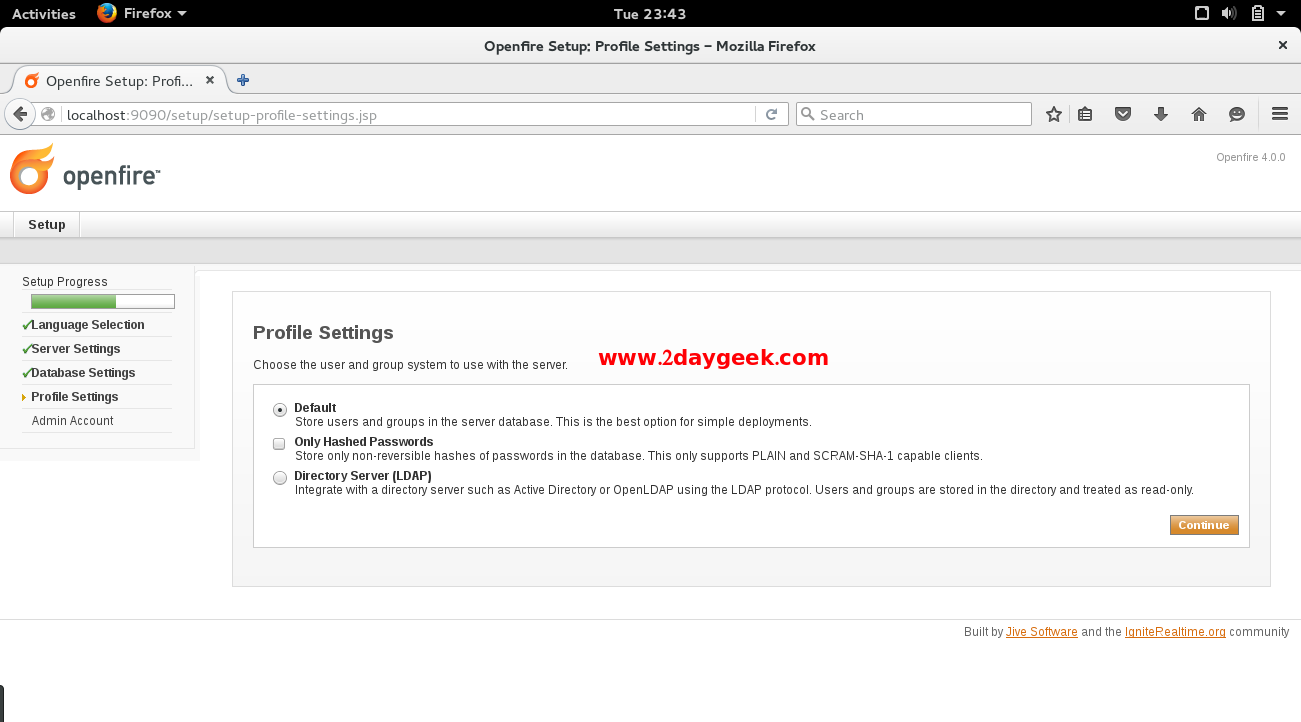
6) Chose the Profile Settings
You have a option to choose the Profile which you want, i’m going to use Default and hit Continue.
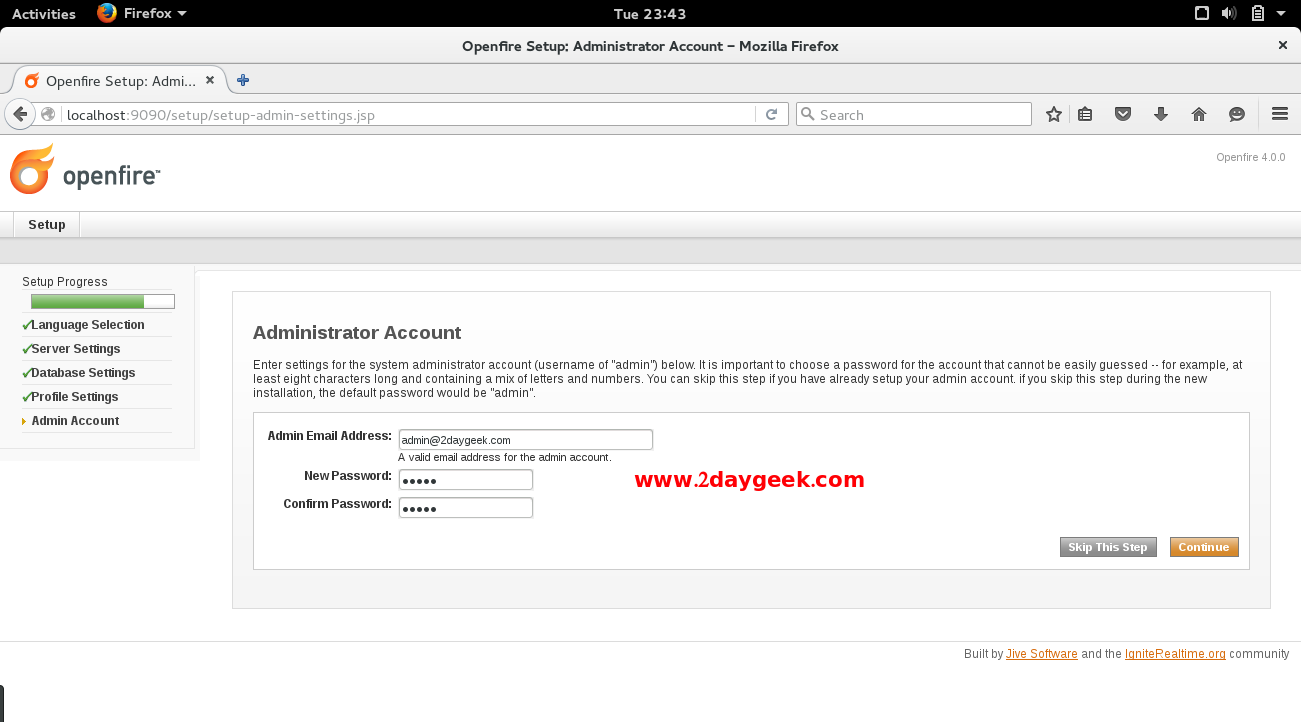
7) Set the admin password
Set the admin password & email id which you want and hit Continue. Note, user name is admin and not the email id which you are giving here.
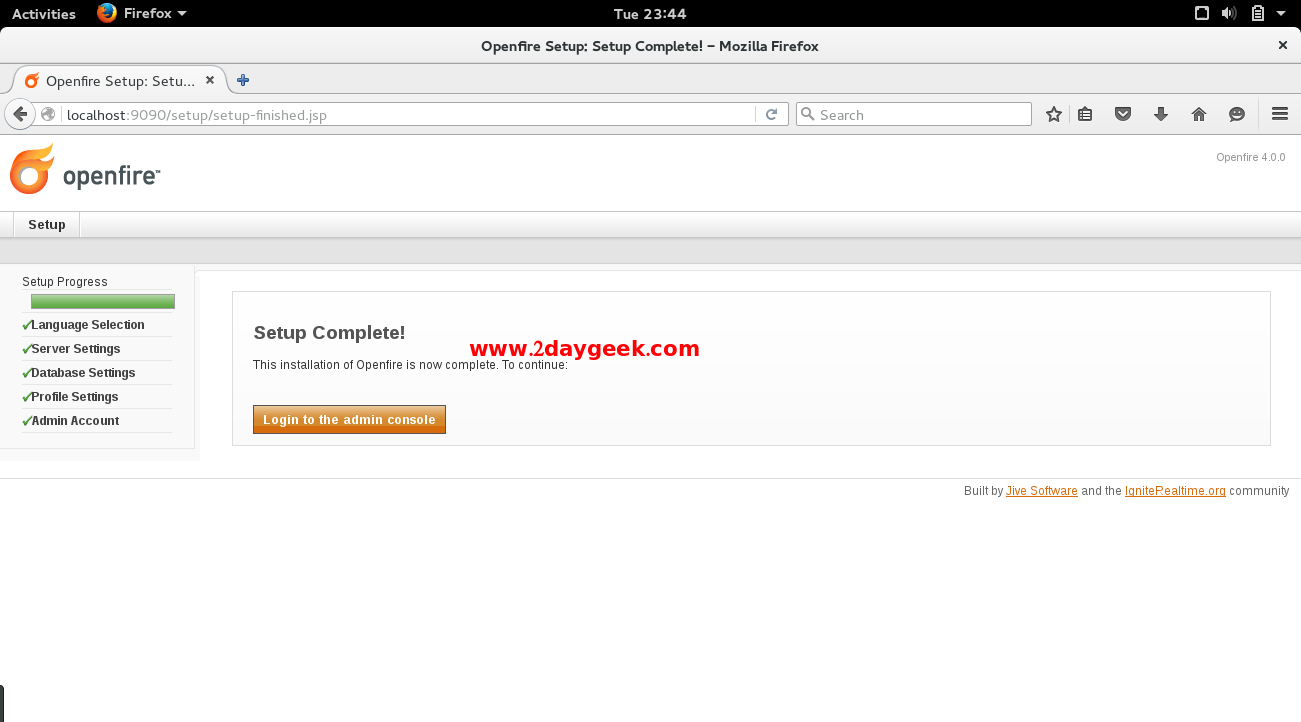
8) Configuration Completed
Now, You have successfully configured your Openfire Server and hit Login to the admin console button to launch the login url.
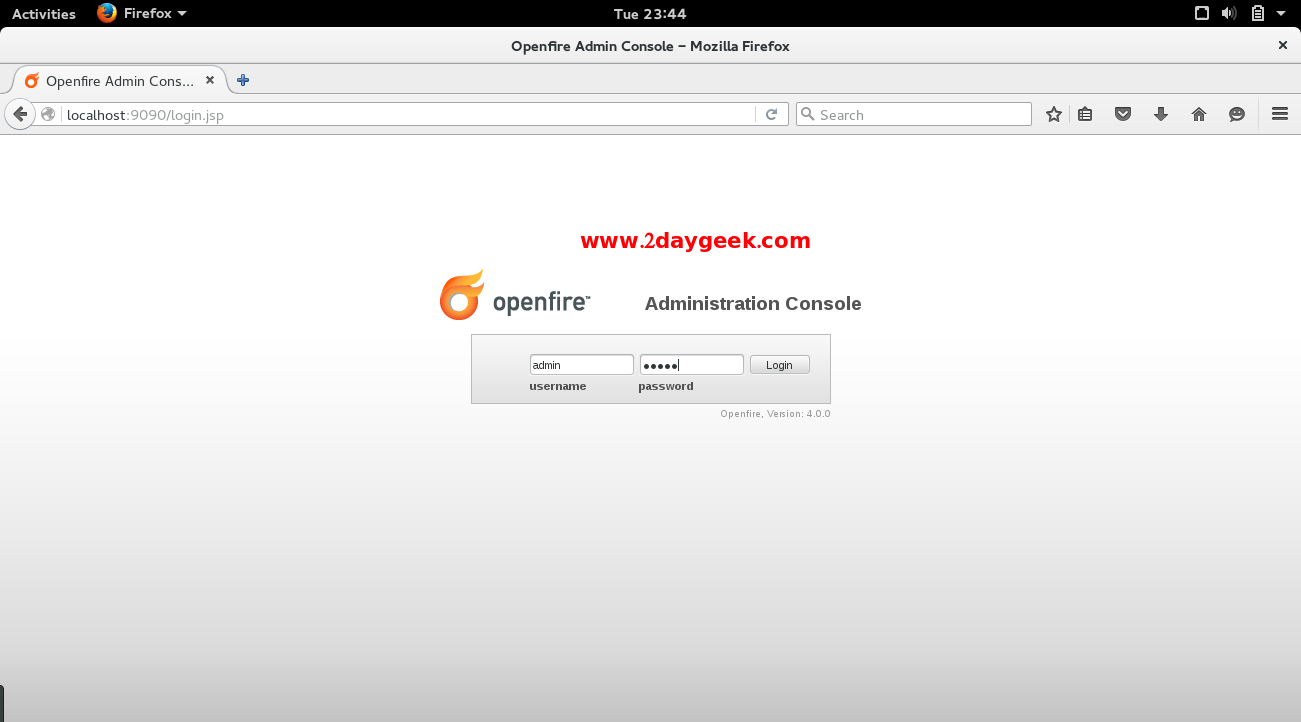
9) Login to the Openfire Server
Enter your admin password and hit login.
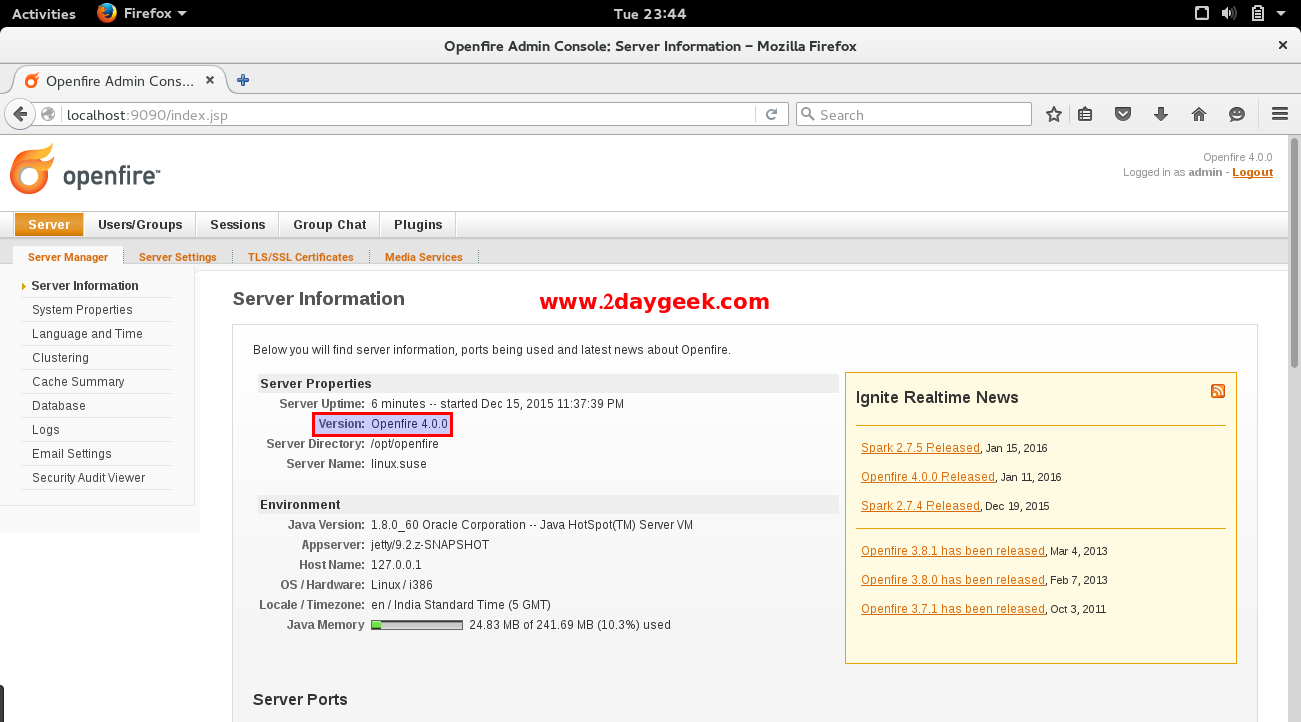
10) Check the Server Information
See the below screen shot for server information.
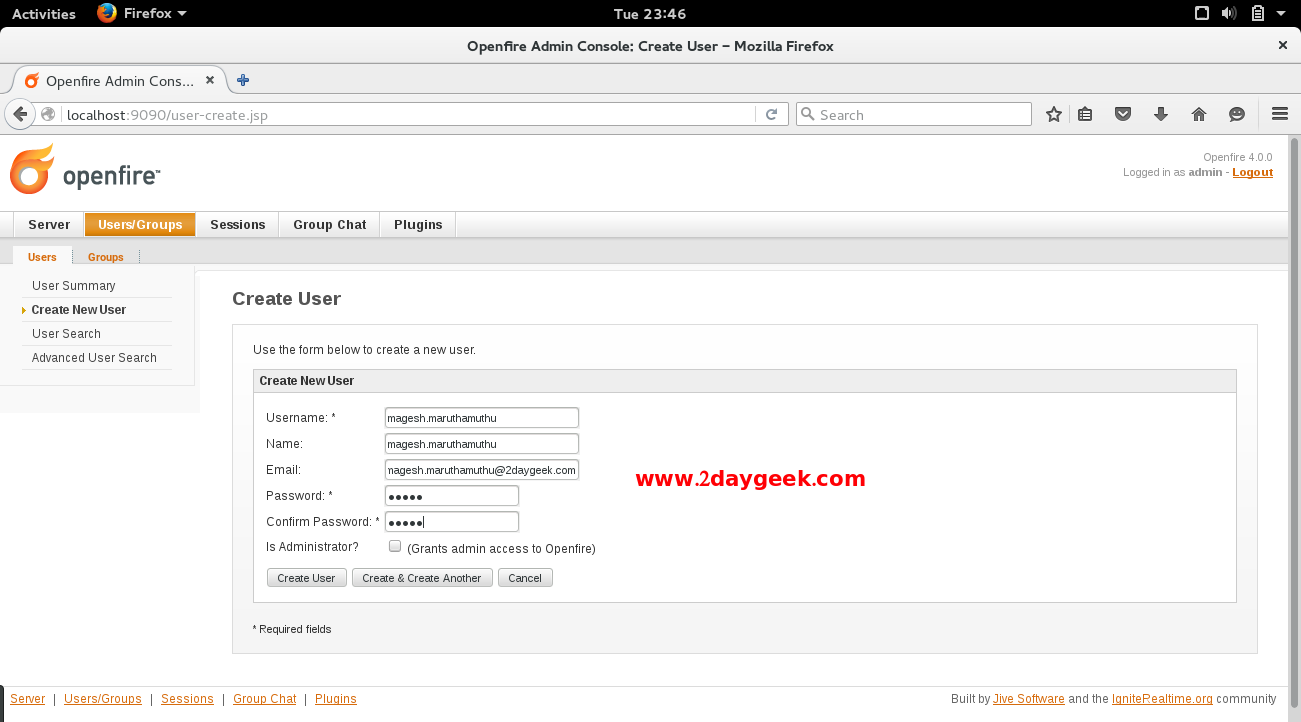
11) Creating new user
Go to, Users/Groups >> Create New User >> Enter the details which you want and hit Create User button. And Install Spark IM Client In Linux for openfire client.
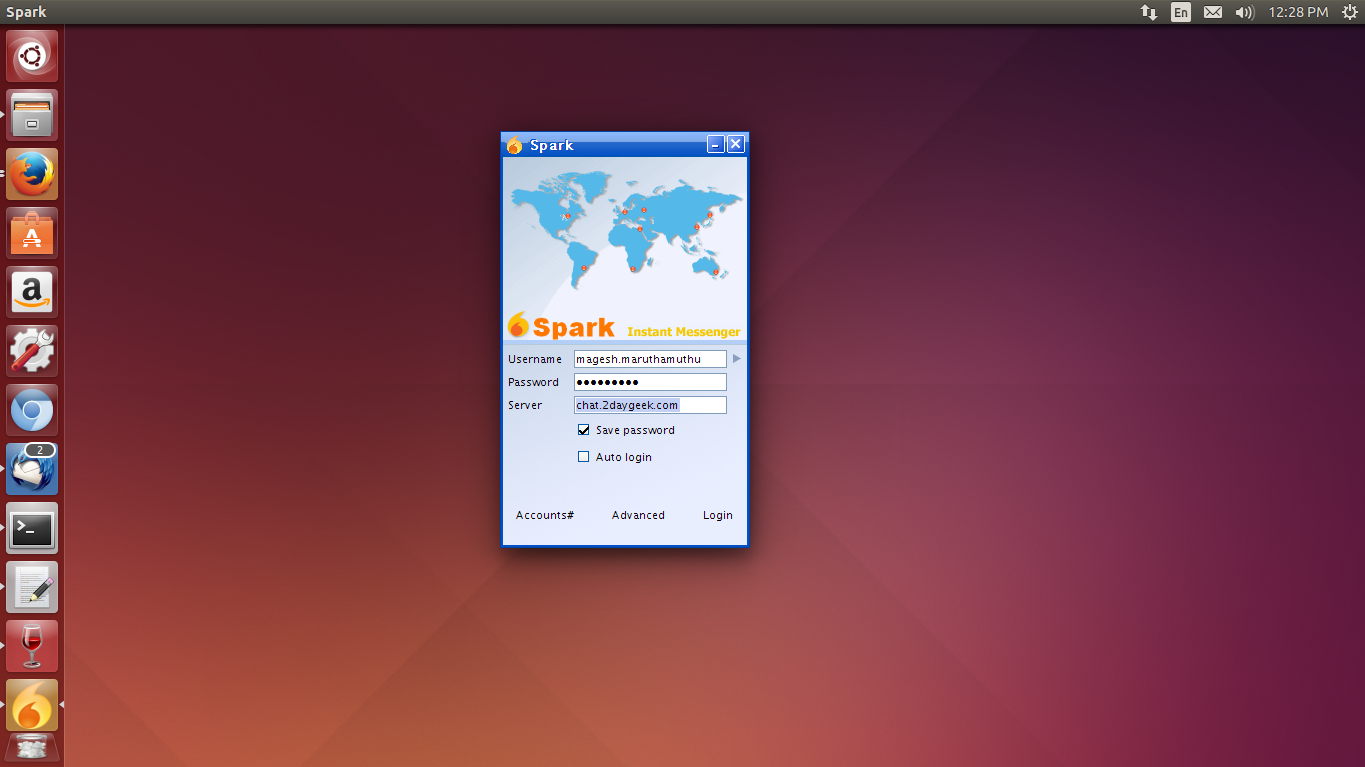
12) launch the Spark IM Client
Launch the Spark IM client to check the connection, After SPARK IM Client launched, Enter the Username, password which you created and server url and hit Login button.
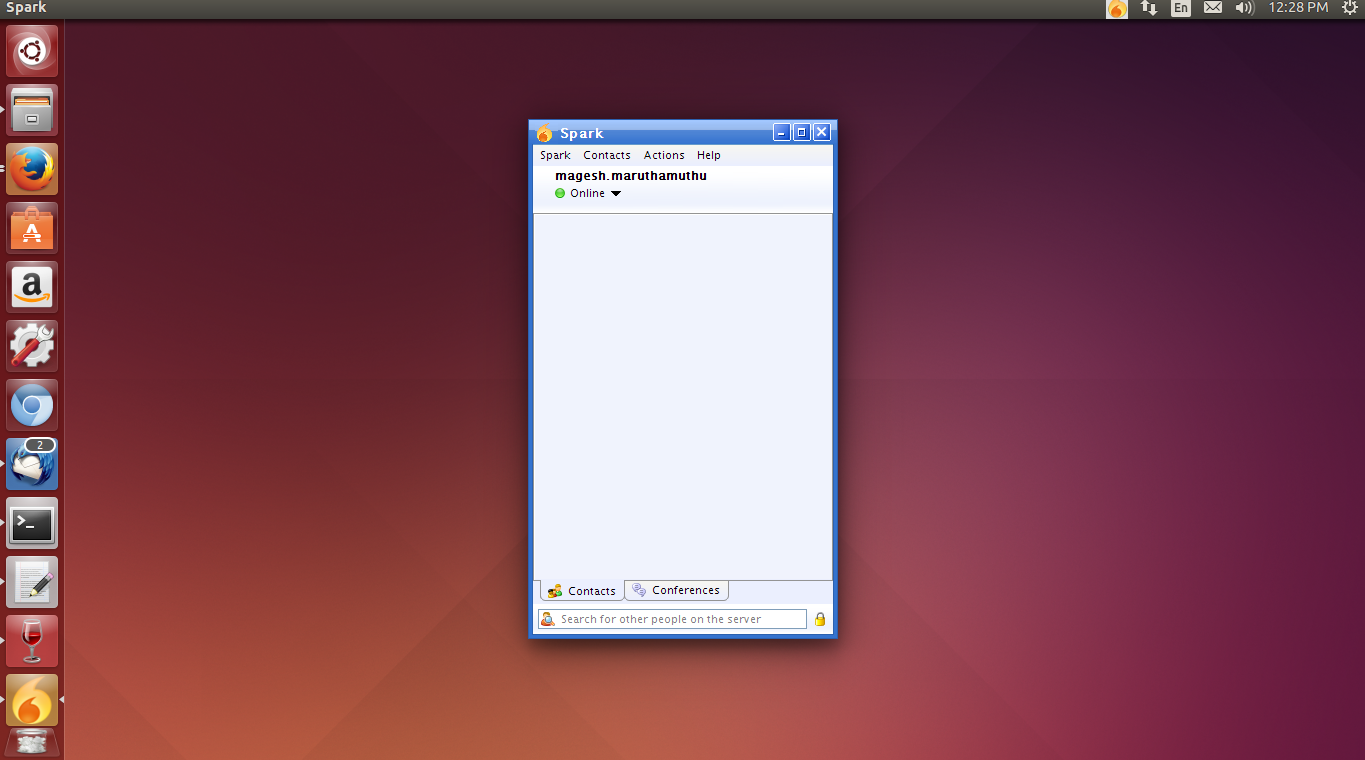
13) Successfully logged into Spark IM Client
Now, you have successfully logged into Spark IM Client and you can chat with your colleagues who are in online.
We are preparing all articles in-depth to understand by all level/stage Linux administrators. If the article is useful for you, then please spend less than a minute to share your valuable comments in our commenting section.
Please stay tune with us…Good Luck.