Nagios is one of the most popular Open-source Computer System Monitoring, Network Monitoring and IT Infrastructure Monitoring Software which prevents the critical issues in IT Infrastructure and run it smoothly without any trouble. It monitors entire IT infrastructure such as servers, switches, applications, network and services which alerts when there is any trouble and as well as the recovery alerts of the system. The latest version of Nagios core 4.1.1 released on Augest 19, 2015. Alternatively you can install other network monitoring tools such as Zabbix, Cacti, Monitorix, Munin & Icinga2.
Nagios Features
- Monitors the entire IT infrastructure
- Spot the problems before they occur
- Know immediately when problems arise
- Shares availability of data with stakeholders
- Detects security breaches
- Plan and budget for IT upgrades
- Reduces downtime and business losses
- Automatic fix of the problems when they are detected
What’s New in Nagios core 4.0.8
- JSON API output has been better aligned in a standard way, and the output size limits has been lifted
- Check Scheduling has been modified to prevent the bunching checks at the start of their time period
- Auto-rescheduling of checks has been re-implemented. This can be enabled from settings
- Nagios 4.0.8 Change log
- How it works
1) Prerequisites for Nagios
LAMP and below packages should be installed in your system to install Nagios.
$ sudo apt-get install build-essential php5-gd libgd2-xpm libgd2-xpm-dev libapache2-mod-php5 libperl-dev libssl-dev apache2-utils
2) Create User & Group Account for Nagios
Create new user account & group for nagios and assign the user to nagios group and also assign the apache user to nagios group.
# Create new user for nagios #
$ sudo useradd nagios

# Set password for nagios #
$ sudo passwd nagios

# Create new group for nagios #
$ sudo groupadd nagcmd

# Assign nagios user to nagios group #
$ sudo usermod -a -G nagcmd nagios

# Assign apache user to nagios group #
$ sudo usermod -a -G nagcmd www-data
3) Download Nagios and the Plugins
Navigate to /opt directory and download the latest version of nagios and nagios plugin.
$ wget http://sourceforge.net/projects/nagios/files/nagios-4.x/nagios-4.0.8/nagios-4.0.8.tar.gz
$ wget http://nagios-plugins.org/download/nagios-plugins-2.0.3.tar.gz
4) Compile and Install Nagios
Use the below commands to compile and install Nagios in your system.
$ tar -xzvf nagios-4.0.8.tar.gz
$ cd nagios-4.0.8
$ sudo ./configure --with-command-group=nagcmd
$ sudo make all
$ sudo make install

# Install init script for Nagios #
$ sudo make install-init

# Install sample config file for Nagios #
$ sudo make install-config

# set permissions on the external command directory #
$ sudo make install-commandmode
Note: Don’t start Nagios now – there are still more to be done.
5) Customize Configuration
The sample configuration file is installed at /usr/local/nagios/etc and it works fine, but we need to add our email id for Alerts. For that you need to modify the below file /usr/local/nagios/etc/objects/contacts.cfg.
$ nano /usr/local/nagios/etc/objects/contacts.cfg
email  [email protected]
6) Configure the Web Interface
Use the below commands to install Nagios web interface and it will drop the config file to Apache conf.d directory, while installation nagios web interface creates nagios web user called nagiosadmin and you need to set the password to access the interface.
# Install web interface #
$ sudo make install-webconf
/usr/bin/install -c -m 644 sample-config/httpd.conf /etc/httpd/conf.d/nagios.conf
/usr/bin/install: cannot create regular file ‘/etc/httpd/conf.d/nagios.conf’: No such file or directory
make: *** [install-webconf] Error 1
Why do we get an error message ? any guess? Yes, everybody knows Ubuntu based distribution uses apache2 directory instead of httpd that’s why we’re getting that error message. So what to do now ? instead of httpd location we need to drop the nagios.conf file to /etc/apache2/sites-enabled/ directory. Use the below steps.
# Install web interface #
$ sudo /usr/bin/install -c -m 644 sample-config/httpd.conf /etc/apache2/sites-enabled/nagios.conf

# Copy eventhandlers directory #
$ sudo cp -R contrib/eventhandlers/ /usr/local/nagios/libexec/

# Assign Permission #
$ sudo chown -R nagios:nagios /usr/local/nagios/libexec/eventhandlers

# Set password for nagiosadmin user #
$ sudo htpasswd -c /usr/local/nagios/etc/htpasswd.users nagiosadmin

# Restart Apache to make the new settings take effect #
root@2daygeek [~]# service apache2 restart
7) Compile and Install the Nagios Plugins
After Nagios core installation, you need to install the latest nagios plugin in your system.
# Extract nagios plugin tar archive file #
root@2daygeek [~]# tar -xzvf nagios-plugins-2.0.3.tar.gz

# Navigate to extracted directory #
root@2daygeek [~]# cd nagios-plugins-2.0.3

# Run the Nagios plugin configure script, passing the name of the user you created earlier like so #
root@2daygeek [~]# ./configure --with-nagios-user=nagios --with-nagios-group=nagios

# Compile the Nagios plugin source code #
root@2daygeek [~]# make

# Install Nagios plugin binaries #
root@2daygeek [~]# make install
8) Enable the rewrite apache module
Enable the rewrite apache module to access nagios without any issue.
root@2daygeek [~]# a2enmod rewrite

root@2daygeek [~]# a2enmod cgi
9) Start Nagios
Before staring nagios, check nagios configuration file whether there is any error occurred and also add the service to system startup.
# Adding nagios to system boot #
root@2daygeek [~]# ln -s /etc/init.d/nagios /etc/rcS.d/S99nagios

# Checking Nagios Configuration File #
root@2daygeek [~]# /usr/local/nagios/bin/nagios -v /usr/local/nagios/etc/nagios.cfg

# Start Nagios service #
root@2daygeek [~]# service nagios start
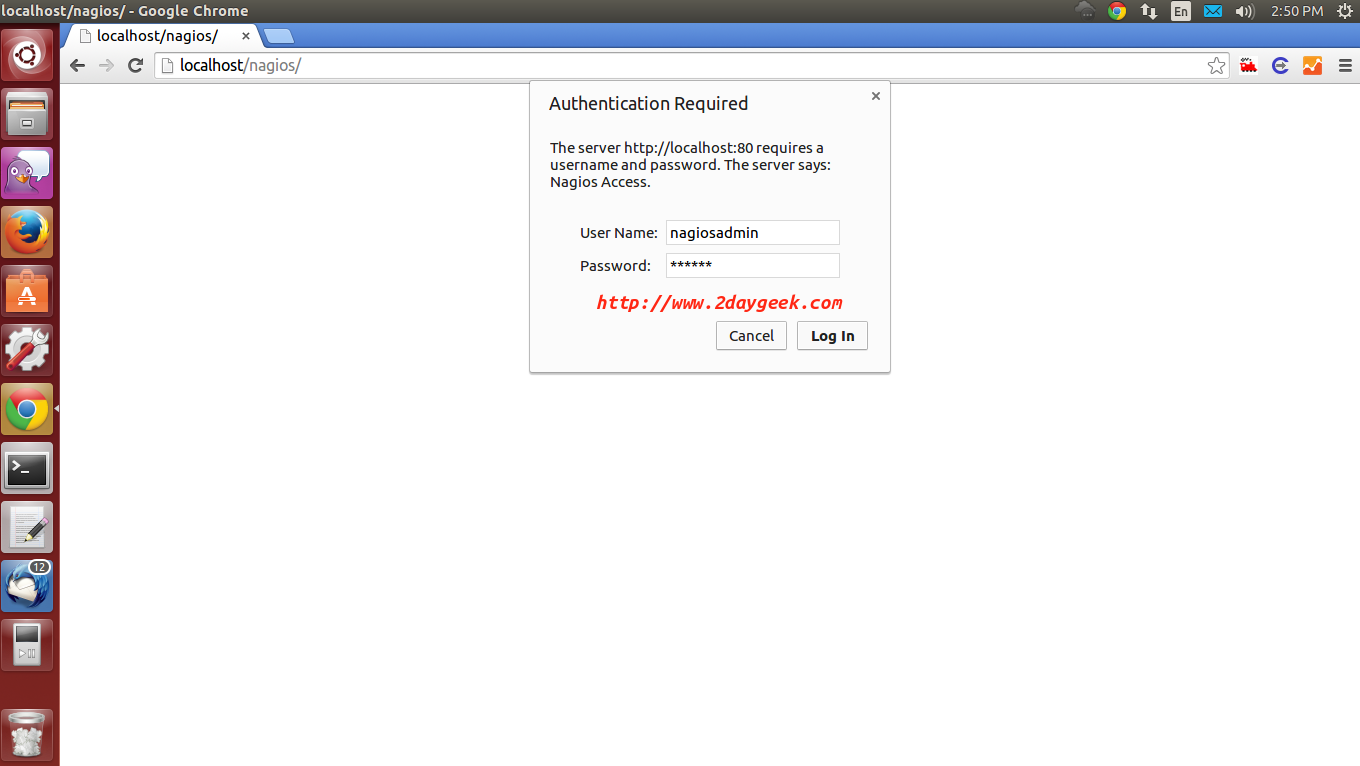
10) Access Nagios Web Interface
Navigate your browser to http://localhost/nagios or http://IP-Address/nagios or http://Domain-Name/nagios and enter the Username and Password which you created.
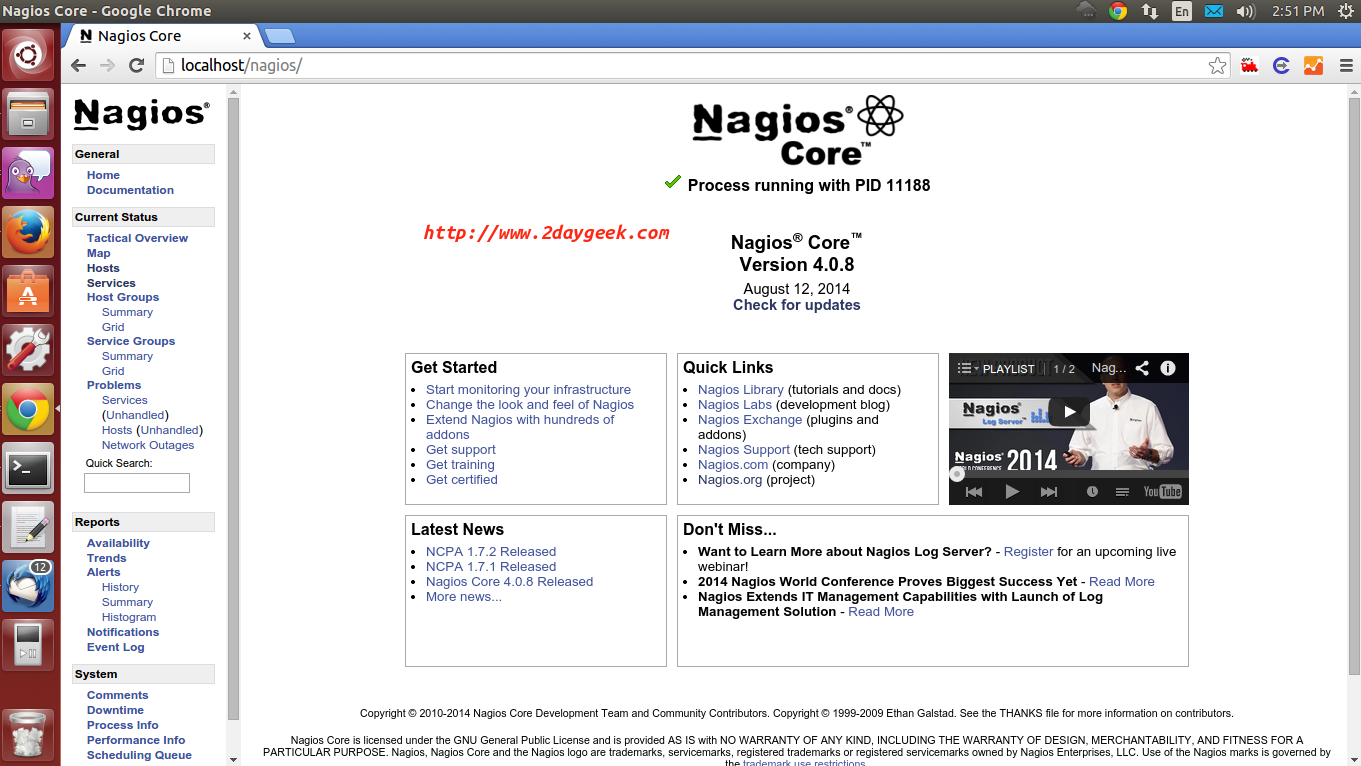
Nagios Home Page
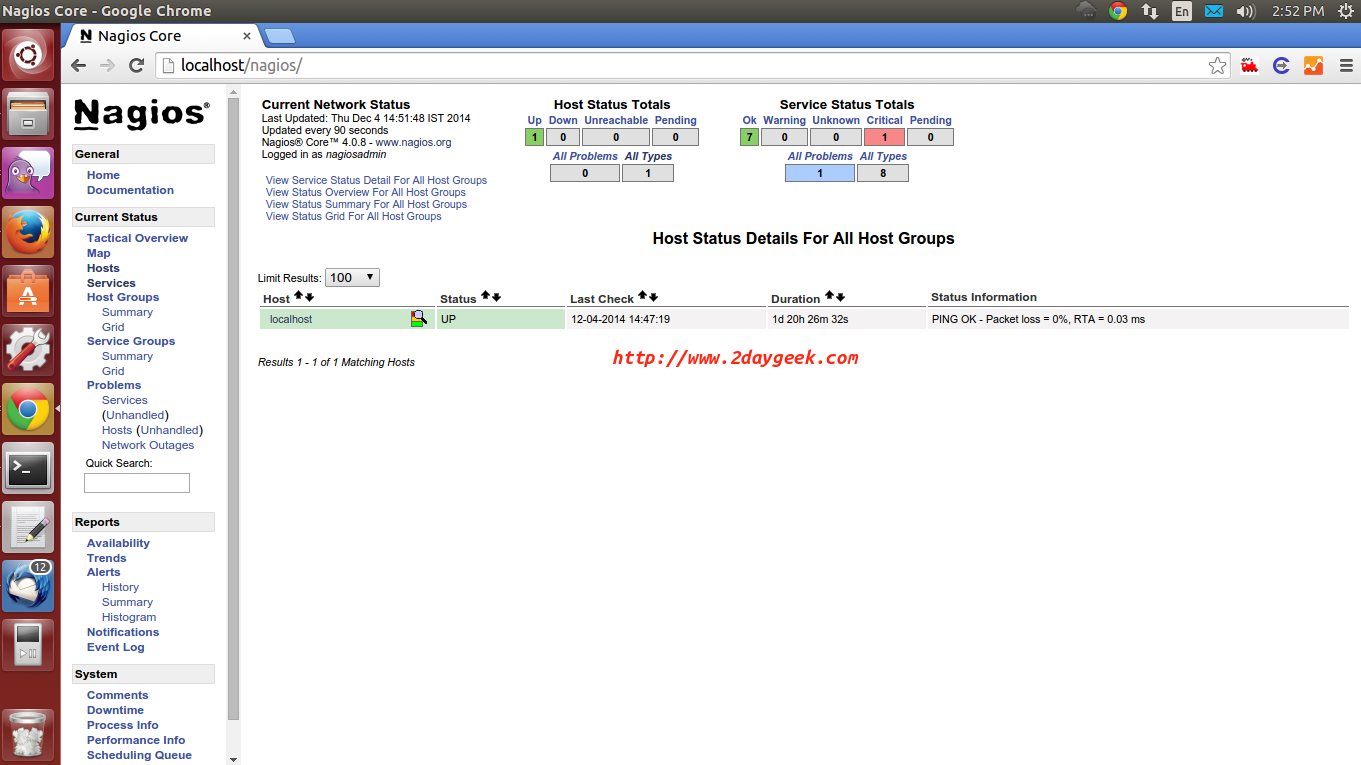
Host list By default nagios monitor itself and we can add N number of hosts.
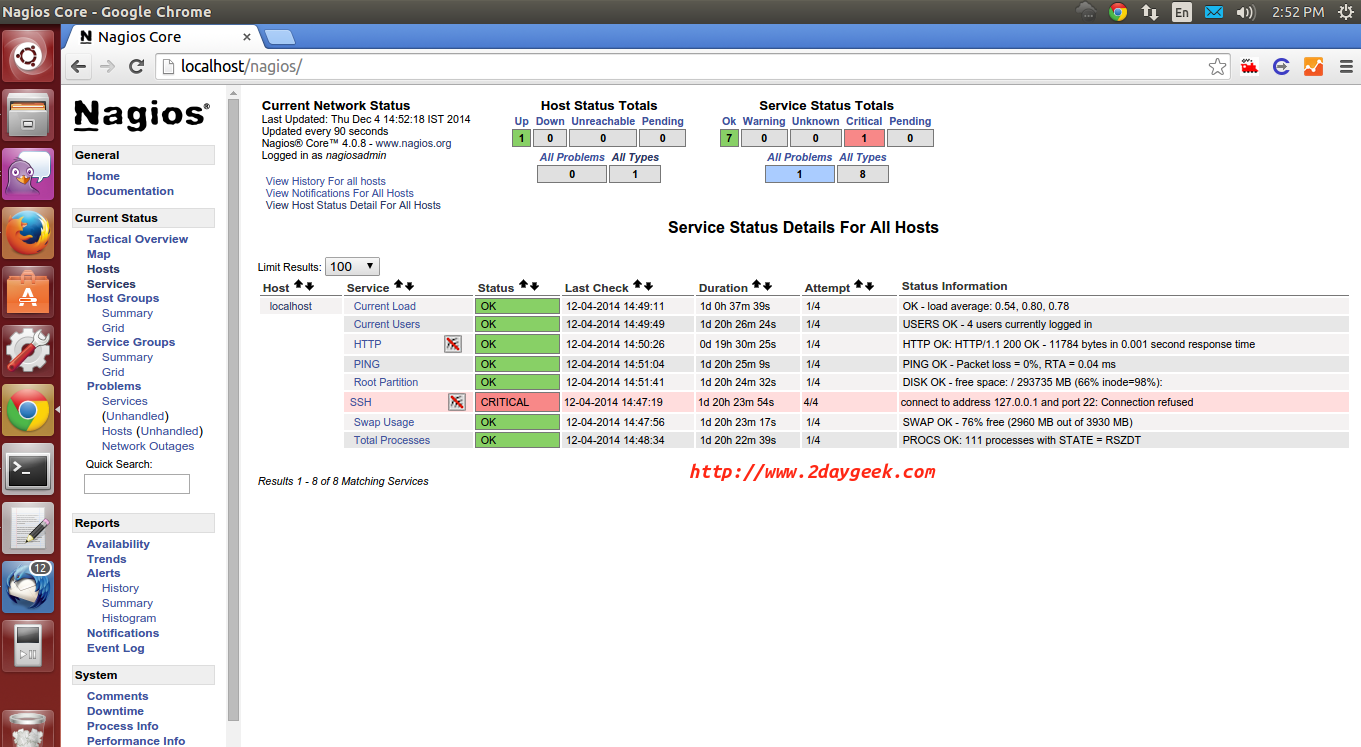
Service status checking
- Nagios Installation & Configuration Official Reference link
Manage your IT infrastructure with Nagios and minimize the downtime.
Hope this article was useful for you !!
Kindly spare few mins. and post your valuable feedback !! Thank you !!

Fantastic walkthrough. Many thanks Magesh!
@jim,
Thank you so much for your appreciation.
I was able to run ./configure as:
root@faystatus01:~/nagios-4.0.8# ./configure –with-command-group=nagcmd –with-httpd-conf=/etc/apache2/sites-enabled/
The result was the conf being built with the appropriate Apache2 directory for Debian 8.1 (x86_64). If you VIM or NANO the configure file, you can actually see all of the options that you can specify, such as a different username, usergroup, etc.
🙂
Thank you so much for your kind help. Very straightforward article. I was able to find out what was missing on my side.
I did a clean install of Debian 8.1 an it worked without problem. The only issue I had was the libgd2-xpm, which is not available.
@Sirius,
Welcome.
This one of easy and working tutorial for debian 7 working perfect thanks.
@ Brooqs,
Welcome.
when i restart nagios, i get this “Failed to restart nagios.service: Unit nagios.service failed to load: No such file or directory.”
i’ve do your tutrial carefully, whats wrong? and what i must do now
Thanks before
Solution to nagios init script
Copy /etc/init.d/skeleton to /etc/init.d/nagios using the following command
cp /etc/init.d/skeleton /etc/init.d/nagios
Now edit the nagios file
vi nagios
add the following lines
DESC=”Nagios”
NAME=nagios
DAEMON=/usr/local/nagios/bin/$NAME
DAEMON_ARGS=”-d /usr/local/nagios/etc/nagios.cfg”
PIDFILE=/usr/local/nagios/var/$NAME.lock
Save and exit the file
Finally you need to change the permissions of the file
chmod +x /etc/init.d/nagios
You can start the nagios using the following command
/etc/init.d/nagios start
After editing the script still having problems,
the error is
/etc/init.d/nagios: 29: /etc/init.d/nagios: /usr/local/nagios/etc/nagios.cfg”: not found
any suggestions?
@Nico,
Are you referring step-9 ? This will work without any modification.
It works perfectly, best guide I’ve found after many searches, thanks a lot !
@Aymeric,
Welcome.
Definitely the best guide out there for installing Nagios on Ubuntu. It works perfectly.
Thanks a million.
@Mitchell,
Nice to hear.
HI, thank you for this simple nagios installation post. I am planning to install Nagios core on Ubuntu. Which Ubuntu version is good for Nagios 4.0.8?
Hi,
The article which we made NAGIOS core installation, you can install any linux OS. Can i have your exact requirement so that i can advise further.
Best guide on the net. Thanks a lot!
@Alessandro,
Nice to hear, thanks.
@mutungi joel,
Welcome.
Thanks a lot. It was extemely helpful after many trials with other sources.