The Solus Project rebranded and rereleased the Linux distribution as Solus Linux with power of Budgie desktop to impress the existing users and new users too. Initially SolusOS (codename “Eveline”) was released as version 1.0 on May 9, 2012 with GNOME 2 desktop. The project was abandoned in October 2013 due to not enough manpower. Later on stage development was resumed the name of “Evolve OS”, again name was changed to “Solus Linux” due to trademark issues. Now, its renamed just “Solus” and Solus 1.0 was released on December 27, 2015 & Solus 1.1 and code name is Shannon was released on March 02, 2016. Solus is a Linux-based operating system built from scratch for the modern desktop and targeting the x86_64 architecture.
What is new in Solus 1.1
- subtle refinements and improvements to Budgie Desktop
- Lot’s of improvements made on core and graphics stack
- Solus 1.1 builds upon the groundwork of 1.0
- Budgie is a flagship desktop environment, developed and designed especially for the desktop users. Solus 1.1 shipped with Budgie V10.2.4
- Network icon (sizing, colors) issue resolved
- resolved issues with the volume icon size
- System locking has been restored in Solus 1.1
- significant performance improvements on CPU by dropping GDM for LightDM
- Added preliminary OpenGL 4.1 support and Mesa, Xorg, Nouveau, Firefox, nautilus, thunderbird, vlc, GTK 3.18 has been updated to latest version
- printing support added
- improved mail support on Thunderbird and mime
- Linux kernel 4.4.3
- improved timezone configuration
- improved installer
- resolved issues with USB and UEFI booting
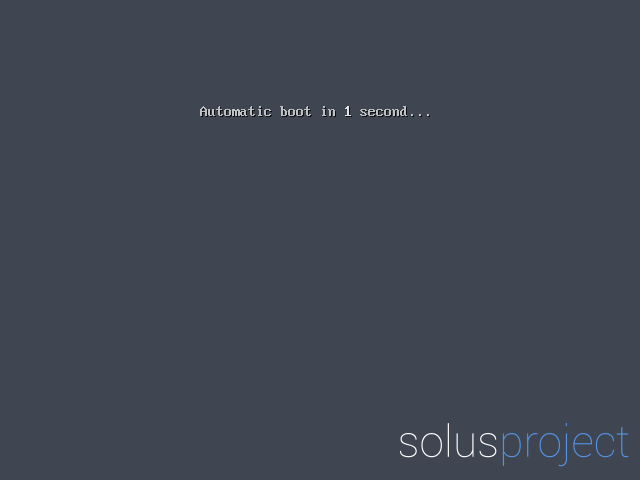
1) Booting Computer with Solus 1.1 installation media.
Boot your computer with Solus 1.1 installation media like (Burned CD/DVD or USB). After booting your installation media it will display the below screen.
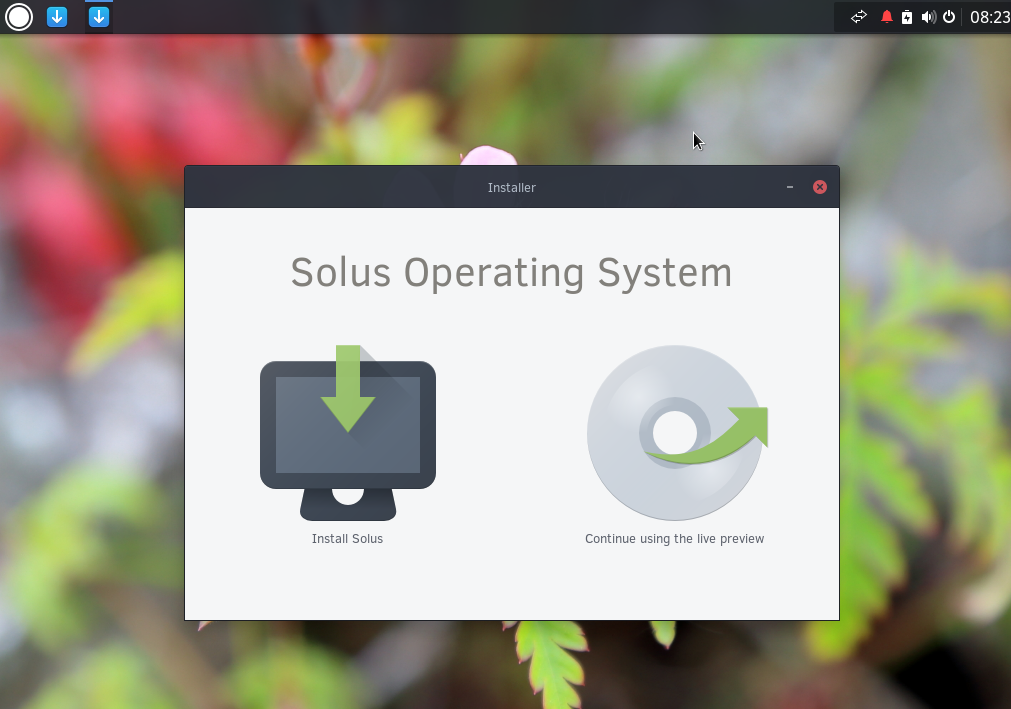
2) Launch Installer
After Solus boots into a live version of the distribution. you can see Blue Box Icon on top of left side with a white arrow in it. Just click that icon to bring up the installer. Then, Hit Install Solus Icon to move forward.
Click Find my location automatically button to detect our location.
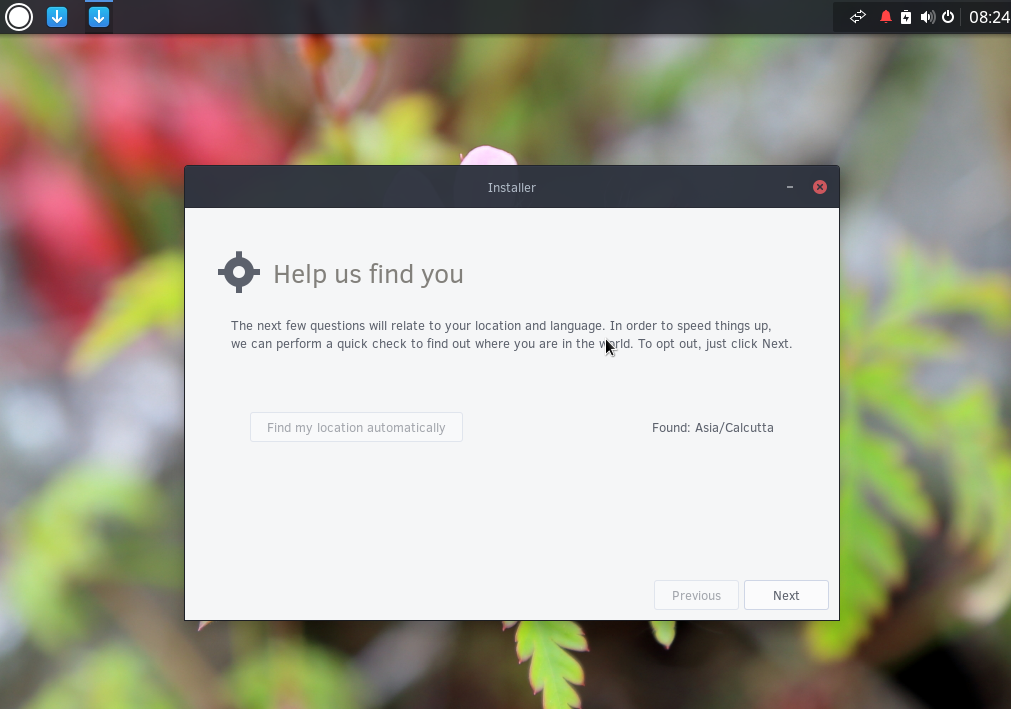
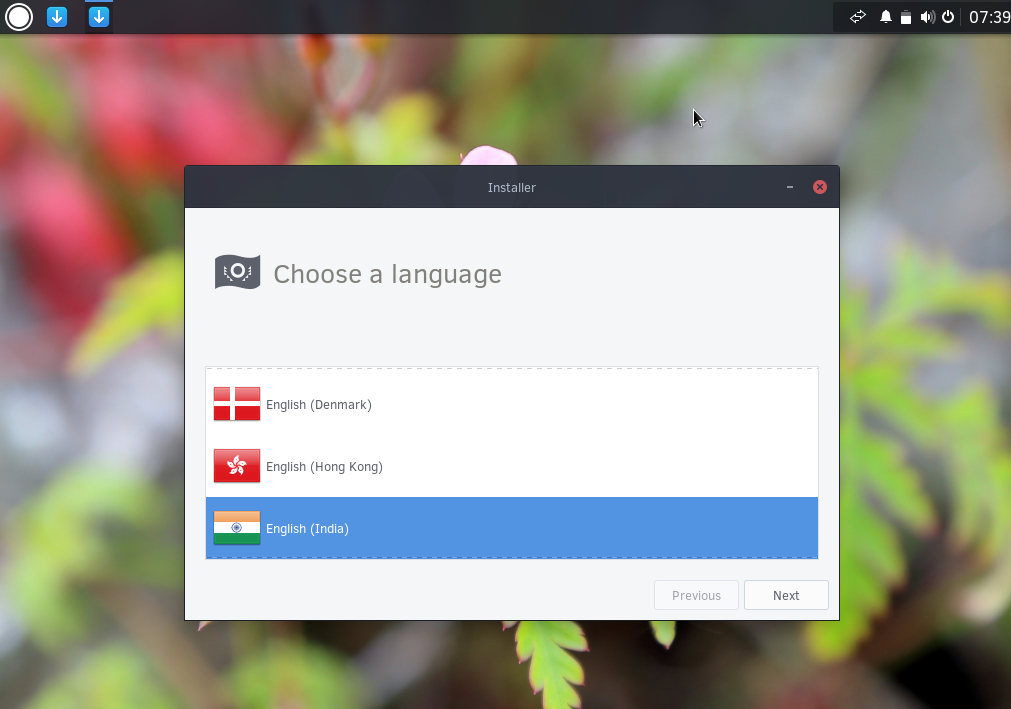
Choose a language.
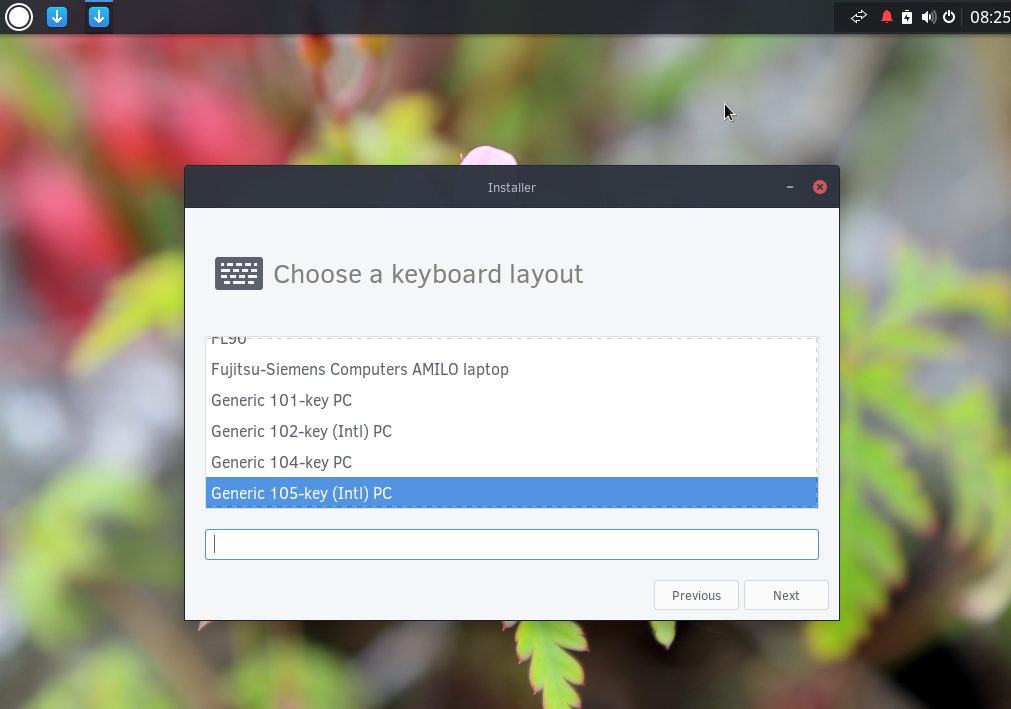
Choose a keyboard layout. It will detect your keyboard automatically. i’m using intel PC that’s why its detected, like below.
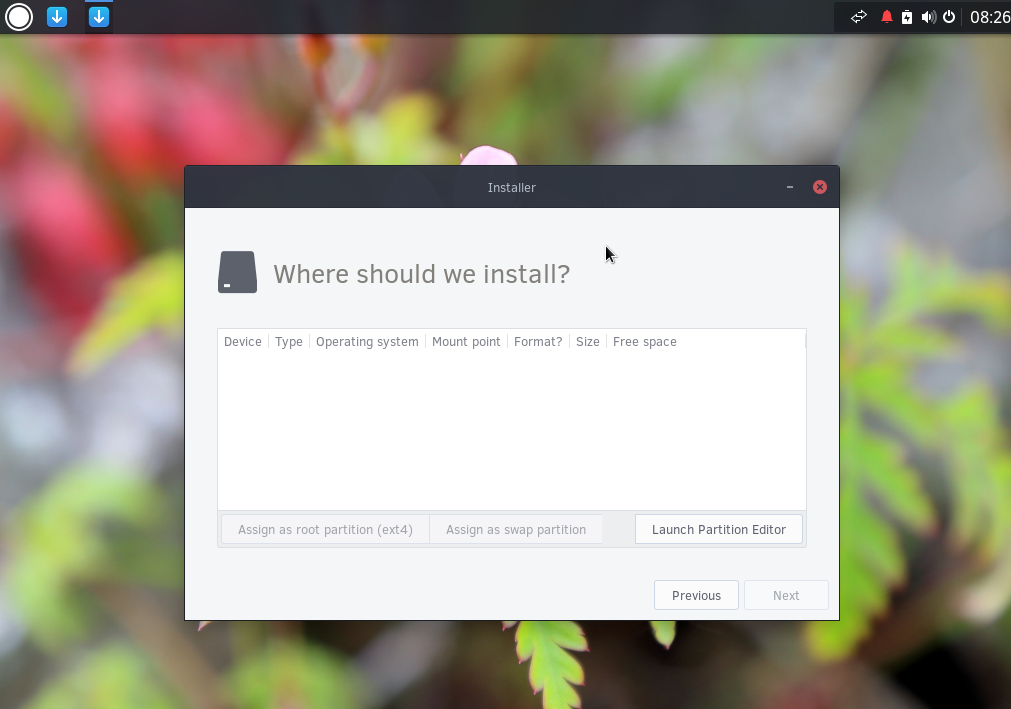
3) HDD Partition
Bit lengthy process but its quit easy to follow. Click on HDD.

Hit Launch Partition Editor button to move forward.
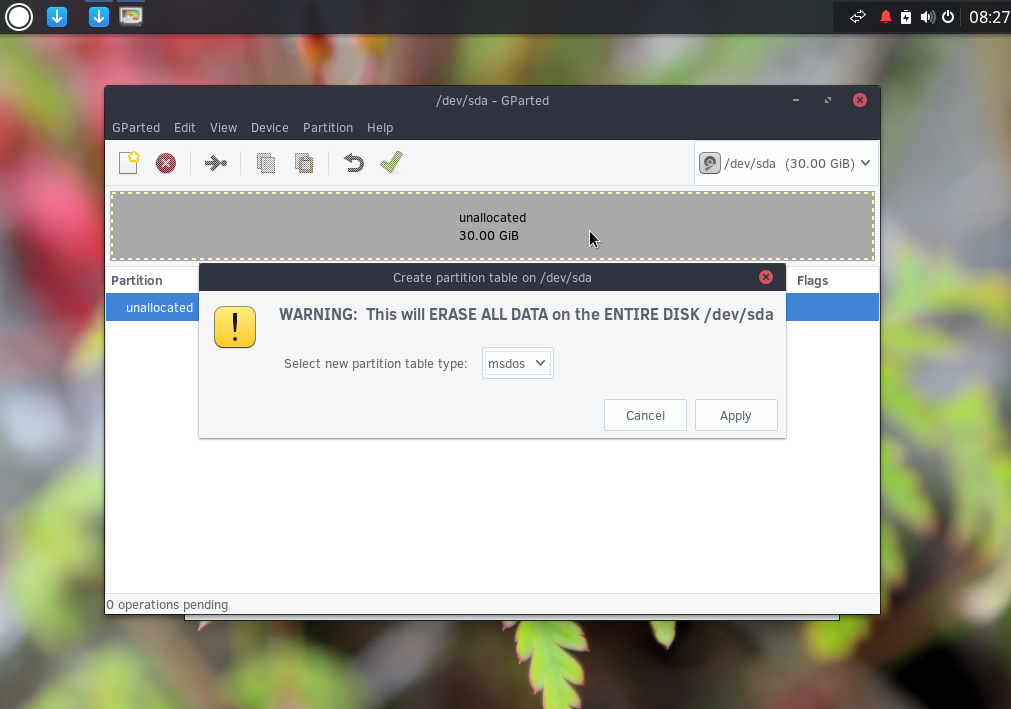
By default, it wont have partition table. So, first create partition table by Navigating Device >> create partition table >> then Apply.
Create new Partition by Navigating Partition >> new >> then add. Note : If you want to create separate partition for root, home, etc,. you can do by modifying the size of partition on second text box.

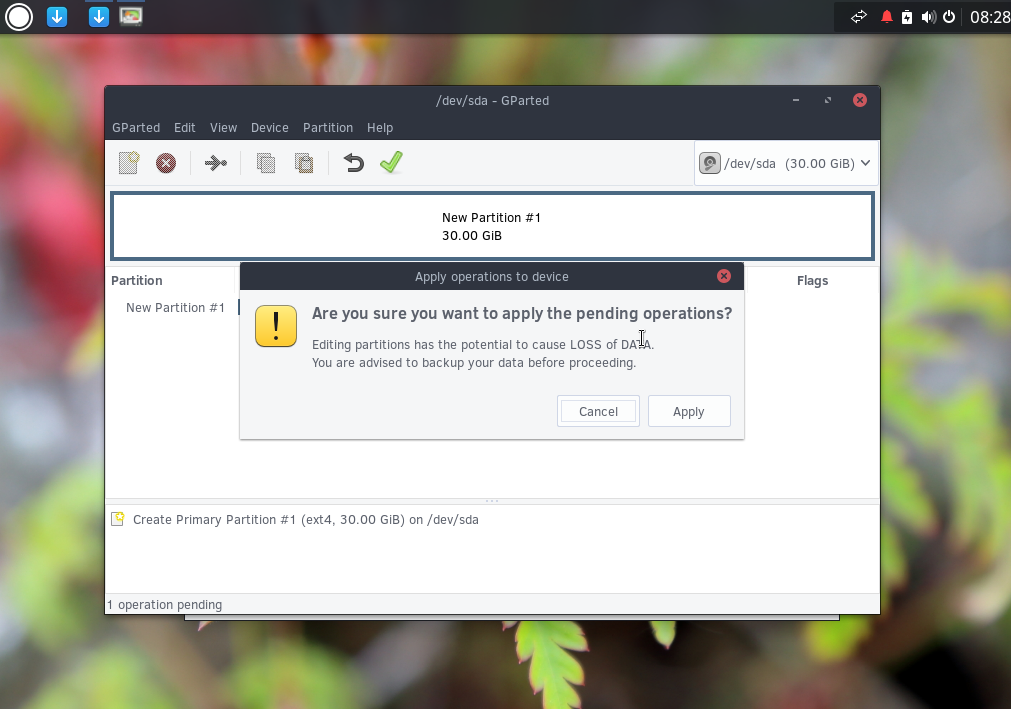
Click Green Color Tick to format, newly created partition by clicking Apply.
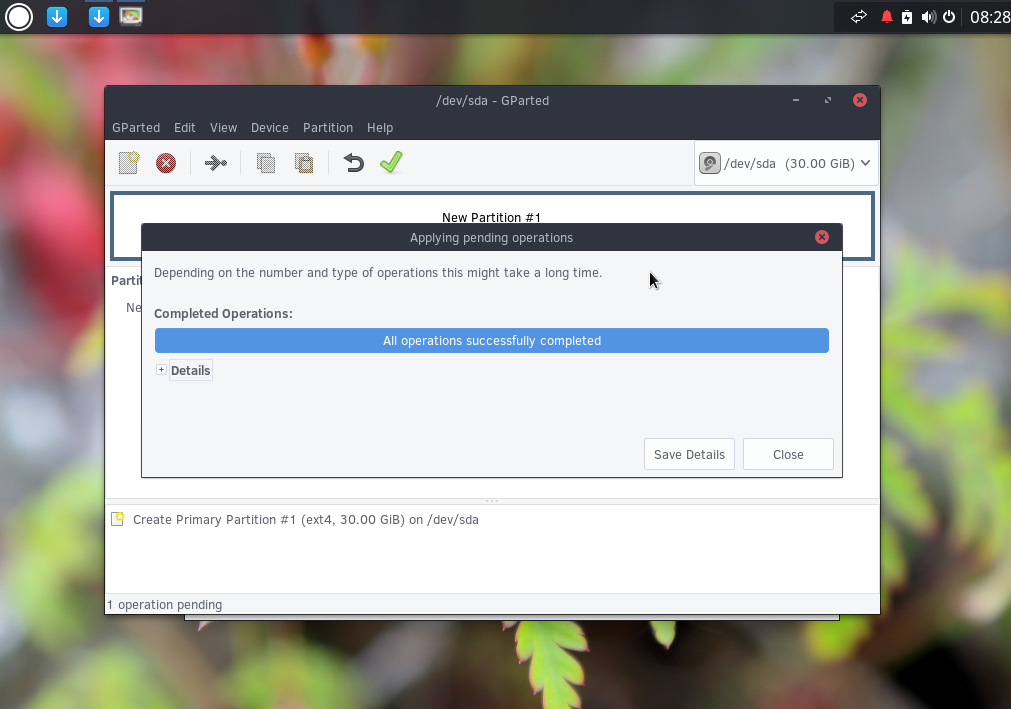
Successfully formatted, Close Completed operations pop-up box & Gparted too.
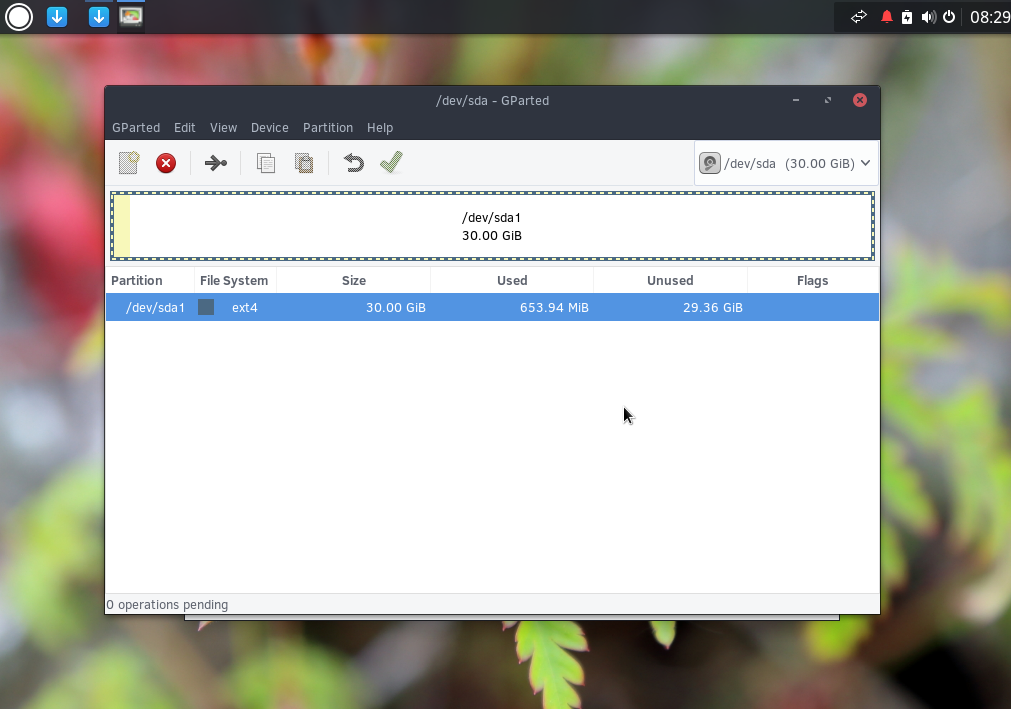
Close Gparted.
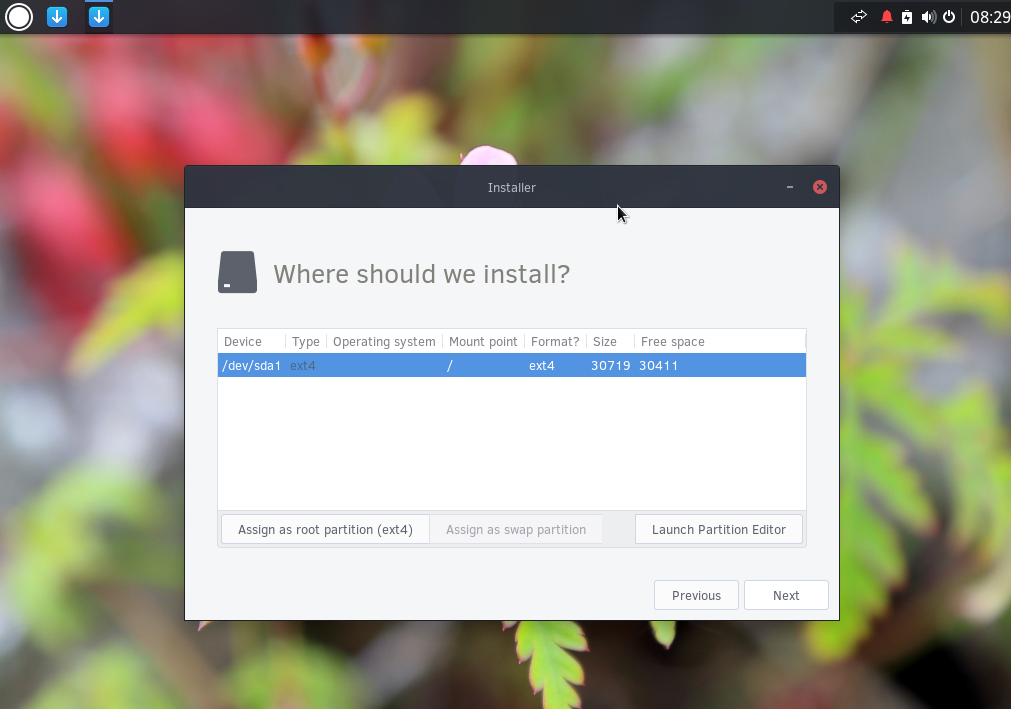
Assign the device as a root partition, then hit Next.
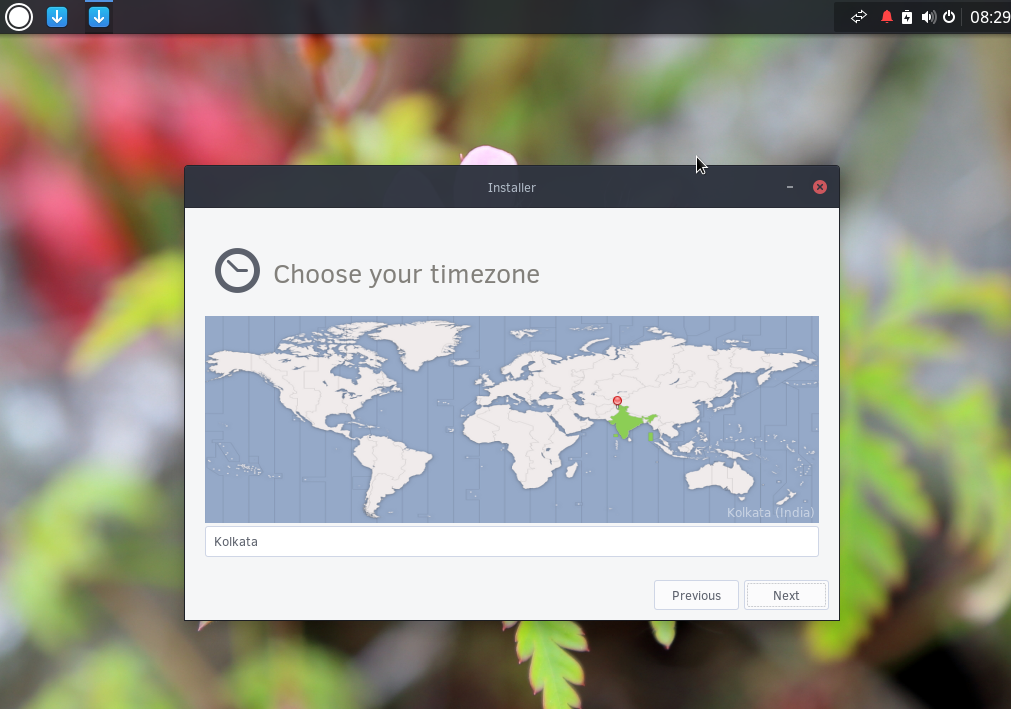
Choose your timezone.
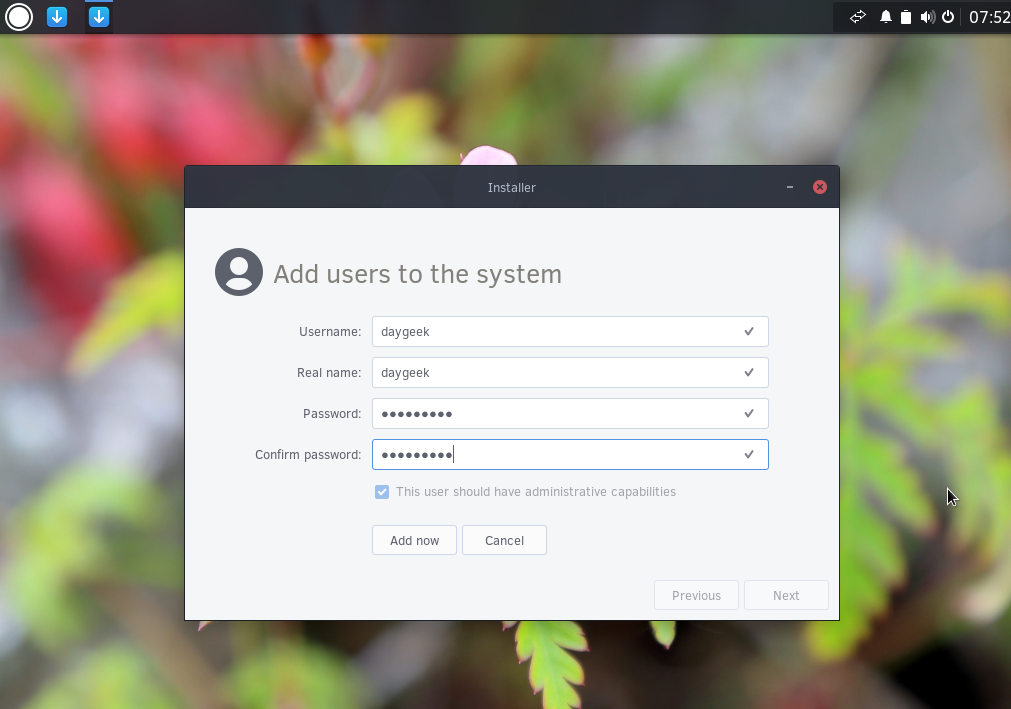
Add new user to the system with below details, then hit Add now button to add the new user to system.
- User Name
- Real Name
- Password
- Confirm Password
- Tick the check box for Super User privilege
Add hostname and Tick install boot loader check box.

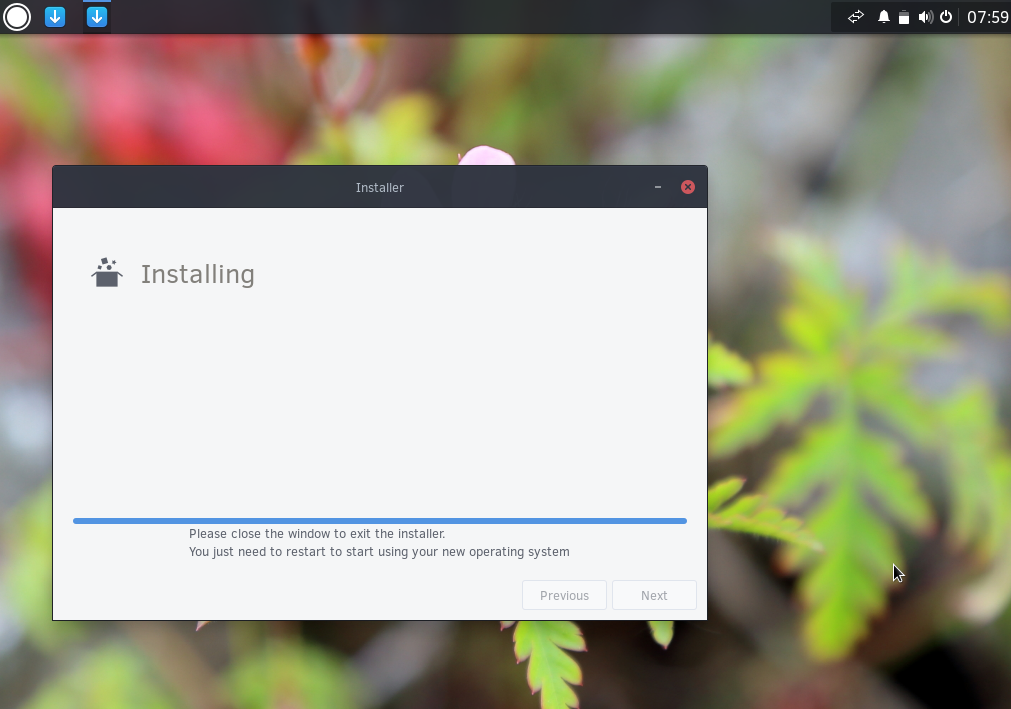
Installation Under process.

Installation got over. Just close the installer window and eject the installation media, then reboot the system.
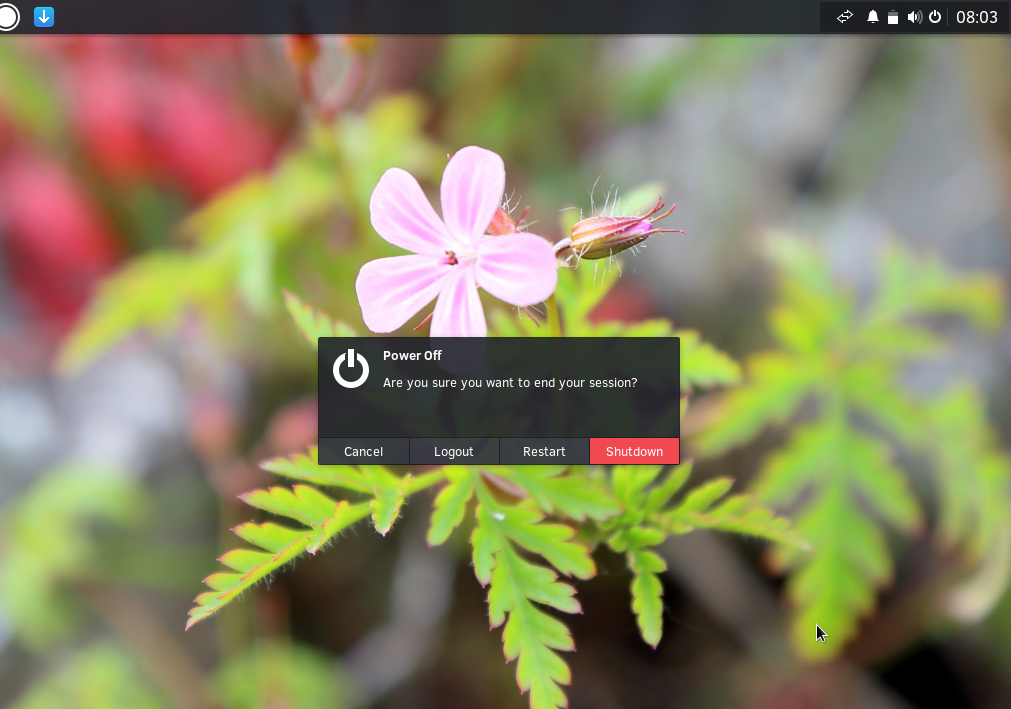
Reboot the system.
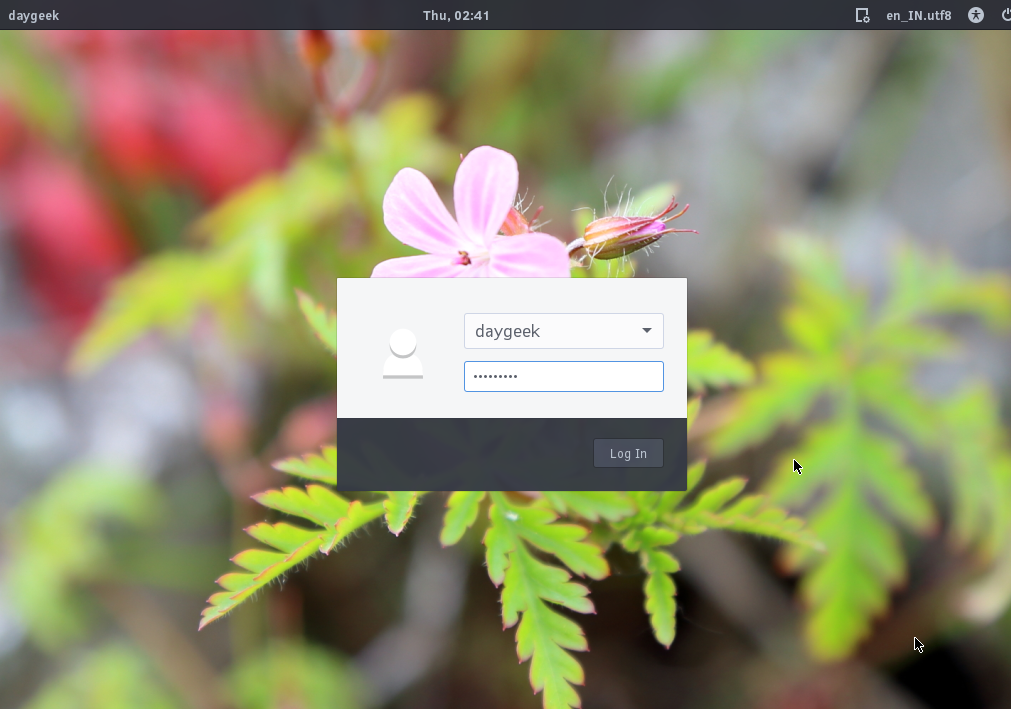
Enter the login details.
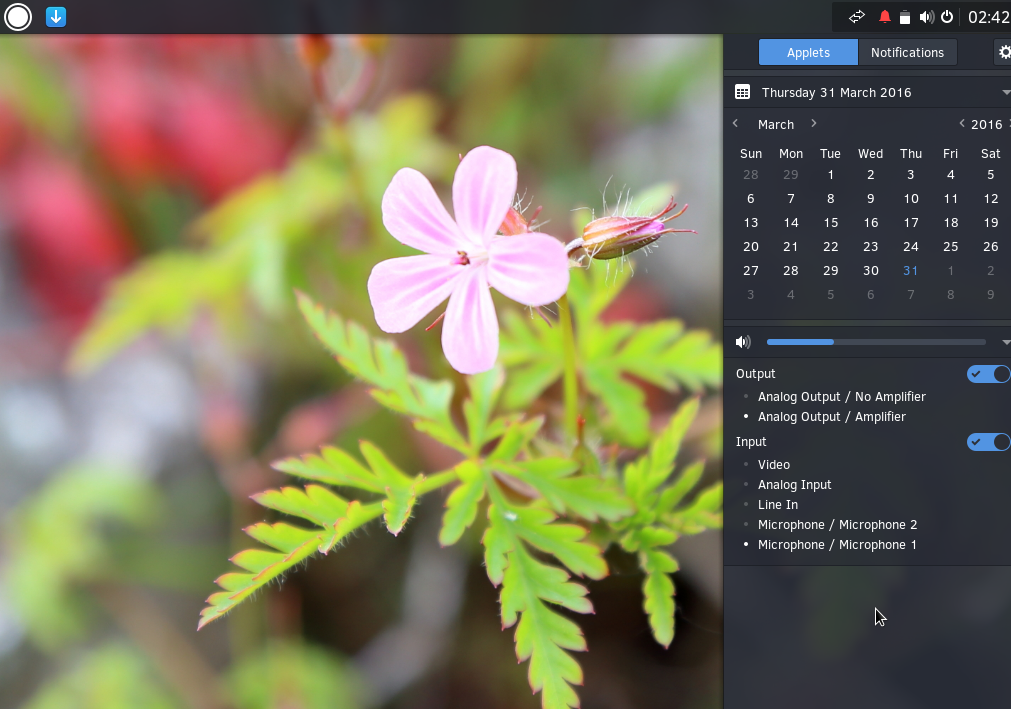
Applet screen shot.
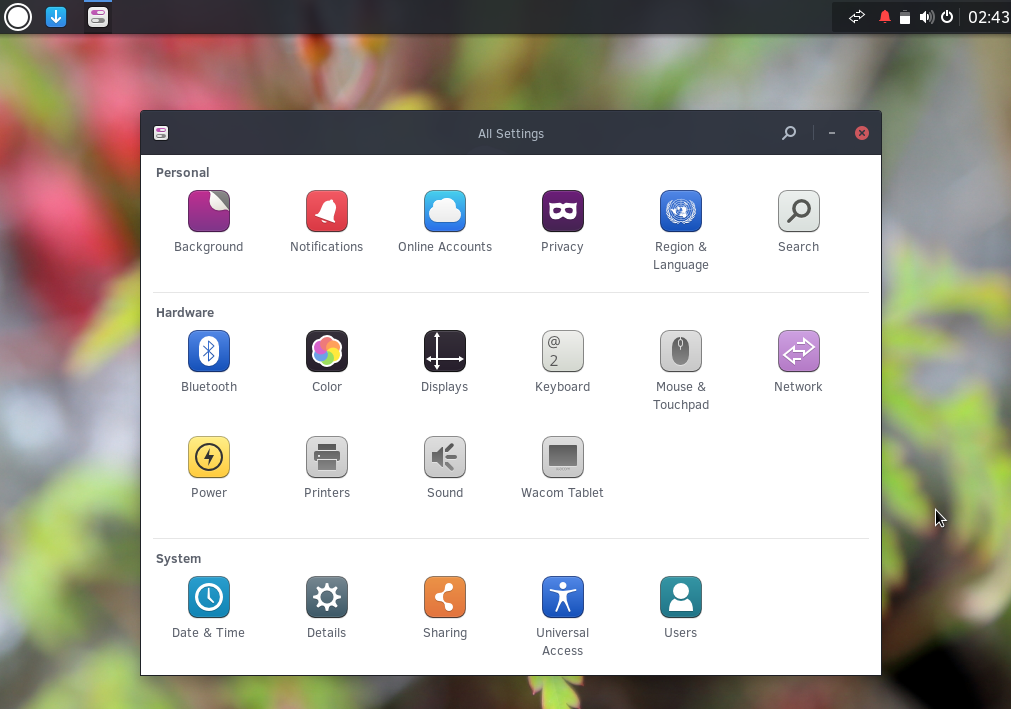
Settings screen shot.
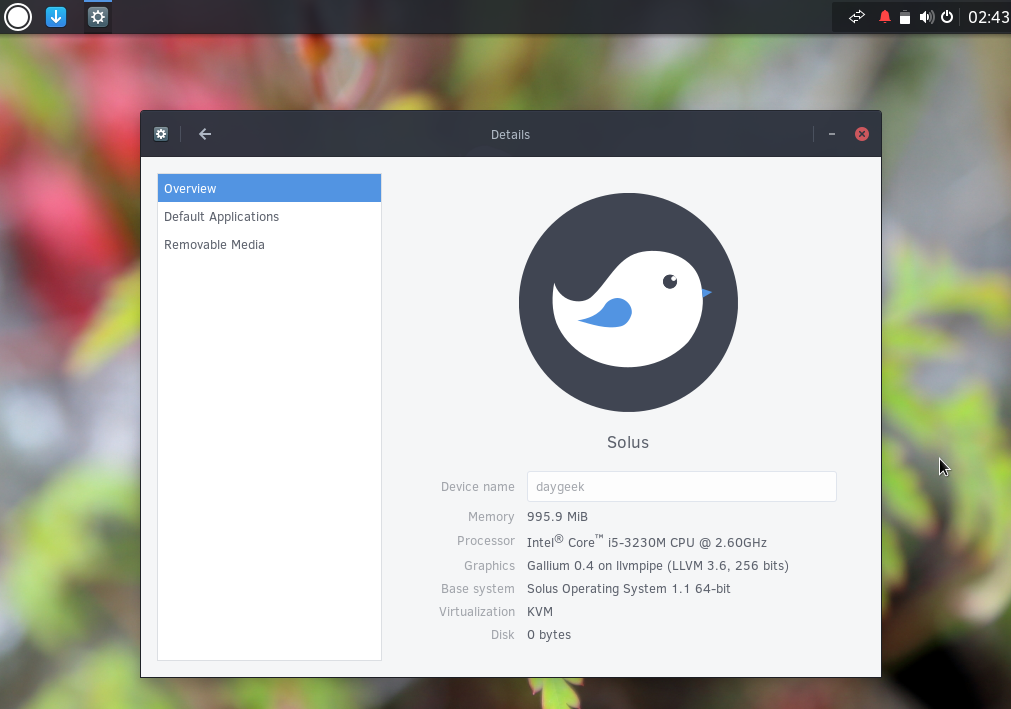
OS version screen shot.
Enjoy…)