Apache HTTP Web Server is a free and open source cross-platform web server software.
Apache is a web server application that is suitable for all Linux and Unix distribution and supports windows. It supports many languages like .html, .php, .pl, .cgi, etc.
Apache is developed and maintained by open community of developers under Apache Software Foundation.
It is the most widely used web server software, currently serving over 100 million websites.
Developed and maintained by the Apache Software Foundation. It is a fast, reliable and secure web server. It can be highly customized to meet the needs of different environments by using extensions and modules.
Implemented with the concept of Apache modules. The modules allow Apache to perform additional functions. Apache comes with some pre-installed modules, and you can easily enable or disable additional modules to suit your needs.
Also, it provides a CLI interface called apache2ctl, which is on the front end of the Apache Hypertext Transfer Protocol (HTTP) server. It is designed to help the administrator control the functionality of the Apache daemon.
Also read the following useful tips for Apache.
- Cheatsheet for Apache2 Commands
- How to manage the Apache http web server service on Linux
- How to configure Apache Virtual Host on Debian-based systems
- How to configure Apache Virtual Host on Red Hat-based systems
- How to Configure an SSL Certificate for the Apache Web Server on Linux
- How to enable HTTP/2.0 Support for Apache on Linux
You can try other web servers, if you expect change.
1) How to Install the Apache http Web Server on Linux
The Apache http package is available in most distribution repositories, so it can be easily installed using the distribution package manager.
For RHEL/CentOS 6/7 systems, use the yum command to install Apache.
$ sudo yum install -y httpd
For RHEL/CentOS 8 and Fedora systems, use the dnf command to install Apache.
$ sudo dnf install -y httpd
For Debian based systems, use the apt command or apt-get command to install Apache.
$ sudo apt-get install apache2
For openSUSE systems, use the zypper command to install Apache.
$ sudo zypper install -y apache2
For Arch Linux systems, use the pacman command to install Apache.
$ sudo pacmna -S apache
2) How to Allow the Apache port 80 and 443 on Linux
Once you have installed the Apache web server, you must allow the following tcp ports in the firewall to work Apache.
For ufw firewall.
$ sudo ufw allow 80/tcp comment 'accept Apache'
$ sudo ufw allow 443/tcp comment 'accept HTTPS connections'

or

$ sudo ufw allow 'Apache Full'
For iptables.
$ sudo iptables -A INPUT -p tcp -m tcp --dport 80 -j ACCEPT
$ sudo iptables -A INPUT -p tcp -m tcp --dport 443 -j ACCEPT
$ sudo service iptables save
For firewalld.
$ sudo firewall-cmd --permanent --add-port=80/tcp
$ sudo firewall-cmd --permanent --add-port=443/tcp
$ sudo firewall-cmd --reload
3) How to Start and Enable the Apache Service on Linux
Once the Apache package is installed, you will need to start the service to use it.
For SysVinit Systems – Red Hat (RHEL) based systems.
# service httpd start
or
# /etc/init.d/httpd start
For systemd Systems – openSUSE and Debian-based systems.
# systemctl start apache2.service
or
# systemctl start apache2
For systemd Systems – RedHat (RHEL) based systems.
# systemctl start httpd
or
# systemctl start httpd.service
To start the service when the system boots, you need to run Apache on boot. To do so, use the following commands.
For SysVinit Systems – RHEL (RedHat) based systems.
# chkconfig httpd on
For systemd Systems – openSUSE & Debian based systems.
# systemctl enable apache2.service
or
# systemctl enable apache2
For systemd Systems – RHEL (RedHat) based systems.
# systemctl enable httpd
or
# systemctl enable httpd.service
Run the below command to verify the installed version of the Apache httpd web server.
For openSUSE and Debian-based systems.
$ apache2 -v
For Red Hat (RHEL) based systems.
# httpd -v
Server version: Apache/2.4.6 (CentOS)
Server built:   Aug  8 2019 11:41:18
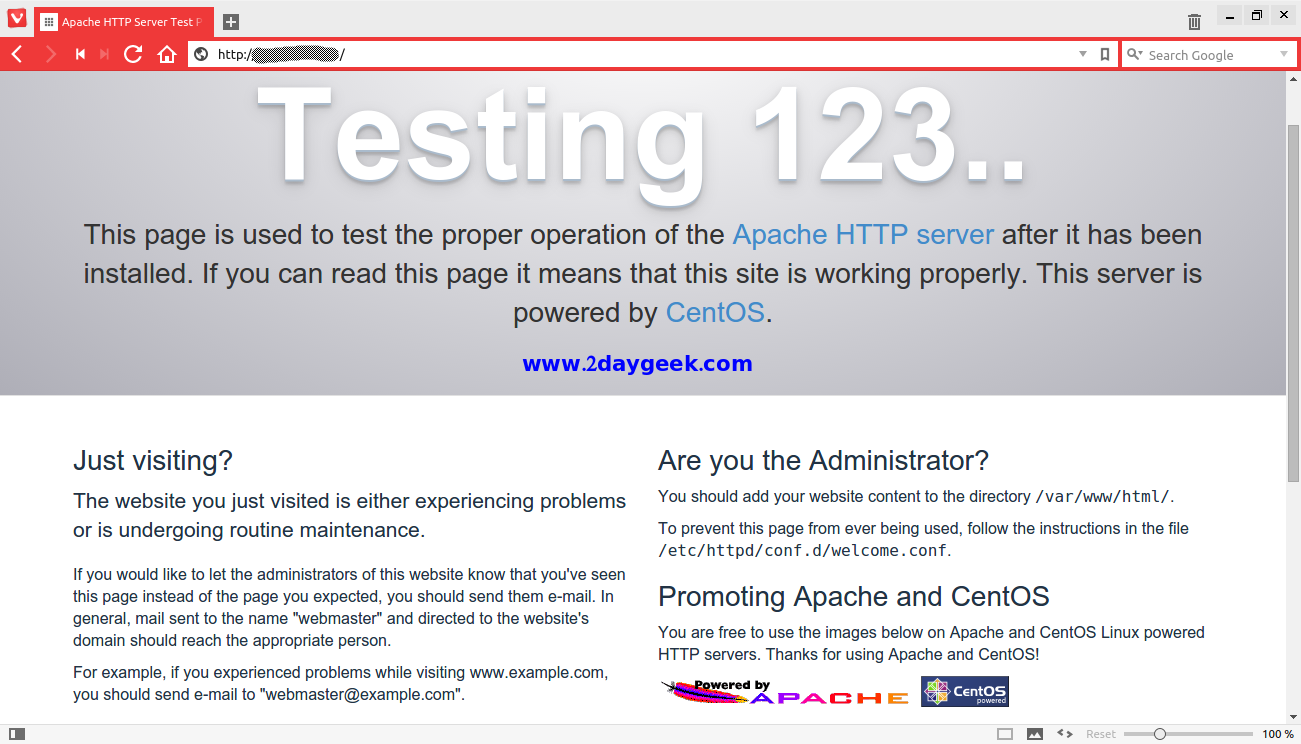
Finally, test your Apache http web server installation on Linux.


I try:
root@2daygeek [~]# sudo sh -c ‘echo “sudo sh -c ‘echo “deb http://ppa.launchpad.net/ondrej/apache2/ubuntu utopic main” >> /etc/apt/sources.list.d/apache2.list’
root@2daygeek [~]# sudo sh -c ‘sudo sh -c ‘echo “deb-src http://ppa.launchpad.net/ondrej/apache2/ubuntu utopic main” >> /etc/apt/sources.list.d/apache2.list’
but nothing happened,
i added manually:
at the end of the source list:
deb http://ppa.launchpad.net/ondrej/apache2/ubuntu vivid main
deb-src http://ppa.launchpad.net/ondrej/apache2/ubuntu vivid main
after:
apt-get update
and:
apt-cache policy apache2
but:
apache2:
Installed: (none)
Candidate: 2.4.10-9ubuntu1
Version table:
2.4.10-9ubuntu1 0
500 http://us.archive.ubuntu.com/ubuntu/ vivid/main amd64 Packages
Help!
@Hugo,
First install the default Apache2 which is available in Ubuntu then try to add the link and upgrade it.