Virtualhost Hosting multiple domains in single server called virtualhost, you can host N of virtualhost in single apache webserver. See the below digram it will clearly says we can run N of virtualhost in single apache webserver. Make sure your system should have installed LAMP in CentOS, LAMP in Fedora. Also you have interested on Setup Apache Virtual Host in Debian based Systems.
Apache supports two types of virtualhost
- Name-based Virtual Hosts (All the Websites sharing single IP address)
- IP-based Virtual Hosts (Each Websites having Different IP address)
1) Name based Virtual Host.
In Name based virtual host, each and every websites sharing the single IP address. How its work ? For Name based virtual host you need to setup DNS properly, so that the domain map with shared IP. Example hosting environment, Whenever you buying domain and hosting they will ask you to point the domain to hosting provider server (Like, They will provide Two Nameservers for your domain to map their server)

Advantage :
- Easy to Manage
- Easy to configure compare with IP based
- Good for shared & reseller hosting environment
1) How to add Name based virtualhost in Apache
In Apache 2.2 and older we need to mention when we using Namebased Virtualhost, like NameVirtualHost IP:80 but Apache 2.4 its not necessary because Any address/port combination appearing in multiple virtual hosts is implicitly treated as a name-based virtual host, For more details
1a) Create Directories structure
We have already mentioned in our Tested Environment table, we are going to test two domain so that we came to know whether its working as a Name based virtualhost. For that we need to create Virtual Directories under www folder.
# Create virtual directory #
# mkdir -p /var/www/dev.2daygeek.com/public_html
# mkdir -p /var/www/support.2daygeek.com/public_html
2a) Change the ownership permission
While creating virtual directory By default directory assigned to root user. If its root user permission nobody can’t modify anything. So we need to change the ownership permission to corresponding user to making changes themselves.
# Change the Ownership #
# chown -R username:username /var/www/support.2daygeek.com/public_html
# chown -R username:username /var/www/dev.2daygeek.com/public_html
3a) Setting up Proper permission to www directory
Set the proper permission to apache web root (/var/www) so that everbody can read the website.
# chmod -R 755 /var/www/
4a) Creating sample page for website’s
We need to create the sample page for each websites, so that we can check whether its working with apache or not.
# Create Sample Page for support.2daygeek.com #
# nano /var/www/support.2daygeek.com/public_html/index.html
<html>
 <head>
 <title>Welcome to support.2daygeek.com</title>
 </head>
 <body>
 <h1>Success! The support.2daygeek.com virtual host is working fine</h1>
 </body>
</html>

# Create Sample Page for dev.2daygeek.com #
# nano /var/www/dev.2daygeek.com/public_html/index.html
<html>
 <head>
 <title>Welcome to dev.2daygeek.com</title>
 </head>
 <body>
 <h1>Success! The dev.2daygeek.com virtual host is working fine</h1>
 </body>
</html>
5a) Creating Virtual Host Directories & Files
We need to create the virtual host Directories & file for each domain. By default deb based system having Virtual Directories & default virtual host file 000-default.conf but RPM based system not like that, so we have to create it manually like below. Make sure your vitualhost configuration file extension should be .conf
# Create Virtual Directories #
# mkdir /etc/httpd/sites-available
# mkdir /etc/httpd/sites-enabled

# Create Virtual Host File #
# touch /etc/httpd/sites-available/dev.2daygeek.com.conf
# touch /etc/httpd/sites-available/support.2daygeek.com.conf

# Include Virtual host file into httpd.conf file #
# nano /etc/httpd/conf/httpd.conf
IncludeOptional sites-enabled/*.conf
6a) Add virtual host configuration
Open the Virtual host configuration file which you created and add the below content (as per your domain name). Make sure you need to modify the domain name and directory name according that.
# Virtual Host for support.2daygeek.com #
<VirtualHost *:80>
    ServerName www.support.2daygeek.com
    ServerAlias support.2daygeek.com
    DocumentRoot /var/www/support.2daygeek.com/public_html
    ErrorLog /var/www/support.2daygeek.com/error.log
    CustomLog /var/www/support.2daygeek.com/requests.log combined
</VirtualHost>

# Virtual Host for dev.2daygeek.com #
<VirtualHost *:80>
    ServerName www.dev.2daygeek.com
    ServerAlias dev.2daygeek.com
    DocumentRoot /var/www/dev.2daygeek.com/public_html
    ErrorLog /var/www/dev.2daygeek.com/error.log
    CustomLog /var/www/dev.2daygeek.com/requests.log combined
</VirtualHost>
7a) Enabling Virtual Hosts
Use the below commands to Enable/Disable Virtual Hosts.
# Enable Virtual Hosts #
ln -s /etc/httpd/sites-available/dev.2daygeek.com.conf /etc/httpd/sites-enabled/dev.2daygeek.com.conf
ln -s /etc/httpd/sites-available/support.2daygeek.com.conf /etc/httpd/sites-enabled/support.2daygeek.com.conf

# Disable Default Virtual Hosts (Just delete the corresponding symbolic link file) #
# rm -Rf /etc/httpd/sites-enabled/dev.2daygeek.com.conf
8a) Run configtest.
Run the below configtest command to check whether any errors in the newly added configuration files
# apachectl configtest
9a) Reloading Apache
Reload the apache configuration to make it work the new configuration
# systemctl reload httpd.service
10a) Restart Apache
Restart the apache finally.
# systemctl restart httpd.service
11a) Adding domain name to hosts file.
we need to add both above domain to /etc/hosts file to map the domain to associated IP without adding DNS zone. So that we can locally check.
$ sudo nano /etc/hosts
127.0.0.1       localhost
10.0.2.15       support.2daygeek.com
10.0.2.15       dev.2daygeek.com
12a) Flush local DNS cache
Use the below command to flush local DNS cache
$ sudo /etc/init.d/dns-clean start
13a) Access newly setup website
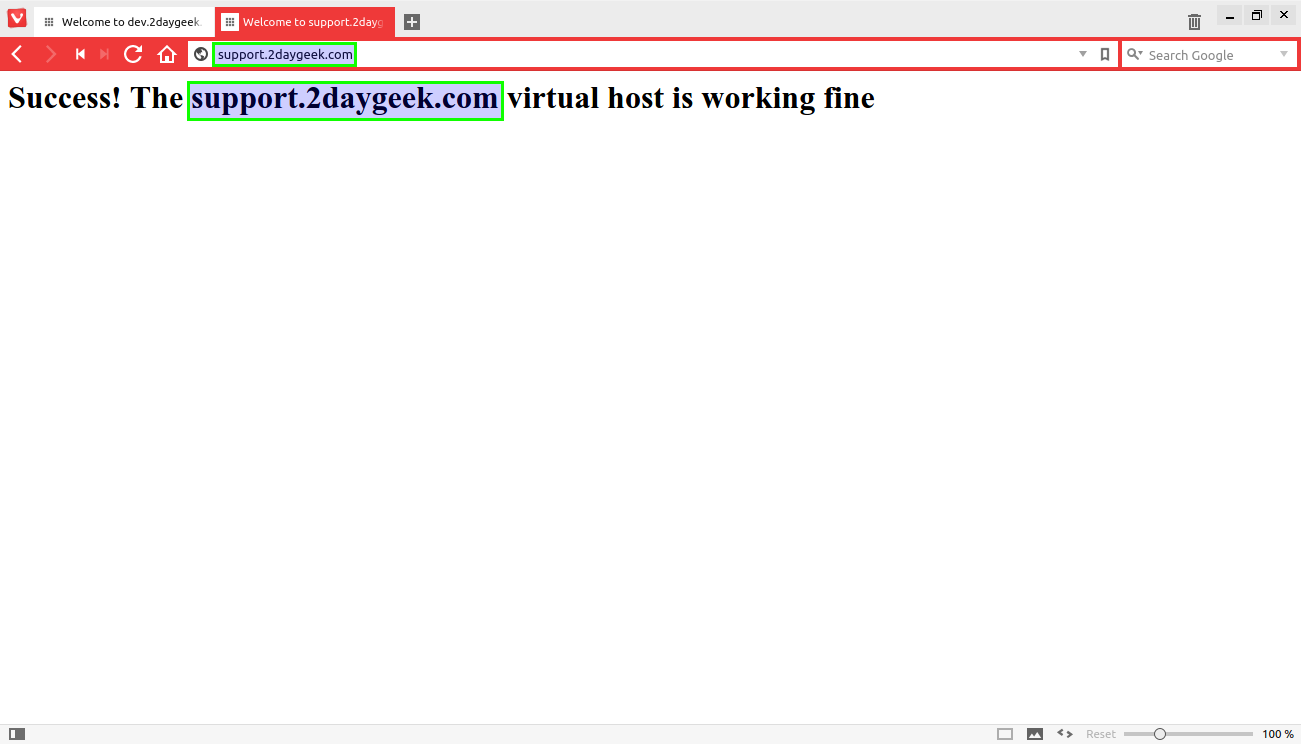
Navigate your browser and access the site’s by hitting the links http://support.2daygeek.com & http://dev.2daygeek.com
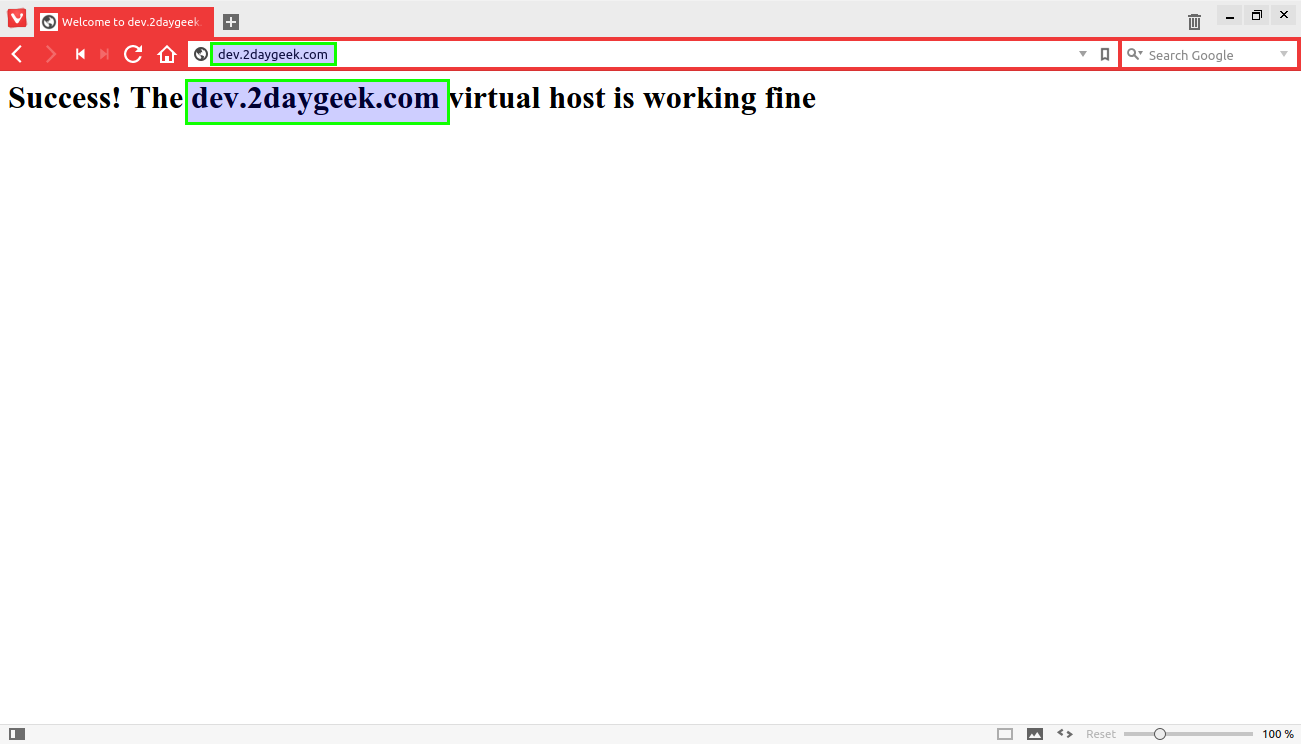
support.2daygeek.com – Output
2) IP-based Virtual Hosts
In Name based virtual host, Each Websites having Different IP address. You can assign more then one IP address to single NIC card or you can assign each dedicated IP to Separate NIC card and Practically its not good and hard to manage. For SSL certificate we need to use IP based virtual hosts.

How to add IP based virtualhost in apache
For IP based virtual host we should need more then one IP. So first we need to add aditional IP (Using IP aliasing), We alredy know we are having one IP 10.0.2.15 which was used for Namebaed virtual host. Follow the below steps to add additional IP to same NIC card. For SSL certificate installation everybody using IP based virtualhost.
# Add Additional IP into System #
$ sudo ifconfig eth0:1 10.0.2.16 netmask 255.255.255.0

$ ifconfig
eth0      Link encap:Ethernet  HWaddr 08:00:27:1e:a2:47
          inet addr:10.0.2.15  Bcast:10.0.2.255  Mask:255.255.255.0
          inet6 addr: fe80::a00:27ff:fe1e:a247/64 Scope:Link
          UP BROADCAST RUNNING MULTICAST  MTU:1500  Metric:1
          RX packets:23723 errors:0 dropped:0 overruns:0 frame:0
          TX packets:16342 errors:0 dropped:0 overruns:0 carrier:0
          collisions:0 txqueuelen:1000
          RX bytes:15295059 (15.2 MB)  TX bytes:1930608 (1.9 MB)

eth0:1    Link encap:Ethernet  HWaddr 08:00:27:1e:a2:47
          inet addr:10.0.2.16  Bcast:10.0.2.255  Mask:255.255.255.0
          UP BROADCAST RUNNING MULTICAST  MTU:1500  Metric:1

lo        Link encap:Local Loopback
          inet addr:127.0.0.1  Mask:255.0.0.0
          inet6 addr: ::1/128 Scope:Host
          UP LOOPBACK RUNNING  MTU:65536  Metric:1
          RX packets:2020 errors:0 dropped:0 overruns:0 frame:0
          TX packets:2020 errors:0 dropped:0 overruns:0 carrier:0
          collisions:0 txqueuelen:0
          RX bytes:202350 (202.3 KB)  TX bytes:202350 (202.3 KB)
Follow the same steps which we descriped in Name based virtual host. And modify below steps slightly.
- (6a) Change the Virtualhost dev.2daygeek.com from *:80 to 10.0.2.15
- (11a) Change support.2daygeek.com from *:80 to 10.0.2.16
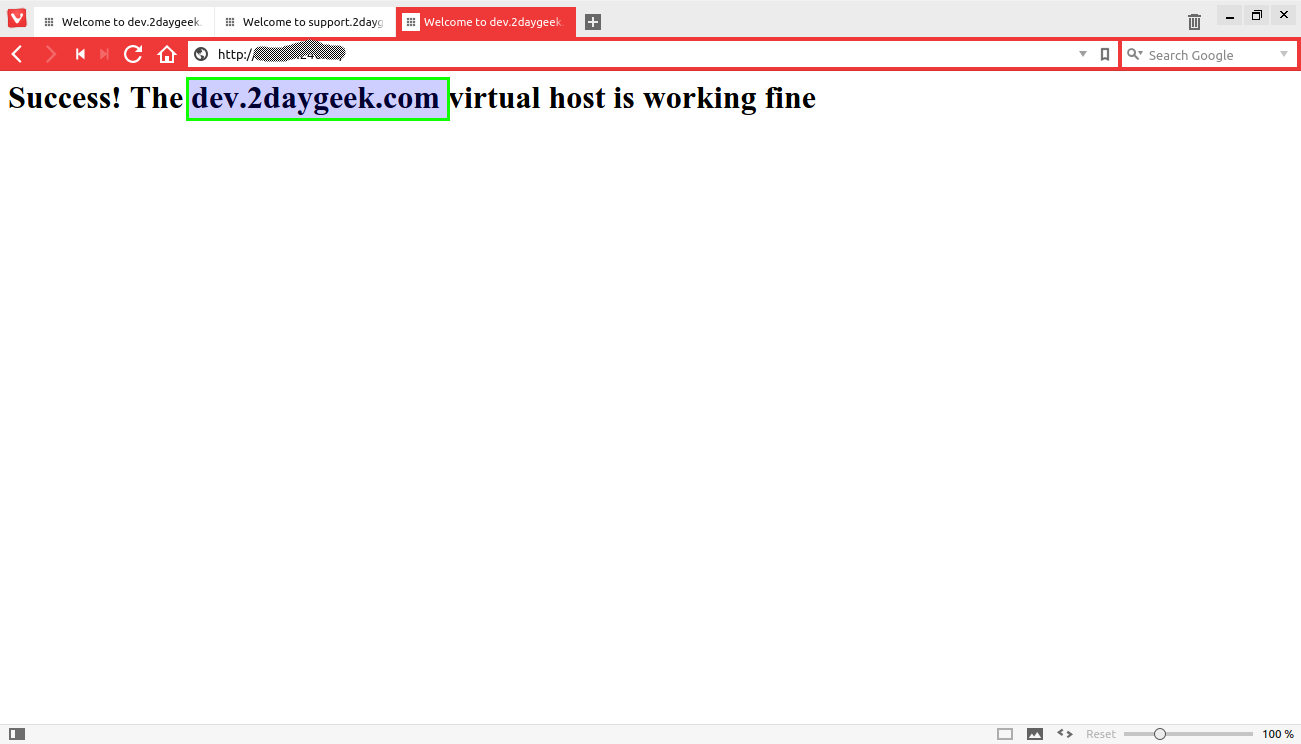
2a) Access newly setup website
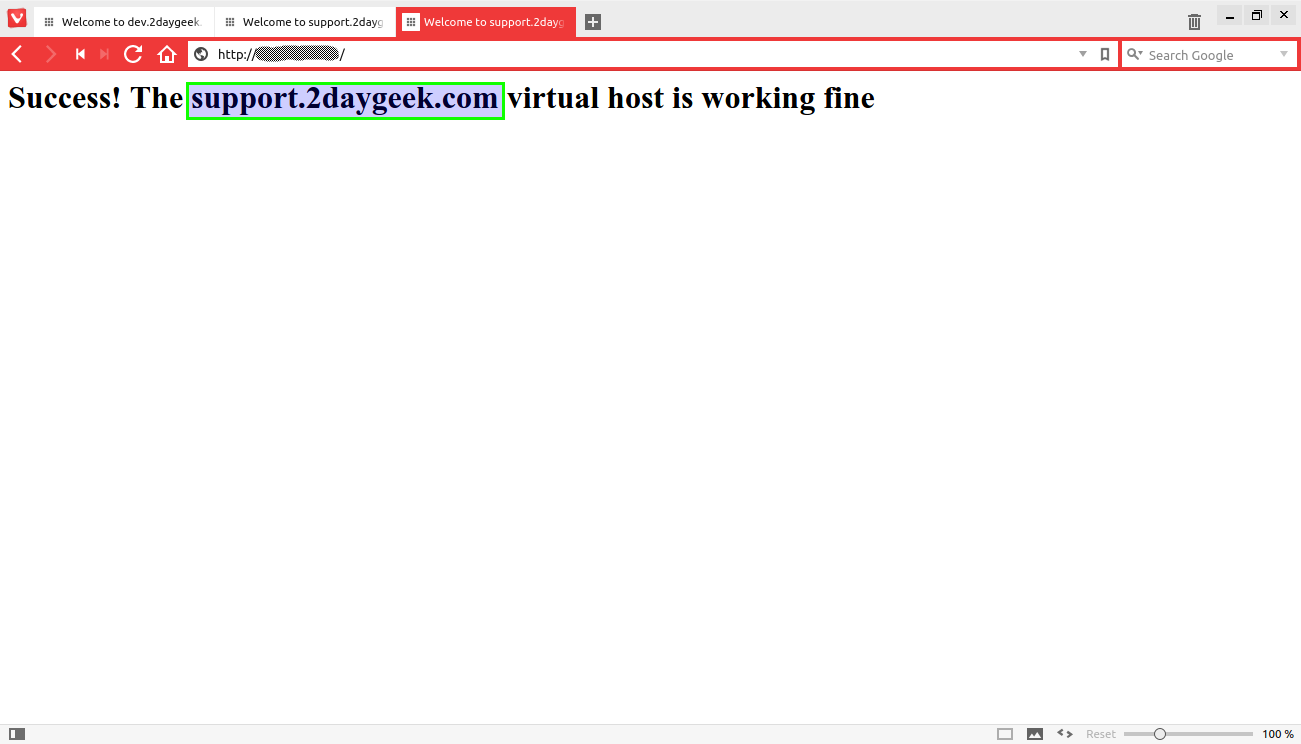
Navigate your browser and access the site’s by hitting the links http://10.0.2.15 & http://10.0.2.16
support.2daygeek.com (10.0.2.16) – Output
We are preparing all articles in-depth to understand by all level/stage Linux administrators. If the article is useful for you, then please spend less than a minute to share your valuable comments in our commenting section.
Please stay tune with us…Good Luck.


Your guide works for me on Fedora 25 and its amazing!!