Everyone knows, day to day technology is moving to next level because earlier we had a dedicated servers (Development, Test, and Production) for every applications.Later we have migrated most of the Development & Test servers to Virtual Environment (VPS – Virtual Private Server), Now most of the IT infrastructure is moving to containers to save the IT infrastructure cost.
Linux containers application is one of the revolution application in the IT, and docker is part of it. By default docker will not come with any GUI and we have to manage through CLI.
It is very easy for NIX guys but others will face difficulties while managing the docker containers through CLI. That’s why portainer came to picture.
Suggested Read : Rancher – A Complete Container Management Platform For Production Environment
What is Portainer
Portainer (formerly known as DockerUI) is a simple, lightweight, yet powerful docker management GUI, which allows you to easily manage your different Docker containers, images, volumes, networks, etc,. It is compatible with the standalone Docker engine and with Docker Swarm mode.
Navigate to following article for docker installation on Linux.
Suggested Read :
(#) How to install Docker in Linux
(#) How to play with Docker images on Linux
(#) How to play with Docker containers on Linux
(#) How to Install, Run Applications inside Docker Containers
How to install Portainer
Portainer installation is very simple since it run as a lightweight Docker container. Just run the following command to install docker on Linux. The below command will pull latest portainer image and install on your system.
$ docker run -d -p 9000:9000 -v /var/run/docker.sock:/var/run/docker.sock -v portainer_data:/data portainer/portainer
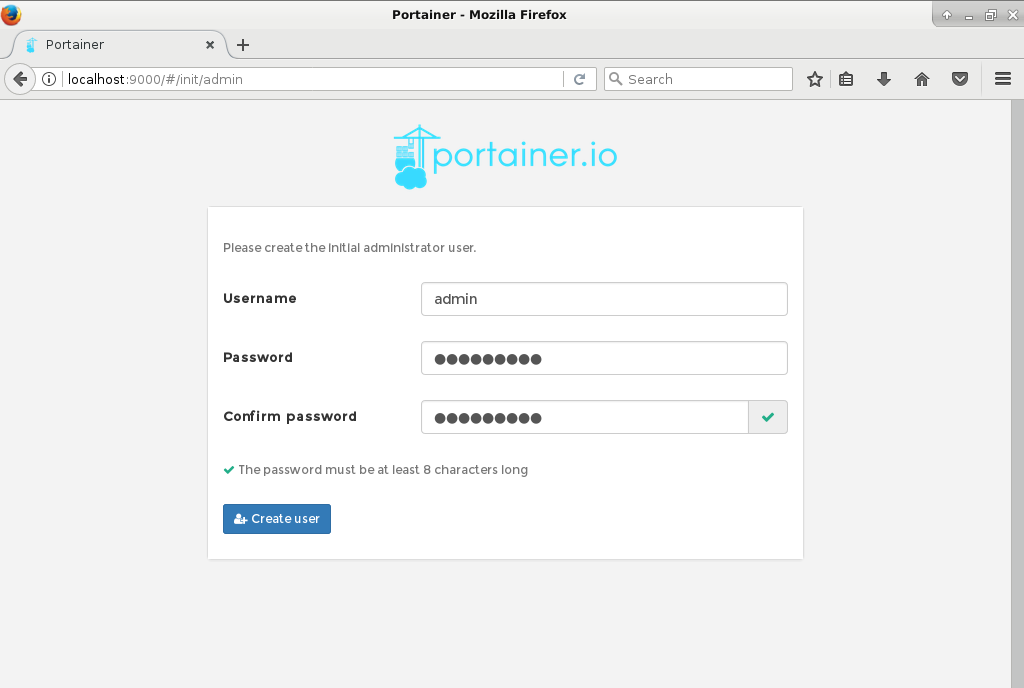
Navigate your browser to http://localhost:9000 to access portainer using your browser.
You will be getting below screen similar to us. It will ask you to setup a password for the admin account. After enter your password twice, hit Create user button to complete the password setup.
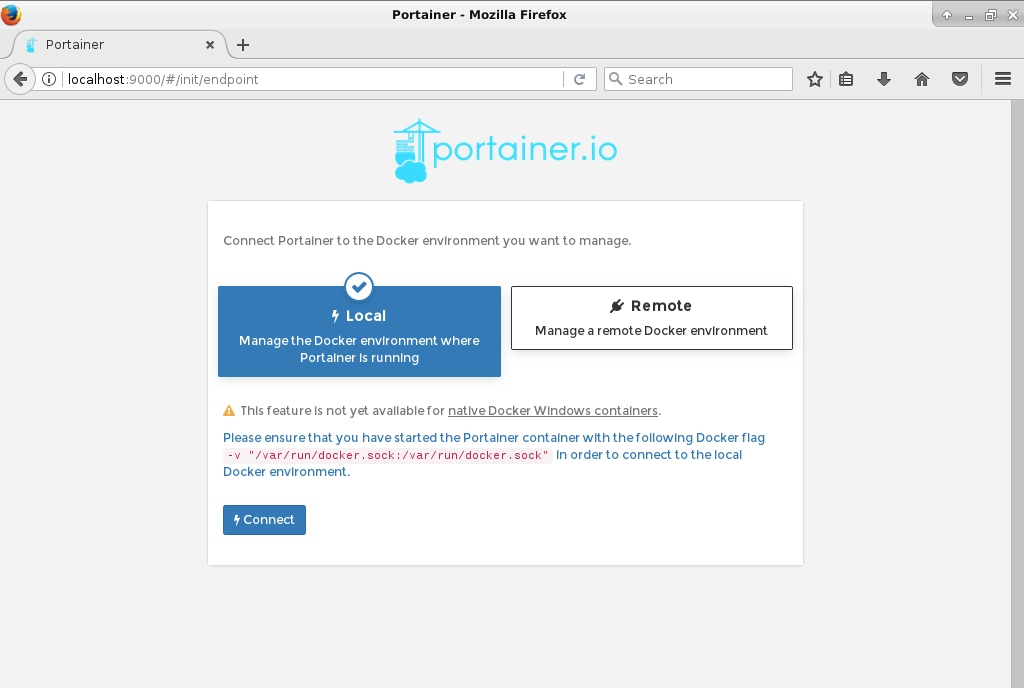
Choose the docker environment as per your requirement, either local or remote? I had choose first option since I don’t have remote docker instances.
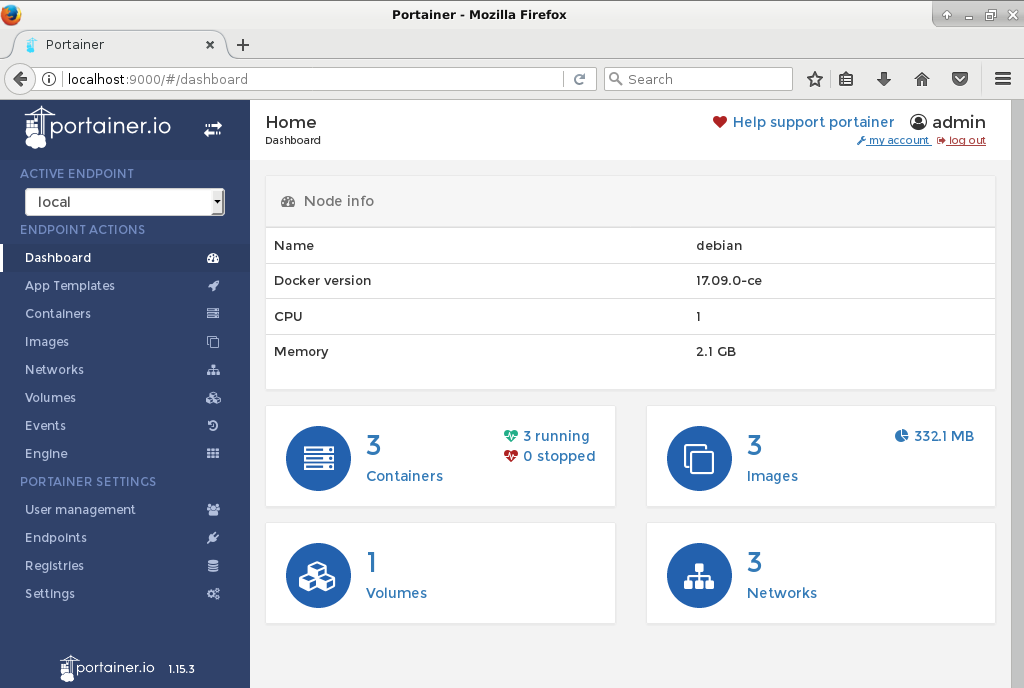
Once you connected, you will be redirected to portainer “Dashboard”. From the dashboard, you can see the number of running and stopped containers, number of downloaded docker images, number of volumes and networks.
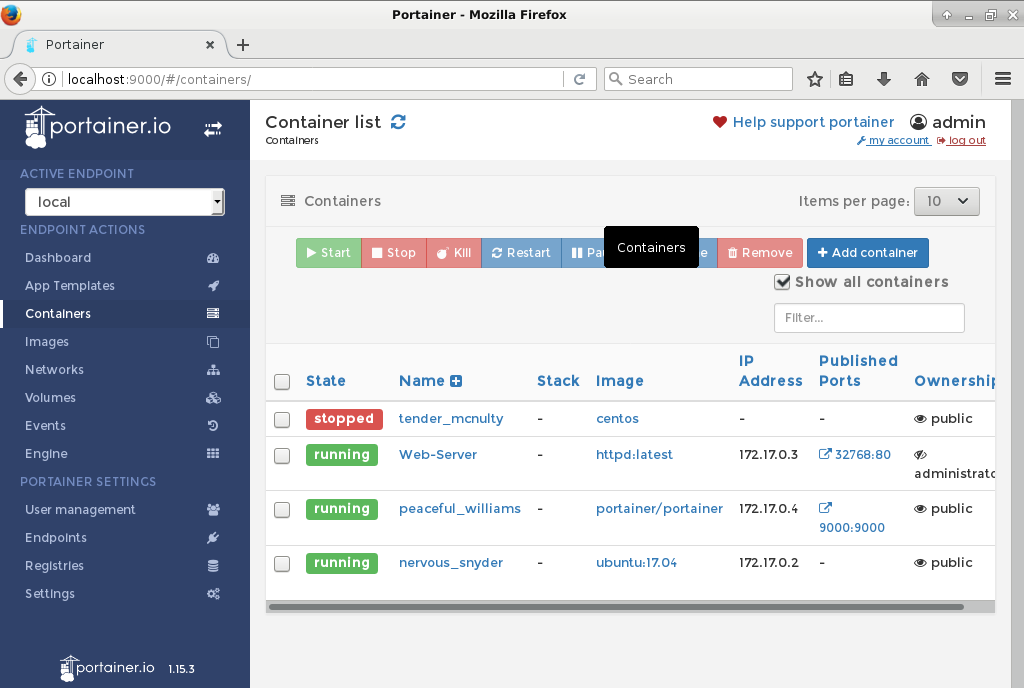
Container list :The containers section provides a view of all available containers. You can see details about the containers such as state (Running, Stopped, paused), name, image name, IP address, ports number, and ownership.

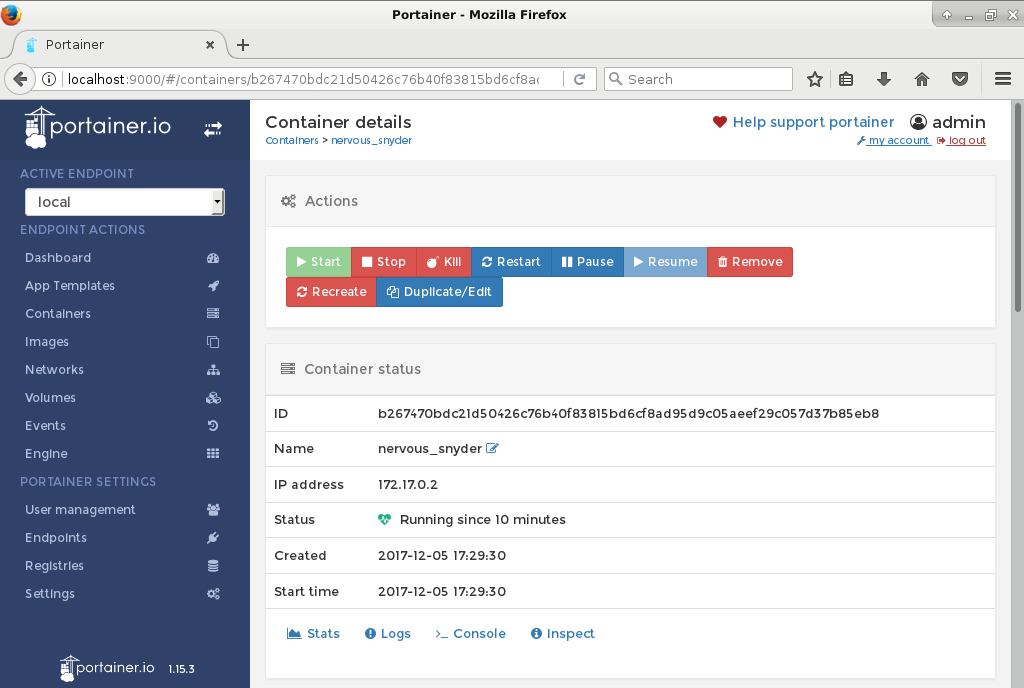
Container details :If you want to know more details about particular container (stats, logs, and console, etc.), just click on the container.
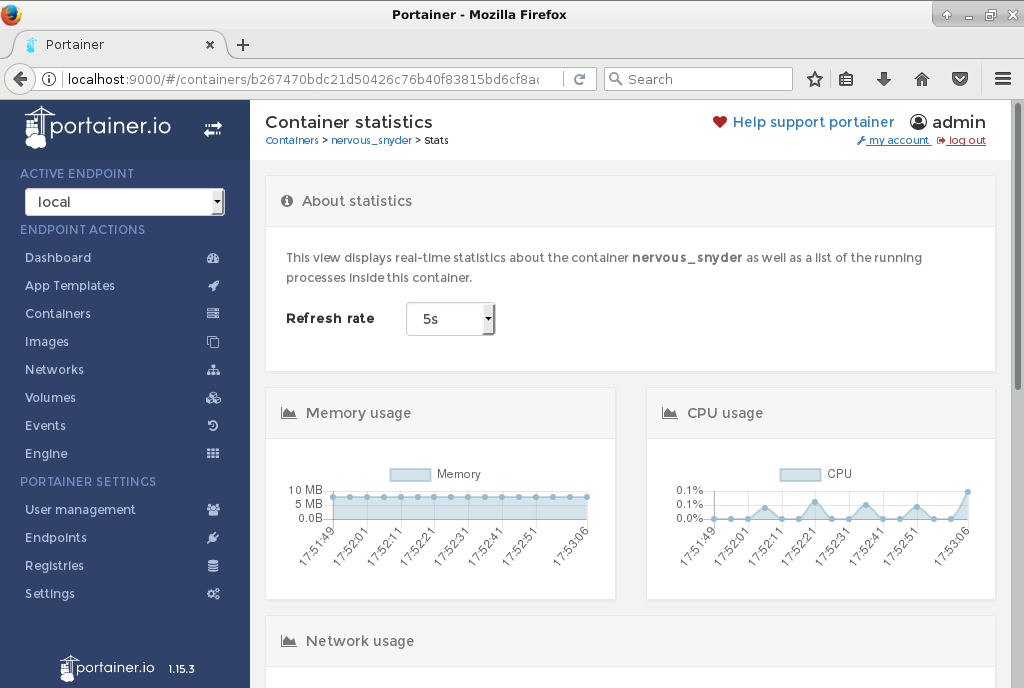
Container stats :Portainer allows you to view container stats in real-time: CPU and memory usage, networking and processes running in the container.
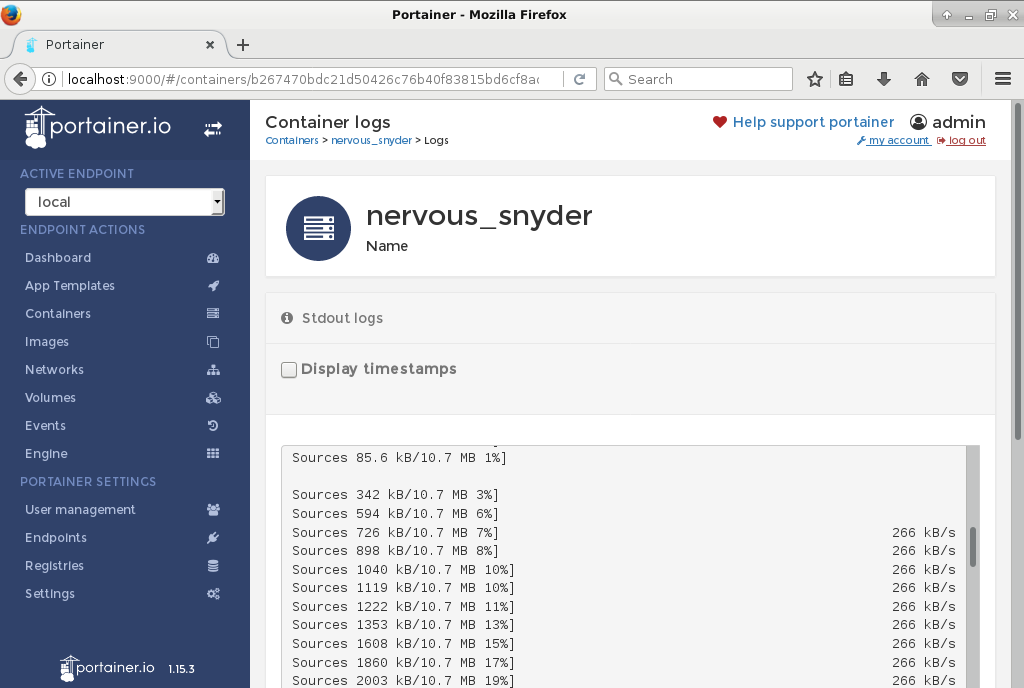
Container logs :Easily investigate the behavior of your container by inspecting its logs.
Container console :Portainer allows you to open a console in your container directly in your browser.
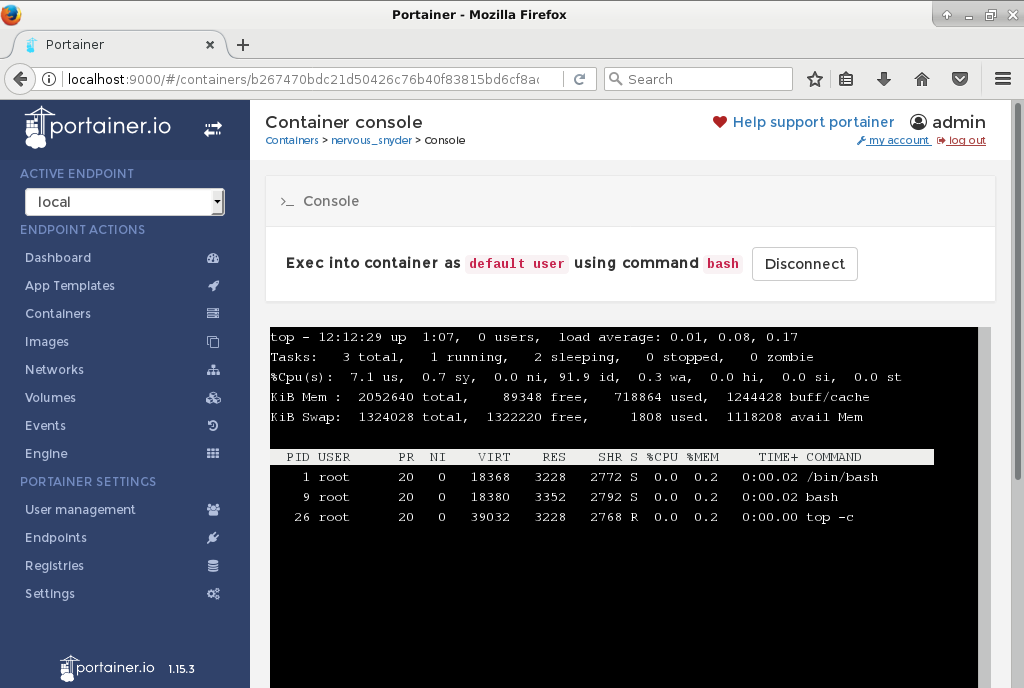
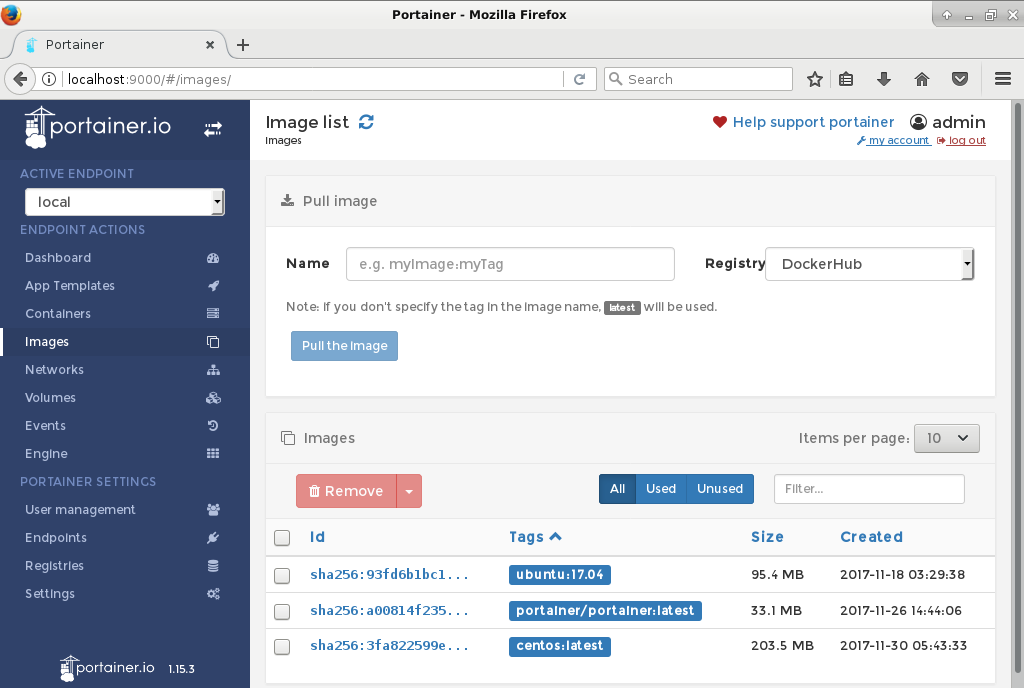
Image list :The images section will print the list of downloaded images.
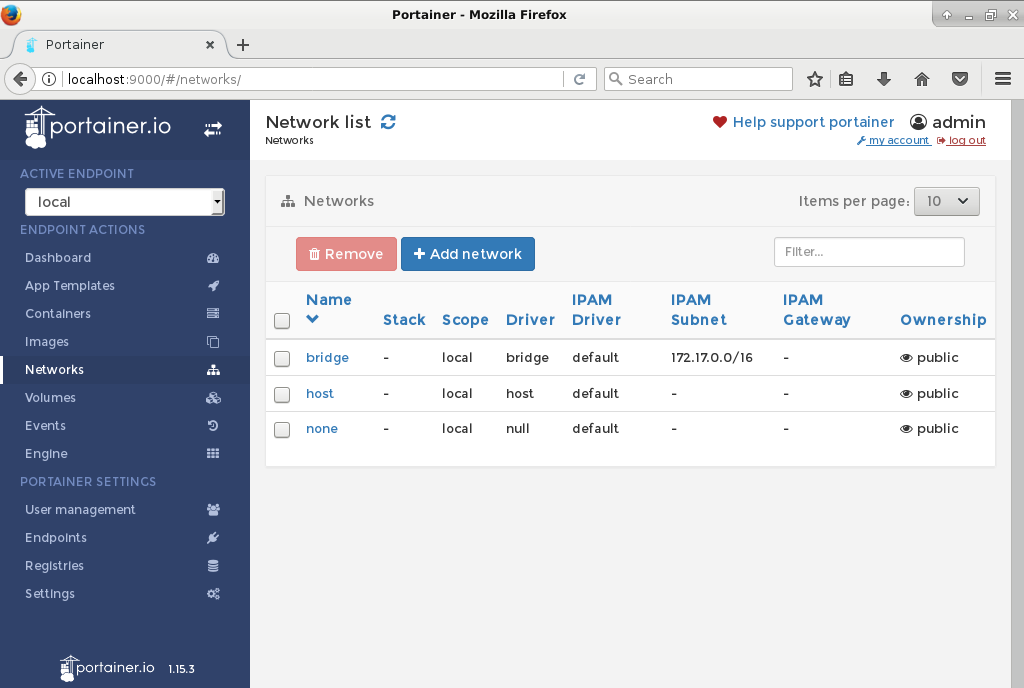
Network list :The networks section provides a view of all available networks.
Volume list :The networks section provides a view of all available volumes.

How to create Container?
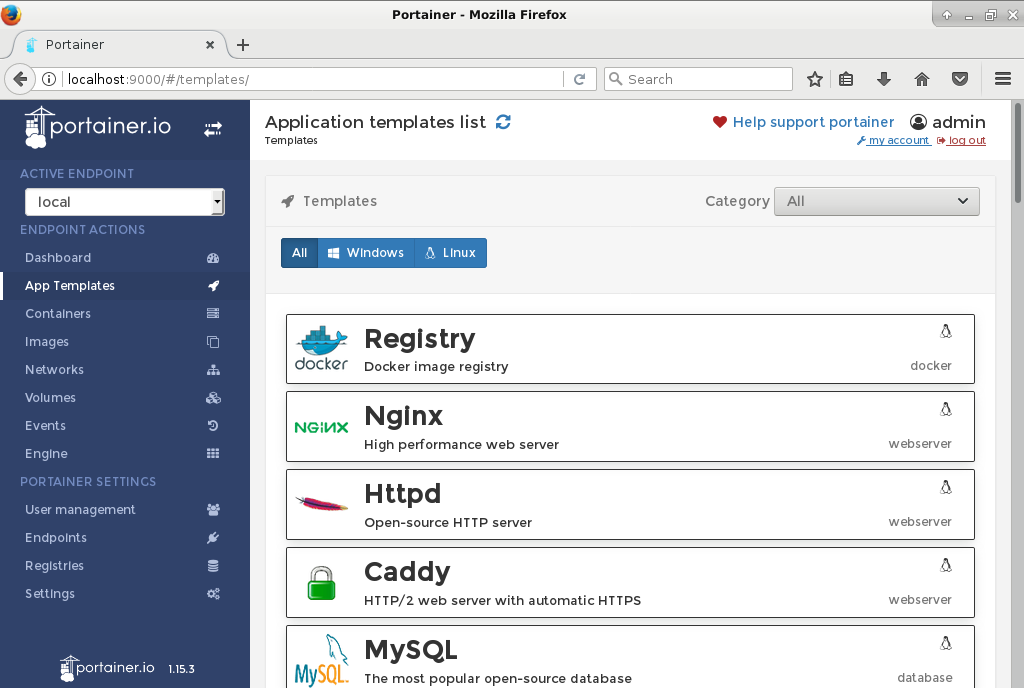
Portainer allows you to quickly deploy (with in 2 clicks) container from template list. If so, how to do? just navigate to Application templates and click on the template which you want to deploy, then enter the container name and choose the network type. Finally click Deploy the container button to create it. For demonstration purpose, we are going to create a new container using HTTP template. It will take few seconds to setup.

Now, I can see the new HTTP container which I deployed few mins back.
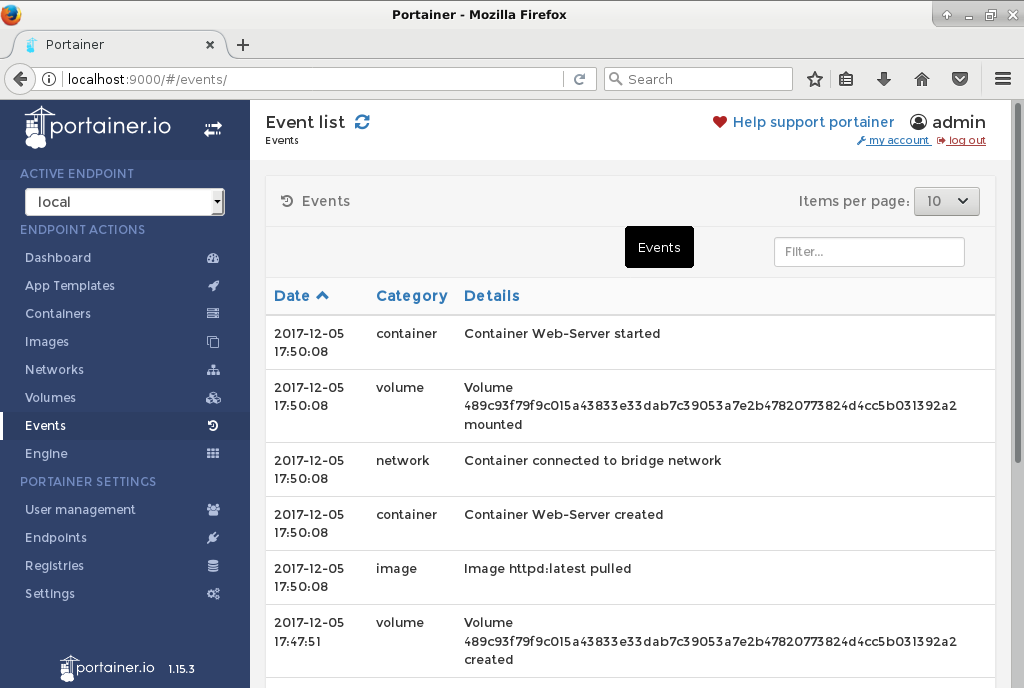
Click the Events option to view events details.