Arch Linux is one of the best distribution which comes under top 10 distribution. Arch Linux is a lightweight and flexible Linux distribution that tries to Keep It Simple because of its Rolling Release model which brings latest packages on it for every rolling release (Monthly basic). Arch Linux developed as independent distribution & straightforward and relatively easy for the user to understand directly, rather than providing polished point-and-click style management tools.
Arch Linux installation/installer bit complicated for beginners and It’s not easy to install like other distro such as Ubuntu, Fedora, etc.. and there is no GUI by default. Arch Provide its own software packages via Pacman Package Manager. Arch official packages optimized for the i686, x86-64 & ARM architectures. Alternatively we can install absence of software packages on pacman from AUR – Arch User Repository community-operated package repository through Pacman or Yaourt (Yet Another User Repository Tool).
1) Download Arch Linux ISO
Visit Arch Linux ISO Download page and choose your download option either torrent file or direct ISO and download it.
2) Booting Computer with Arch Linux installation media
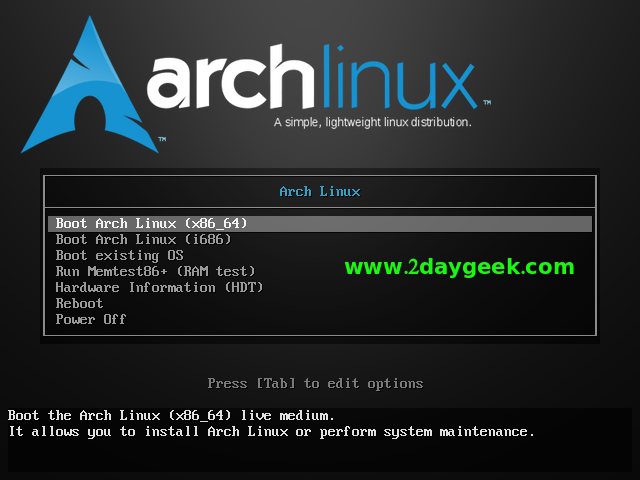
After downloading the Arch Linux ISO image, make it as bootable media such as (Burned CD/DVD or USB) and boot up your system with installation media. You will get below screen, choose 32-bit or 64-bit installation based on your architecture then hit Enter Key.
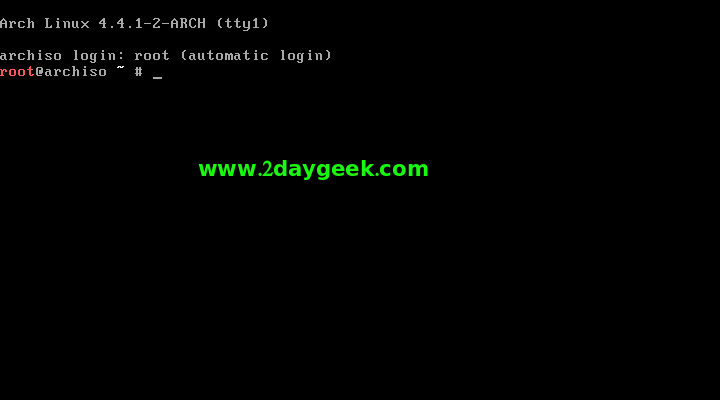
By default you will be logged in as a root user automatically.
Make sure you should have working Internet connection to install Arch Linux further. Check whether your Internet connection is working or not.
# ping 2daygeek.com
3) Create Disk Partitions
Check the HDD Size before proceeding disk partitions by running below command.
# fdisk -l
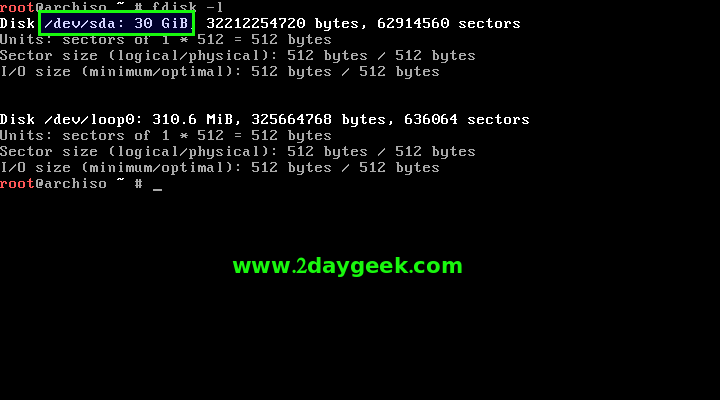
As you can see fdisk output, we are having 30 GB HDD. For Hard Disk partitions, we can use Fdisk or Cfdisk utilities, i’m going to use Cfdisk as per Arch Linux recommendation.
My Partition Plan is below.
Rootpartition/dev/sda1with size of 10 GB as a primary bootable with ext4 formatted.Swappartition/dev/sda2as a primary with double size of RAM.- Logical partition
Home,/dev/sda5rest of the space with Extended and ext4 formatted.
Our Partition plan is ready and we are going to implement the same by firing Cfdisk command on terminal.
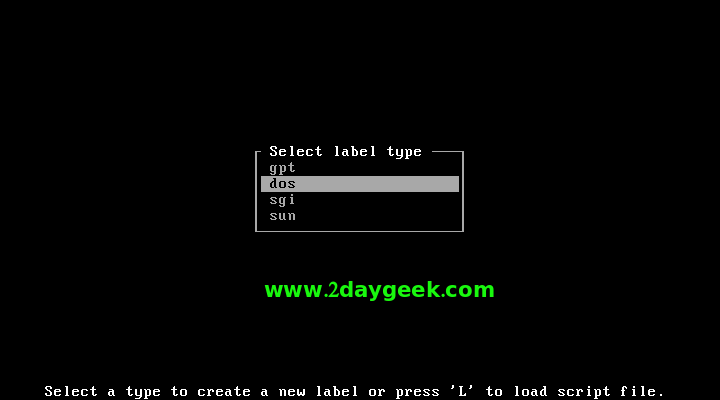
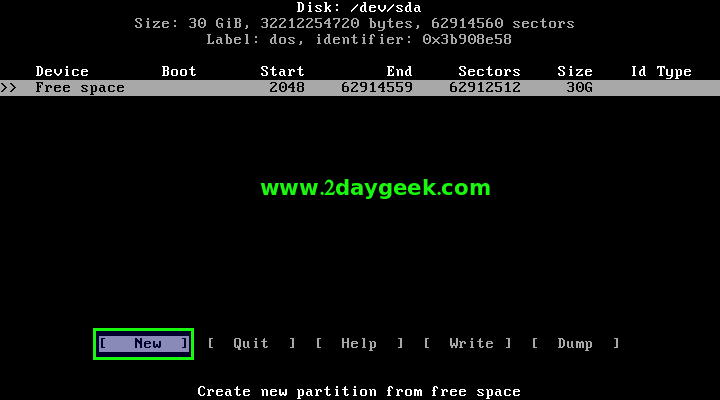
# cfdisk
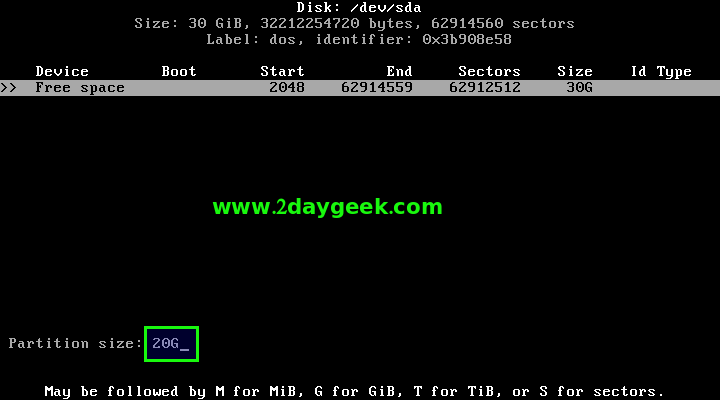
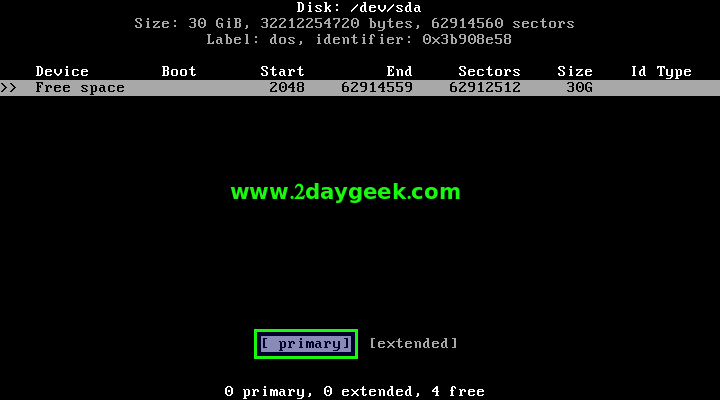
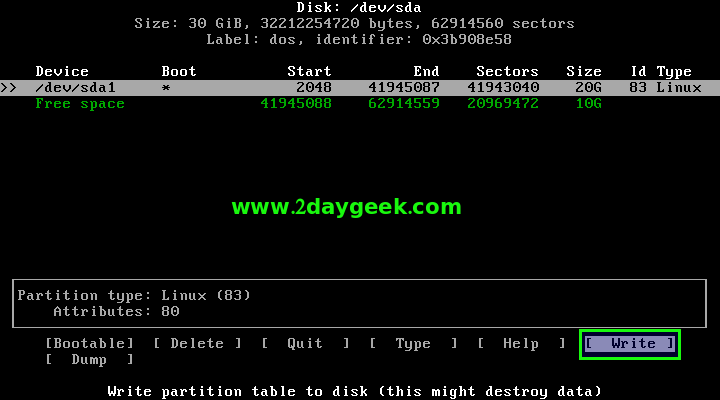
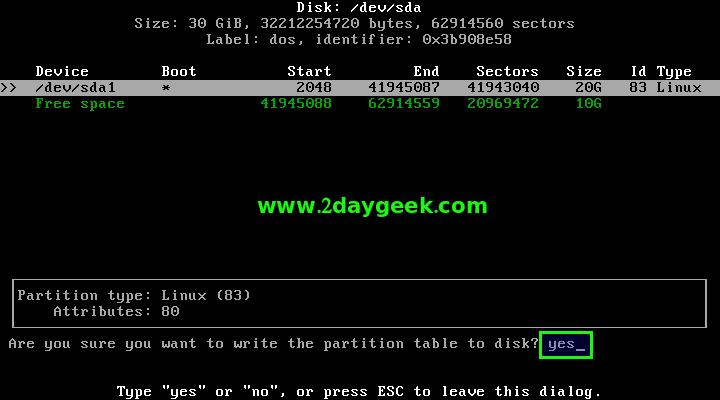
Select label type as dos >> Choose New partition >> Enter partition size 20G or 20480M >> choose the type of partition primary >> partition type Bootable >> Then, select Write to write the partition table >> Finally choose Yes to save the changes.

Do the same for other partitions too.
Use Down Arrow and choose Free Space, then Choose New partition >> Enter partition size 2G or 2048M >> choose the type of partition primary >> Then, select Write to write the partition table >> Finally choose Yes to save the changes.
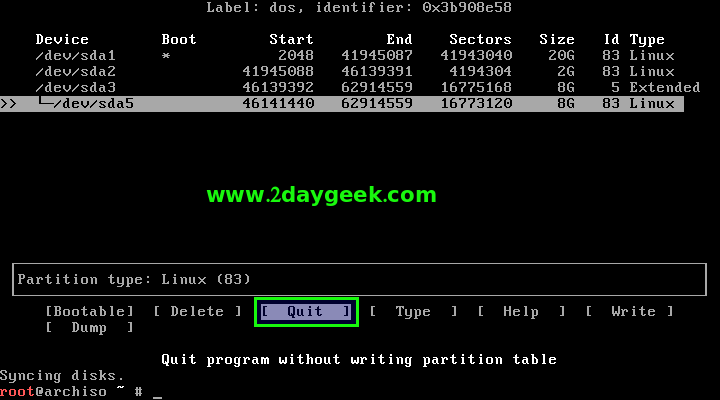
Use Down Arrow and choose Free Space, then Choose New partition >> Enter partition size 2G or 2048M >> choose the type of partition Extended >> Then, Use Down Arrow and choose Free Space, then Choose New Enter partition size 8G or 8192M >> Then, select Write to write the partition table >> choose Yes to save the changes >> Finally choose Quit to exit from partition manager.
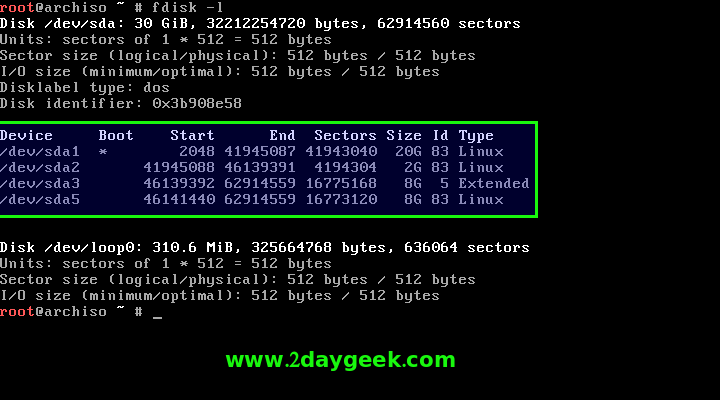
Verify the newly created partitions
# fdisk -l
It’s time to create file system by firing below commands
# mkfs.ext4 /dev/sda1
# mkfs.ext4 /dev/sda5
format and activate the Swap partition
# mkswap /dev/sda2
# swapon /dev/sda2
4) Perform Arch Base System installation
To Perform Arch Base System installation home & root partition must be mounted. Follow the below steps to mount it.
# mount /dev/sda1 /mnt
# mkdir /mnt/home
# mount /dev/sda5 /mnt/home
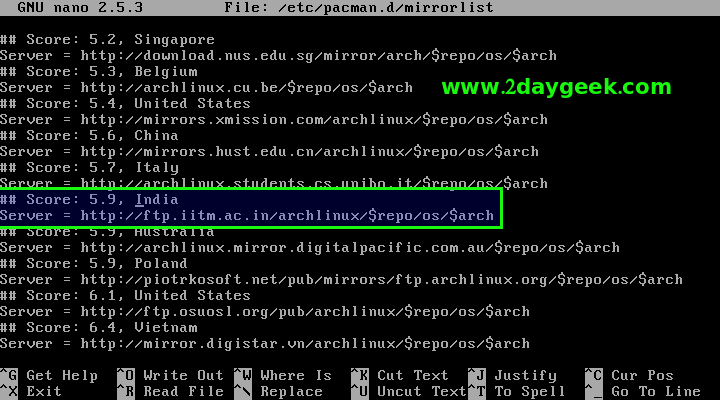
Move your country mirror server to top of the list for better speed.
# nano /etc/pacman.d/mirrorlist
Install Arch Linux base system by issuing below command.
# pacstrap /mnt base base-devel
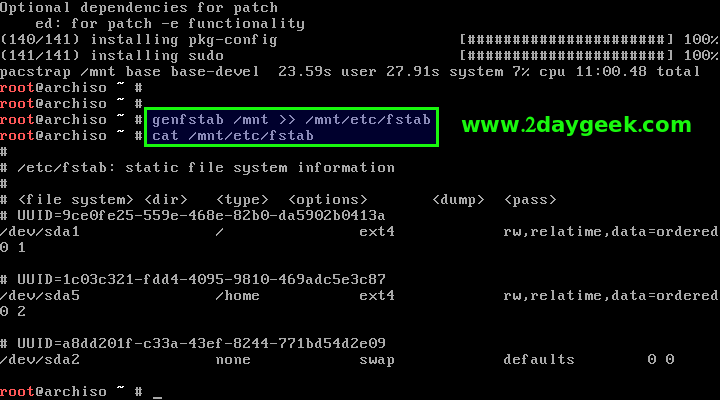
By default Arch wont have fstab file and we need to generate fstab file for new Arch Linux system by issuing below command.
# genfstab /mnt >> /mnt/etc/fstab
verify the fstab entries
# cat /mnt/etc/fstab
5) Perform Arch basic System Configuration
Till now we are in Arch Live ISO only. Switch to newly installed Arch Linux System to perform few basic configuration to make it production.
# arch-chroot /mnt
configure the system language by Uncommenting en_US.UTF-8 UTF-8 on /etc/locale.gen file, then save and close the file.
# nano /etc/locale.gen
en_US.UTF-8 UTF-8
generate the new locales by issuing below command.
# locale-gen
Create new locales conf file /etc/locale.conf and add below line on it, then save and close the
# nano /etc/locale.conf
LANG=en_US.UTF-8
assign system’s timezone based on your country. All the timezone file is located at /usr/share/zoneinfo/. I’m from India, so I’m adding Asia/Kolkata.
# ln -s /usr/share/zoneinfo/Asia/Kolkata /etc/localtime
Adjuse/Match the system time with UTC standard by issuing below command.
# hwclock --systohc --utc
Enable Network connections to access Internet on system.
# systemctl enable dhcpcd
# systemctl start dhcpcd
Set root user password.
# passwd
6) Grub installation
We have almost completed 90% of work and we need to install the boot loader to complete the installation.
# pacman -S grub os-prober
# grub-install /dev/sda
# grub-mkconfig -o /boot/grub/grub.cfg
We have successfully installed Arch Linux for production, finally exit from system and umount the partition /mnt & /mnt/home then reboot system.
# exit
# umount /mnt
# umount /mnt/home
# reboot
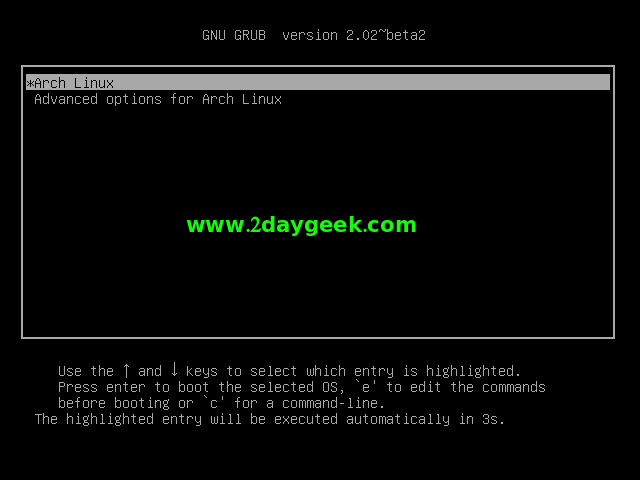
Arch Linux boot menu screen shot.
Enter User Name as root & password Your root password, then hit Enter. Yes, i have successfully logged in system.
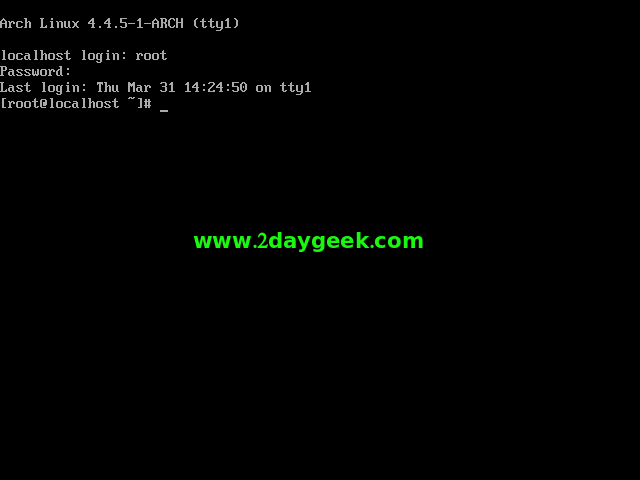
Enjoy…)