What is SVN ?
Subversion (often abbreviated SVN, after the command name svn) is a version control system, which allows you to keep old versions of files and directories (usually source code), keep a log of who, when, and why changes occurred, etc., like CVS, RCS or SCCS. Subversion keeps a single copy of the master sources. This copy is called the source repository. it contains all the information to permit extracting previous versions of those files at any time.
1) SVN Installation
Use the below commands to install SVN to RHEL/CentOS/Fedora systems. Make sure your system should have apache installed.
# Update yum repositories and packages #
root@2daygeek [~]# yum update

# Disable Selinux #
root@2daygeek [~]# nano /etc/selinux/config
SELINUX=disabled

# Installing svn packages #
root@2daygeek [~]# yum install subversion mod_dav_svn
2) Configure repository
To make SVN smooth, We need to create the directory, repository and assign proper permission too.
# Creating directory for SVN (you can create wherever you want) #
root@2daygeek [~]# mkdir /var/www/svn

# Creating repository for SVN #
root@2daygeek [~]# svnadmin create /var/www/svn/repos

# Assigning proper permission to SVN directory and repository #
root@2daygeek [~]# chown -R apache.apache /var/www/svn/repos/
3) Add SVN Users
To restrict unauthorized user, we need to create password file to access the SVN safely. Initially you’ll use the -cm arguments. This creates the file and also encrypts the password with MD5. If you need to add users make sure you simply use the -m flag, and not the -c after the initial creation.
# Creating New user for SVN #
root@2daygeek [~]# htpasswd -cm /etc/svn-auth-conf 2daygeek
New password:
Re-type new password:
Adding password for user 2daygeek

# Creating Another user for SVN #
root@2daygeek [~]# htpasswd -m /etc/svn-auth-conf mageshm
New password:
Re-type new password:
Adding password for user mageshm
4) Modify subversion.conf file
Navigate to /etc/httpd/conf.d/ directory and modify your subversion.conf file according to your repository.
# subversion.conf file #
root@2daygeek [~]# nano subversion.conf
# Make sure you uncomment the following if they are commented out
LoadModule dav_svn_module     modules/mod_dav_svn.so
LoadModule authz_svn_module   modules/mod_authz_svn.so

# Add the following to allow a basic authentication and point Apache to where the actual
# repository resides.
<Location /repos>
        DAV svn
        SVNPath /var/www/svn/repos
        AuthType Basic
        AuthName "Subversion repos"
        AuthUserFile /etc/svn-auth-conf
        Require valid-user
</Location>
5) Restart apache service
You have successfully configured SVN and finally restart the apache to access the svn link into web.
# Apache restart #
root@2daygeek [~]# service httpd restart
or
root@2daygeek [~]# /etc/init.d/httpd restart
6) Access the SVN in web
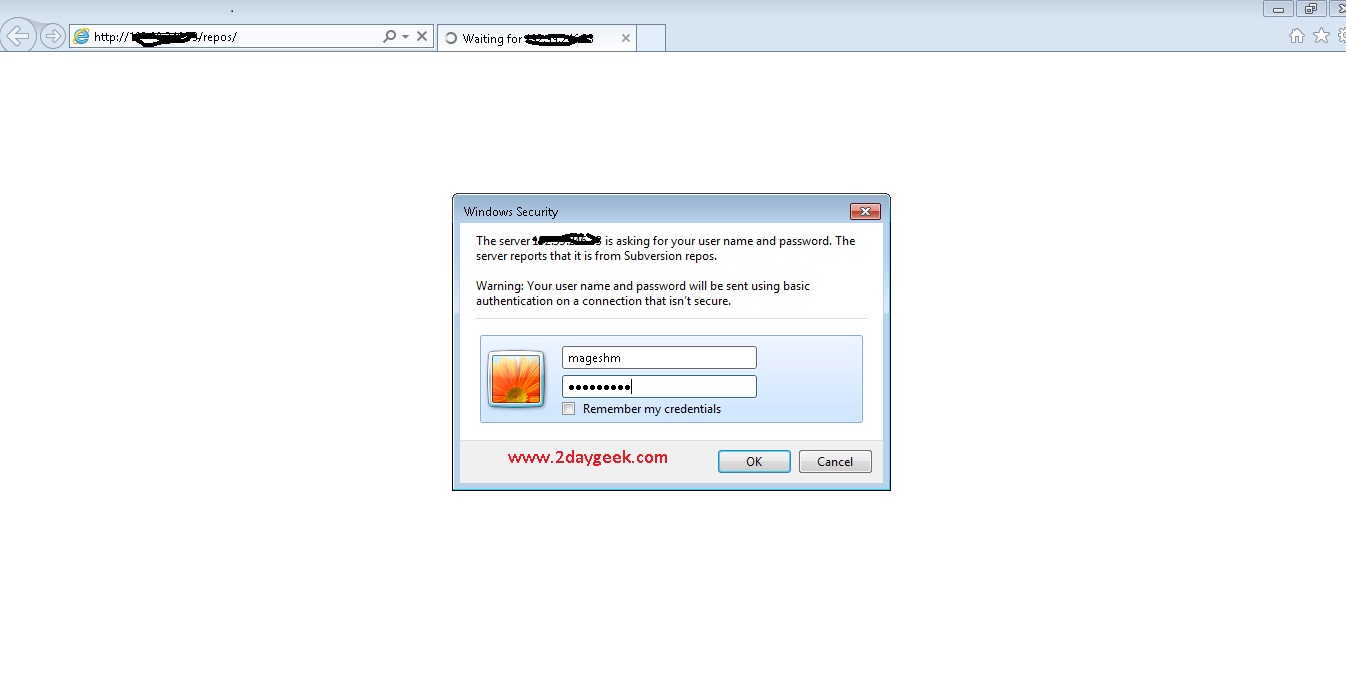
Navigate your bowser to http://yourserverip/repos/ to access it. It will ask you to enter the login details.
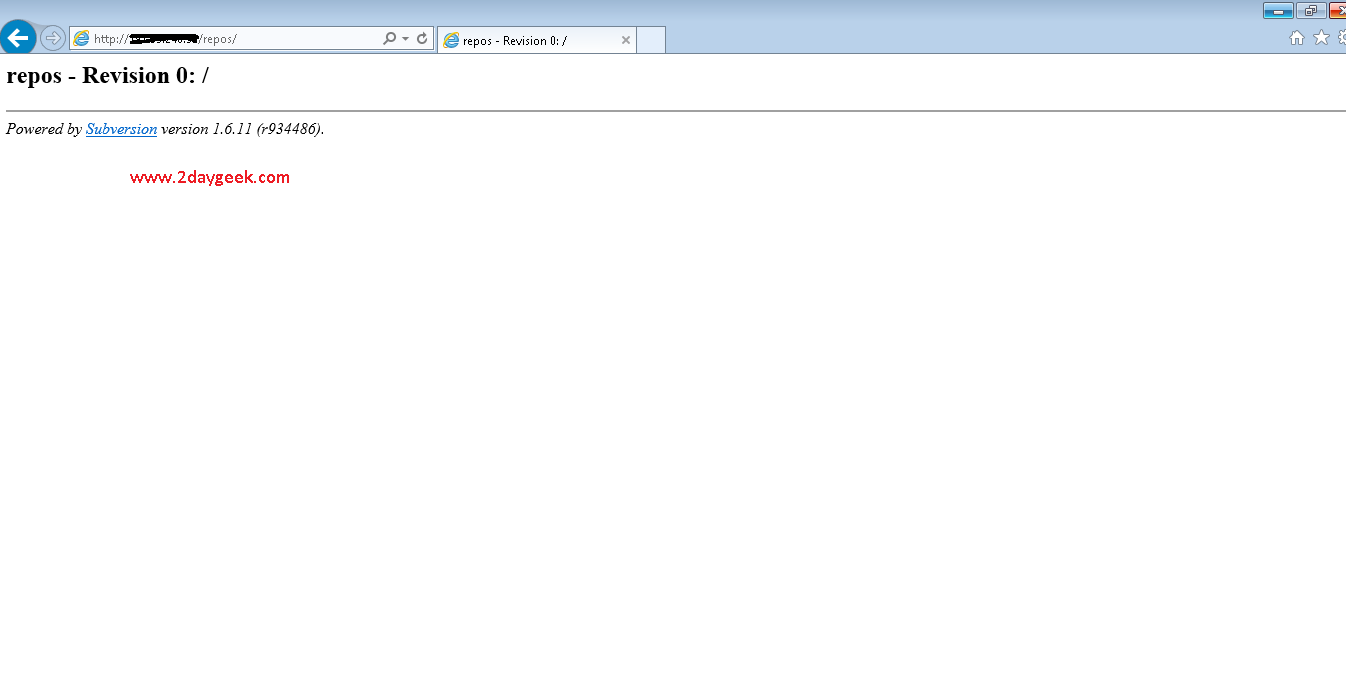
After successful login, you can see the subversion repo which you created.
7) Access the SVN from other Linux system
Your client system should have SVN installed to access the SVN repository.
# Install SVN client #
root@mageshm [~]# yum install subversion

# Access the SVN repository from client Linux machine #
root@mageshm [~]# svn co http://192.168.1.100/repos/
Authentication realm: <http://192.168.1.100:80> Subversion repos
Password for 'mageshm':
Committed revision 0.
That’s it now. In our next article, will explain how to create new project, how to import, how to add new file into svn, how to remove file into svn and how to rollback to older or newer revision. So, Please stay tune with 2daygeek for latest GEEKS..:)