What is Lighttpd ?
Lighttpd is an open source web server originally written by Jan Kneschke which is an alternative of the most popular webserver Apache. Lighttpd giving better performance such as speed, Security, compliance and flexibility compare with other webservers. it was designed and optimized for high performance environments with low memory & CPU utilization. Lighttpd support FastCGI which was widely using for dynamic websites. Lighttpd is handle 10000 connections in parallel on one server without any issue based on your server configuration. Lighttpd 1.4.35 is latest version which was released March 12, 2014. For more details
What is PHP-FPM ?
PHP-FPM (FastCGI Process Manager) is an alternative PHP FastCGI implementation with some additional features useful for sites of any size, especially busier sites. For more details about PHP-FPM
1) Enable EPEL Repository for Lighttpd
By default Lighttpd package is not available under RHEL 5.x,6.x,7.x/CentOS 5.x,6.x,7.x repositories. So we need to enable third party repositories such as REMI and EPEL. I’m using CentOS 7 so i’m adding below repositories and you need to add based on your OS version and architucture (32-bit or 64-bit). Run the below command’s to enable EPEL repositories on CentOS 7/ RHEL 7
root@server [~]# wget http://dl.fedoraproject.org/pub/epel/7/x86_64/e/epel-release-7-2.noarch.rpm
root@server [~]# rpm -ivh epel-release-7-2.noarch.rpm
2) Installing Lighttpd
Run the below command to install lighttpd on your system.
root@server [~]# yum install lighttpd

# Enable lighttpd on boot #
root@server [~]# systemctl enable lighttpd.service

# Start lighttpd service #
root@server [~]# systemctl start lighttpd.service
3) Lighttpd Index page
Open your web browser and navigate to http://localhost/ or http://your-server-ip-address/ or http://127.0.0.1/
4) MariaDB installation
Use the below command to install MariaDB. MariaDB is a opensource relational database management system (RDBMS) which is supporting database access.
root@server [~]# yum install mariadb mariadb-server

# Enable mariadb on boot #
root@server [~]# systemctl enable mariadb.service

# Start mariadb service #
root@server [~]# systemctl start mariadb.service

# mariadb Secure Install #
root@server [~]# mysql_secure_installation
Output : MariaDB Secure Installation
root@server [~]# mysql_secure_installation

/bin/mysql_secure_installation: line 379: find_mysql_client: command not found

NOTE: RUNNING ALL PARTS OF THIS SCRIPT IS RECOMMENDED FOR ALL MariaDB
      SERVERS IN PRODUCTION USE!  PLEASE READ EACH STEP CAREFULLY!

In order to log into MariaDB to secure it, we'll need the current
password for the root user.  If you've just installed MariaDB, and
you haven't set the root password yet, the password will be blank,
so you should just press enter here.

Enter current password for root (enter for none): [Press Enter]
OK, successfully used password, moving on...

Setting the root password ensures that nobody can log into the MariaDB
root user without the proper authorisation.

Set root password? [Y/n] y
New password: [Enter Your Password Here]
Re-enter new password: [Re-Enter Your Password Here]
Password updated successfully!
Reloading privilege tables..
 ... Success!

Remove anonymous users? [Y/n] y
 ... Success!

Disallow root login remotely? [Y/n] y
 ... Success!

Remove test database and access to it? [Y/n] y
 - Dropping test database...
 ... Success!
 - Removing privileges on test database...
 ... Success!

Reload privilege tables now? [Y/n] y
 ... Success!

Cleaning up...

All done!  If you've completed all of the above steps, your MariaDB
installation should now be secure.

Thanks for using MariaDB!
5) PHP-FPM & PHP modules installation
Use the below command to install PHP-FPM & PHP modules. PHP initially called Personal Home Page, now it is called asHypertext Preprocessor. PHP is a opensource software which is designed for web development purpose. It is used for server-side scripting language as well as general-purpose programming language.
root@server [~]# yum install php lighttpd-fastcgi php-fpm php-gd php-mysql php-cli php-xml php-pdo php-imap php-xmlrpc php-pear
By default it assigned to Apache and you need to change lighttpd to the user and group
root@server [~]# nano /etc/php-fpm.d/www.conf

GNU nano 2.3.1         File: /etc/php-fpm.d/www.conf                Modified

; Unix user/group of processes
; Note: The user is mandatory. If the group is not set, the default user's group
;       will be used.
; RPM: apache Choosed to be able to access some dir as httpd
user = lighttpd
; RPM: Keep a group allowed to write in log dir.
group = lighttpd

# Enable php-fpm on boot #
root@server [~]# systemctl enable php-fpm.service

# Start php-fpm service #
root@server [~]# systemctl start php-fpm.service
6) Enabling PHP5 (PHP-FPM) in Lighttpd
After the installation of lighttpd, we need to enable PHP5 in Lighttpd.
Step : 1 Un-comment the below line in php.ini file
root@server [~]# nano /etc/php.ini

GNU nano 2.3.1         File: /etc/php.ini                Modified

; this to 1 will cause PHP CGI to fix its paths to conform to the spec.  A sett$
; of zero causes PHP to behave as before.  Default is 1.  You should fix your s$
; to use SCRIPT_FILENAME rather than PATH_TRANSLATED.
; http://php.net/cgi.fix-pathinfo
cgi.fix_pathinfo=1
Step : 2 Un-comment the below line in modules.conf file
root@server [~]# nano /etc/lighttpd/modules.conf

GNU nano 2.3.1         File: /etc/lighttpd/modules.conf                Modified

## FastCGI (mod_fastcgi)
include "conf.d/fastcgi.conf"
Step : 3 Add the below line’s into end of fastcgi.conf file
root@server [~]# nano /etc/lighttpd/conf.d/fastcgi.conf

GNU nano 2.3.1         File: /etc/lighttpd/conf.d/fastcgi.conf                Modified

fastcgi.server += ( ".php" =>
        ((
                "host" => "127.0.0.1",
                "port" => "9000",
                "broken-scriptfilename" => "enable"
        ))
)
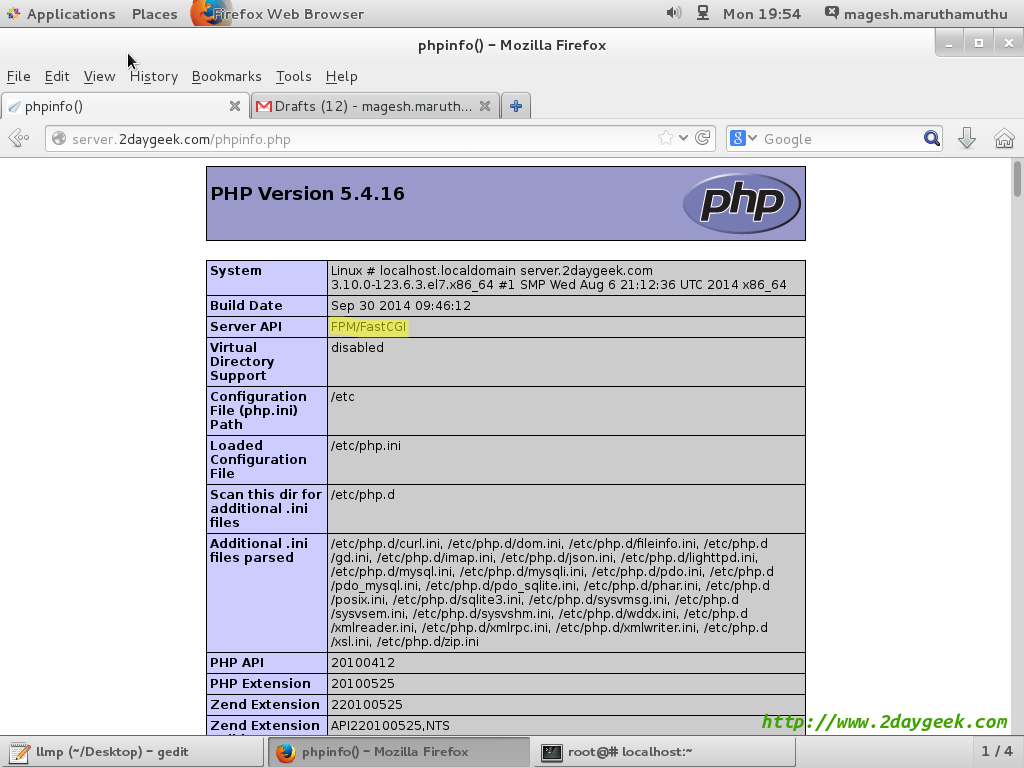
Step : 4 phpinfo file creation
root@server [~]# nano /var/www/lighttpd/phpinfo.php

GNU nano 2.3.1         File: /var/www/lighttpd/phpinfo.php                Modified
Step : 5 Run lighttpd syntax check
root@server [~]# lighttpd -t -f /etc/lighttpd/lighttpd.conf
Syntax OK
Step : 6 Reload & Restart lighttpd
root@server [~]# systemctl force-reload lighttpd.service

root@server [~]# systemctl restart lighttpd.service
Step : 7 Reload & Restart PHP-FPM
root@server [~]# systemctl reload php-fpm.service

root@server [~]# systemctl restart php-fpm.service
Open your web browser and navigate to http://localhost/phpinfo.php or http://your-server-ip-address/phpinfo.php or http://127.0.0.1/phpinfo.php
We are preparing all articles in-depth to understand by all level/stage Linux administrators. If the article is useful for you, then please spend less than a minute to share your valuable comments in our commenting section.
Please stay tune with us…Good Luck.