Linux has many GUI applications for viewing images. But have you ever tried a CLI application to view them or do you know if one exists?
Fortunately, while working with the ImageMagick tool I stumbled upon a command to view an image from the terminal.
The command name is “display”, which is part of the ImageMagick tool. This is a great tool that allows NIX users to view images from the terminal.
Also, I got another great tool called FIM for this purpose. We will show you how to install and use it to view images from the Linux terminal.
These commands use the system’s framebuffer to display images directly from the command line.
1) Viewing images from terminal using display command
ImageMagick is a free and open source, feature-rich, command-line based image manipulation tool. It is used to create, edit, compose, or convert bitmap images.
It can read and write images in a variety of formats (over 200) including PNG, JPEG, GIF, PDF, SVG, etc.
It can resize, mirror, rotate, transform images, adjust image colors, apply various special effects, etc. It also supports batch process, which allow you to process several images at once.
1.a) How to Install ImageMagick?
The ImageMagick package is included in the official repository of most Linux distributions. Use the distribution package manager to install it.
Make a note: Make sure you already have “Development Tools” installed on your Linux system as a prerequisite for this.
For RHEL/CentOS 6/7 systems, use the yum command to install ImageMagick:
$ sudo yum install -y ImageMagick ImageMagick-devel
For RHEL/CentOS 8 and Fedora systems, use the dnf command to install ImageMagick:
$ sudo dnf install -y ImageMagick ImageMagick-devel
For Debian/Ubuntu systems, use the apt command or apt-get command to install ImageMagick:
$ sudo apt-get update
$ sudo apt-get install imagemagick
For openSUSE systems, use the zypper command to install ImageMagick:
$ sudo zypper install -y ImageMagick
1.b) Viewing images with display command
To view any image file, run the ‘display’ command as follows. You can close the image by pressing the "Esc/q" button.
$ display bird.jpg

If you want to open an image with the specified size of the window, use the "-geometry" flag:
$ display -geometry 1000x600 ~/Downloads/bird.jpg
You can also input position information of the image with the ‘display’ command. The below command opens your image ‘800’ pixels from the top and ‘800’ pixels from the top left corner of your desktop:
$ display -geometry 1000x600+800+800 ~/Downloads/bird.jpg
If you want to ‘resize’ the image with the display command, use the following format.
$ display -resize 600x400 ~/Downloads/bird.jp
Alternatively, you can use ‘%’ to resize the image:
$ display -resize 50% ~/Downloads/bird.jpg
2) How to display images from the terminal using fim command
FIM is a lightweight global image viewer designed specifically for Linux. But it is not limited to Linux and can be configured to run on other OS such as MS-Windows.
It is highly customizable and scriptable image viewer for users who are familiar with software’s like the VIM text editor.
It displays the image in full screen and can be easily controlled using the keyboard shortcuts. It’s a lightweight tool as it only depends on a few libraries.
It can open many file formats and can display images in the following video modes:
- Graphically, with the Linux framebuffer device
- Graphically, under X/Xorg, using the SDL library
- Graphically, under X/Xorg, using the Imlib2 library
- Rendered as ASCII Art in any textual console, using the AAlib library
The right video mode gets auto-detected or selected at runtime, and may be opted in/out before build at configure time, if desired. FIM stands for Fbi IMproved, which is the fork of the Fbi Image viewer.
2.a) Installing fim in Ubuntu/Debain
FIM can be easily installed on Debian/Ubuntu based systems as the package is available in the distribution official repository. For other distributions, you may need to compile it from the source.
$ sudo apt install fim
2.b) Viewing images with fim
Once installed, you can display an image using the following command:
$ fim bird.jpg
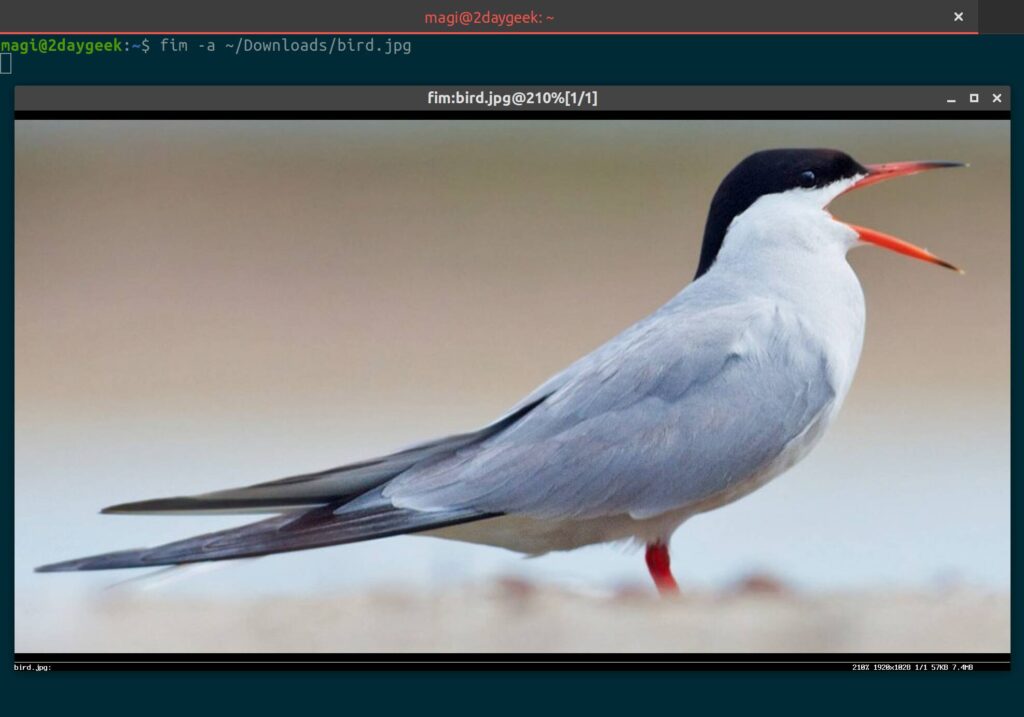
You can automatically zoom an image using the "-a" option:
$ fim -a bird.jpg
If you want to open multiple image files in the current directory, use the wildcard to open them all. Use the “Pageup/Down” keyboard shortcuts to move to the next or previous image:
$ fim -a *.jpg
To view the image in ASCII format, you can use the “-t” flag:
$ fim -t bird.jpg
The below keyboard shortcuts allow you to control the images:
- PageUp/Down : Prev/Next image
- +/- : Zoom in/out
- a : Autoscale
- w : Fit to width
- ESC/q : Quit
Closing Notes
In this article, we have explained various CLI commands that can be used to view images on a Linux terminal.
If you have any questions or feedback, feel free to comment below and we will get back to you as soon as we can. Happy Learning!
One Comment on “How to view images from Linux terminal”