Screen recording or screencasting is a very useful tool for users whoever making video tutorials for software applications review.
Screen recording is not limited only to a specific set of people and anybody can use it to capture their activity for some purpose.
Simple Screen Recorder is an open-source screen recorder application which was developed by Maarten Baert.
It’s having a simple GUI built with QT libraries that will capture a video-audio record of the entire computer screen or part of it.
SSR is a pretty powerful application that has a lot of features with comes a straightforward user interface.
There were already a few tools available for screen recording, however, it’s easier to use compared with other tools.
Use default settings without changing anything if you don’t have any specific requirements.
Simple Screen Recorder Features
- Qt-based Graphical user interface
- Faster than VLC and ffmpeg/avconv
- Records the entire screen or part of it
- Records OpenGL applications directly
- Synchronizes audio and video properly
- Reduces the video frame rate if your computer is too slow
- Fully multithreaded
- Pause and resume recording at any time
- Shows statistics during recording
- Can see preview during recording
- Uses libav/ffmpeg libraries for encoding
Installing Simple Screen Recorder in Linux
SSR can be installed from the official distribution repositories. Use the following commands based on your distribution.
On Ubuntu/Debian/Linux Mint:
$ sudo apt-get update
$ sudo apt-get install simplescreenrecorder
Install the below library if you want to record 32-bit OpenGL applications on a 64-bit system.
$ sudo apt-get install simplescreenrecorder-lib:i386
On ArchLinux/Manjaro:
$ sudo pacman -S simplescreenrecorder
$ sudo pacman -S lib32-simplescreenrecorder
On Fedora:
Simple Screen Recorder is available in the RPM Fusion reposity. RPM Fusion can be installed using the below command.
SSR can be installed post activation of RPM Fusion.
$ sudo dnf install http://download1.rpmfusion.org/free/fedora/rpmfusion-free-release-stable.noarch.rpm
$ sudo dnf install simplescreenrecorder
How to Use Simple Screen Recorder?
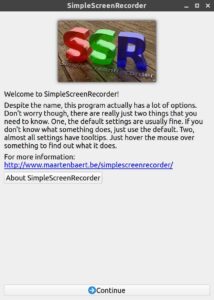
SSR can be launched from the application menu, you will see the following welcome screen every time you launch SSR. Please click the Continue button to open the application for other customization.
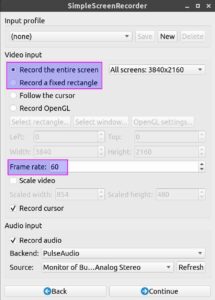
Though the SSR comes with sensible default settings, which can be customized based on your requirements for Input Profile through the below window. Often the user will change the video input and frame rate and the rest of the settings may be the same. Once you made the changes click the Continue button
Video Input – Either the entire screen or fixed rectangle
Frame rate – Default 30, i preferred to use 60.
The below window allows users to customize the output settings. Choose the video format and destination folder where your recorded video file will be saved. Click the Continue button after the configuration.

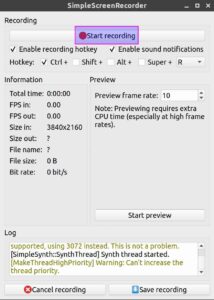
Everything is configured and one step left for recording. Simply click the Start recording button and perform the activity that you want to capture.
When the activity is complete just click on Save recording then recorded video file will be saved on your computer.
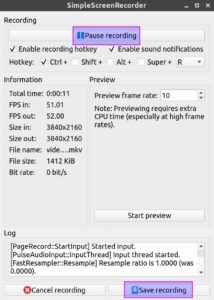
In between your activity if you need some break hit the Pause recording and resume it when you want to continue the capture. The below message you will get when your screen has been recorded:

