LEMP stack stands for Linux, Nginx, MySQL, MariaDB, MongoDB, PHP, Perl, Python & phpMyAdmin. LEMP is bunch of open source software which is developed by different organization.
NGINX stands for engine-x is a free, open-source, high-performance HTTP server and reverse proxy, as well as an mail (IMAP/POP3) proxy server. Nginx is known for its high performance, stability, rich feature set, simple configuration, and low resource consumption.
Currently 146 million websites use NGINX to deliver super-fast web experiences. The big companies like (WordPress, facebook, GitHub & cloudflare, etc..) using nginx.
PHP-FPM (FastCGI Process Manager) is an alternative PHP FastCGI implementation with some additional features useful for sites of any size, especially busier sites. For more details about PHP-FPM.
Remove Existing LAMP stack
If you are planning to install NGINX, I advise you to remove your existing LEMP stack completely to avoid conflicts. Use the below single command to purge everything.
[Remove Existing LAMP Stack]
$ sudo apt-get purge apache2* php5* mysql* phpmyadmin*
$ sudo apt-get autoremove
$ sudo apt-get autoclean
[Remove Apache Configuration files]
$ whereis apache2
$ sudo rm -Rf /usr/sbin/apache2 /usr/lib/apache2 /etc/apache2 /usr/share/apache2 /usr/share/man/man8/apache2.8.gz
[Remove MySQL Configuration files]
$ sudo rm -Rf /var/lib/mysql/
$ sudo rm -Rf /etc/mysql/
Then recheck once, if anything still available. Using below commands.
$ dpkg -l | grep apache2*
$ dpkg -l | grep php5*
$ dpkg -l | grep mysql*
$ dpkg -l | grep phpmyadmin*
1) Install Nginx
By default you will get Nginx older version from Ubuntu repository (except 16.04 LTS) but current stable version is Nginx 1.9.1, So you need to add Nginx Repository to get latest stable version of Nginx on your system. use the below commands to do it.
$ sudo sh -c "echo 'deb http://nginx.org/packages/ubuntu/ `lsb_release -cs` nginx' >> /etc/apt/sources.list"
$ sudo sh -c "echo 'deb-src http://nginx.org/packages/ubuntu/ `lsb_release -cs` nginx' >> /etc/apt/sources.list"
$ curl http://nginx.org/keys/nginx_signing.key | apt-key add -
$ sudo apt-get update
$ sudo apt-get install nginx
Nginx Version checking
$ nginx -v
nginx version: nginx/1.9.15 (Ubuntu)
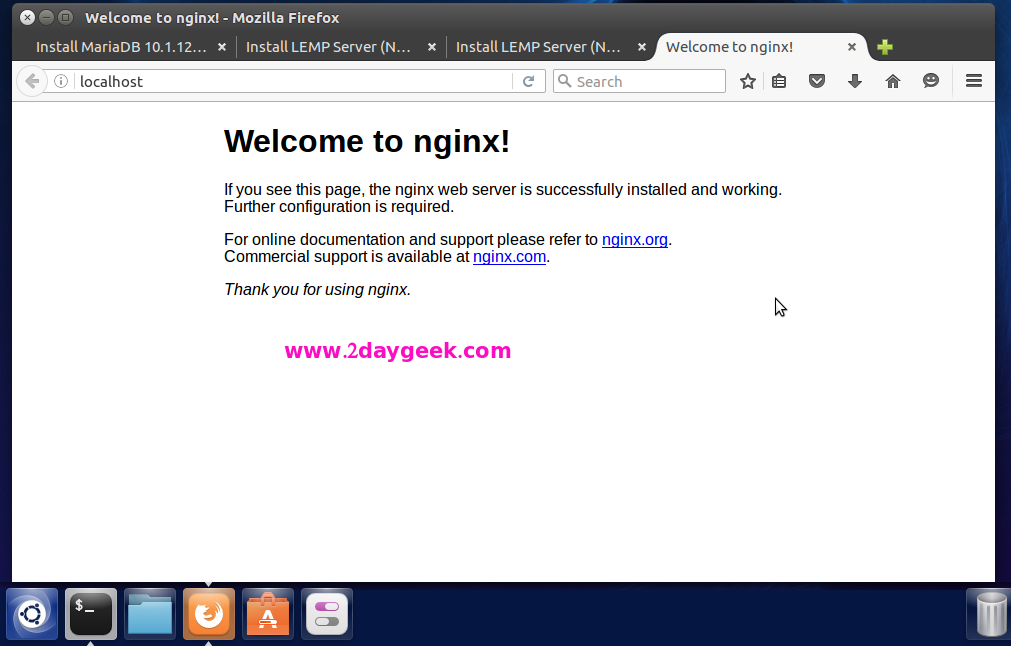
2) Check Nginx Index page
Open your web browser and navigate to http://localhost/ or http://your-server-ip-address/ or http://127.0.0.1/
3) MariaDB installation
MariaDB is a drop-in replacement for MySQL. MariaDB is open source relational database management system (RDBMS) which is supporting database access. By default all the distribution included MariaDB 5.x to own repository, if you want to install, simply you can run apt-get install mariadb-server and i want to install MariaDB 10.x Which is not included in distribution repository. So, i’m going to add MariaDB repo to our system.
[Add MariaDB 10.1 Repo]
$ sudo apt-get install software-properties-common
$ sudo apt-key adv --recv-keys --keyserver hkp://keyserver.ubuntu.com:80 0xcbcb082a1bb943db
$ sudo add-apt-repository 'deb [arch=amd64,i386] http://mirrors.opencas.cn/mariadb/repo/10.1/ubuntu '$(lsb_release -cs)' main'
$ sudo apt-get update
$ sudo apt-get -y install mariadb-server

[Start, enable & status checking systemd System]
$ sudo systemctl start mariadb.service
$ sudo systemctl enable mariadb.service
$ sudo systemctl status mariadb.service

[Start, enable & status checking Sysvinit System]
$ sudo service mysqld start
$ sudo chkconfig mysqld on
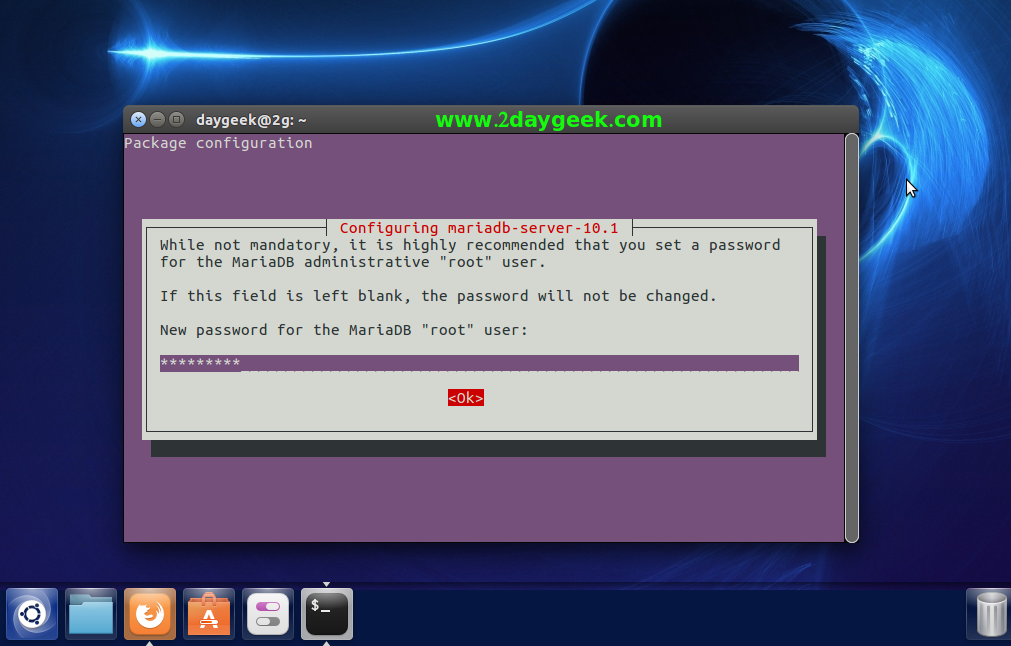
While installing MariaDB server, it will ask you to set root password for MariaDB.
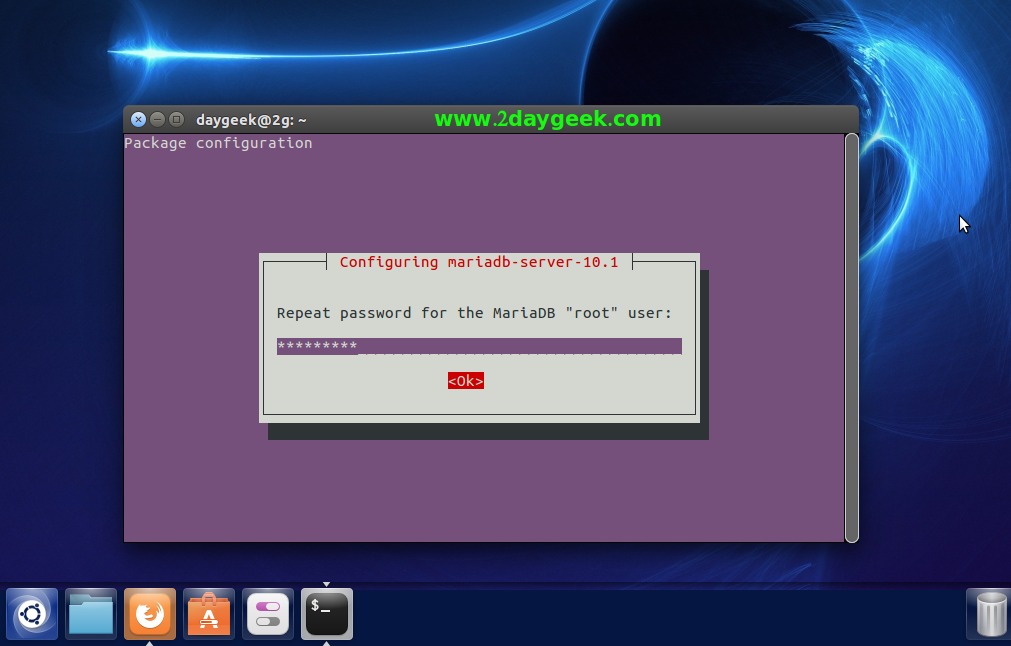
Confirm the root password for MariaDB.
3a) Set MySQL root password
By default Ubuntu based systems will ask for MariaDB password while perform the installation and We need to run mysql_secure_installation command to adjust other settings to make more secure such as removing anonymous users, Disallow root login remotely, Remove test database and access & Reload privilege tables.
[MariaDB Secure installation]
$ sudo mysql_secure_installation

Enter current password for root (enter for none): Enter Your Current Password
OK, successfully used password, moving on...

Set root password? [Y/n] n
 ... skipping.

Remove anonymous users? [Y/n] y
 ... Success!

Disallow root login remotely? [Y/n] y
 ... Success!

Remove test database and access to it? [Y/n] y
 - Dropping test database...
 ... Success!
 - Removing privileges on test database...
 ... Success!

Reload privilege tables now? [Y/n] y
 ... Success!

Cleaning up...

All done!  If you've completed all of the above steps, your MariaDB
installation should now be secure.

Thanks for using MariaDB!
4) PHP-FPM & PHP modules installation
Use the below command to install PHP-FPM & PHP modules. PHP initially called Personal Home Page, now it is called asHypertext Preprocessor. PHP is a open source software which is designed for web development purpose. It is used for server-side scripting language as well as general-purpose programming language.
[Install php5 old systems]
$ sudo apt-get install php5 php5-fpm php5-mysql php5-cli php5-curl php5-gd php5-mcrypt

[Install php7]
$ sudo apt-get install php7.0 php7.0-fpm php7.0-mysql php7.0-mbstring php7.0-common php7.0-gd php7.0-mcrypt php-gettext php7.0-curl php7.0-cli php7.0-xml
Configure PHP
We need to make small changes on php.ini file to make it work php-fpm properly. open php.ini file on your favorite text editor and find cgi.fix_pathinfo= then uncomment it and change from 1 to 0.
[For php5]
$ sudo nano /etc/php5/fpm/php.ini

[For php7]
$ sudo nano /etc/php/7.0/fpm/php.ini

cgi.fix_pathinfo=0
By default PHP-FPM listens the socket on fpm.sock and its not effective one. So we need to change the listening settings on /etc/php5/fpm/pool.d/www.conf & /etc/php/7.0/fpm/pool.d/www.conf. From listen = /var/run/php5-fpm.sock & listen = /run/php/php7.0-fpm.sock to listen = 127.0.0.1:9000 to listen TCP. Just open the file www.conf and do it.
[For php5]
$ sudo nano /etc/php5/fpm/pool.d/www.conf
;listen = /var/run/php5-fpm.sock

[For php7]
$ sudo nano /etc/php/7.0/fpm/pool.d/www.conf
;listen = /run/php/php7.0-fpm.sock

listen = 127.0.0.1:9000
5) Nginx Configuration
Need to make lots of changes on your Nginx default config file to make it Nginx work properly.
Open /etc/nginx/nginx.conf file on your favorite text editor and change worker_processes values according your CPU count. For CPU count use lscpu command. I’m having 4 CPU’s that’s why i added 4. Also check Nginx User, it should be www-data
$ nano /etc/nginx/nginx.conf

user www-data;
worker_processes 4;
Note : 1) When you are installing Nginx from Ubuntu Repository, it will create default conf file under /etc/nginx/sites-available/default
2) When you are installing Nginx from Nginx Repository, it will create default conf file under /etc/nginx/conf.d/default. So, don’t get confuse
3) Nginx Default Document Root : /usr/share/nginx/html but when you installing Nginx from distribution repository, web root location will be /var/www/html. It’s your wish to keep or change the location.
Open default Virtual host configuration file /etc/nginx/sites-available/default (I have installed from Ubuntu repository, so my location should be this) on your favorite text editor and uncomment below lines. Also add/modify below colored lines on your file. I have removed all the unwanted lines from this file for clear explanation. Add your FQDN (server.2daygeek.com) instead of us.
$ sudo nano /etc/nginx/sites-available/default

# Web root location & port listening #
	server
	{
        listen 80;
	server_name server.2daygeek.com;
        root /usr/share/nginx/html;
        index index.php index.html index.htm;

# Redirect server error pages to the static page #
        location /
	{
	try_files $uri $uri/ /index.php;
        }
        error_page 404 /404.html;
        error_page 500 502 503 504 /50x.html;
        location = /50x.html
	{
        root /usr/share/nginx/html;
        }

# Pass the PHP scripts to FastCGI server #
	location ~ \.php$
	{
        try_files $uri =404;
        fastcgi_pass 127.0.0.1:9000;
	fastcgi_param SCRIPT_FILENAME $document_root$fastcgi_script_name;
        fastcgi_index index.php;
        include fastcgi_params;
        }
	}
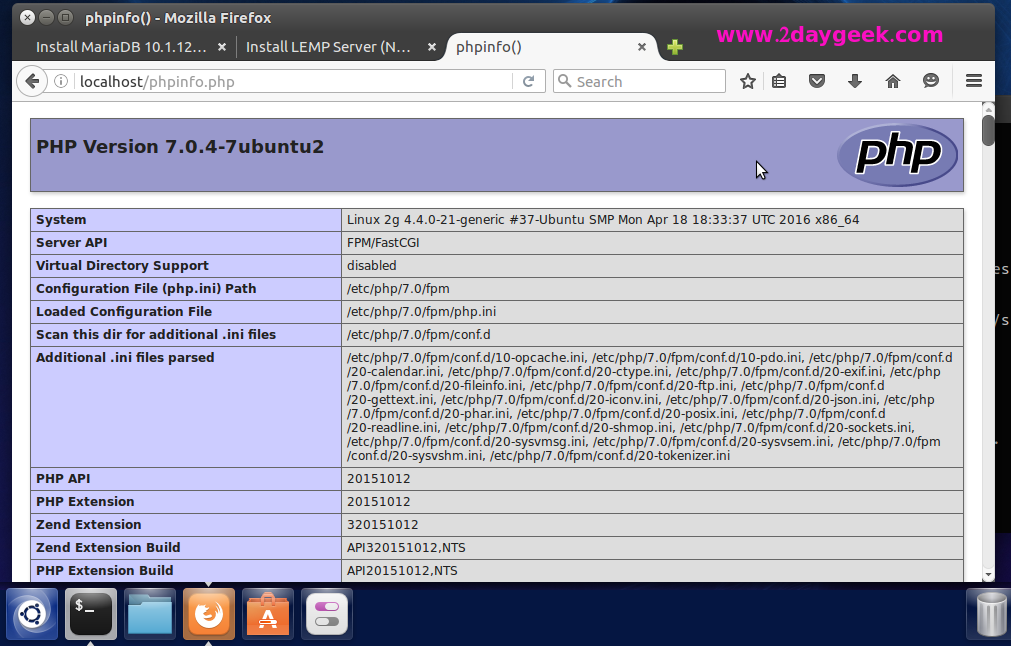
6) Test PHP Configuration
Finally create the phpinfo.php file on web server root directory to test the php configuration.
$ sudo nano /usr/share/nginx/html/phpinfo.php

<?php
 phpinfo();
?>
Run nginx configuration test
$ sudo nginx -t
nginx: the configuration file /etc/nginx/nginx.conf syntax is ok
nginx: configuration file /etc/nginx/nginx.conf test is successful
Restart & Reload Necessary Services to take effect.
[Restart Nginx & php-fpm service on Systemd Systems]
$ sudo systemctl reload nginx.service
$ sudo systemctl restart nginx.service

[php5 System]
$ sudo systemctl restart php5-fpm.service

[php7 system]
$ sudo systemctl restart php7.0-fpm.service

[Restart Nginx & php-fpm service on Systemd Systems]
$ sudo service nginx reload
$ sudo service nginx restart
$ sudo service php5-fpm restart
Open your web browser and navigate to http://localhost/phpinfo.php or http://your-server-ip-address/phpinfo.php or http://127.0.0.1/phpinfo.php
7) Install phpMyAdmin
phpMyAdmin is a free open-source web-based administration tool for managing the MySQL, MariaDB servers which will help us to manage the database easily.
$ sudo apt-get -y install phpmyadmin
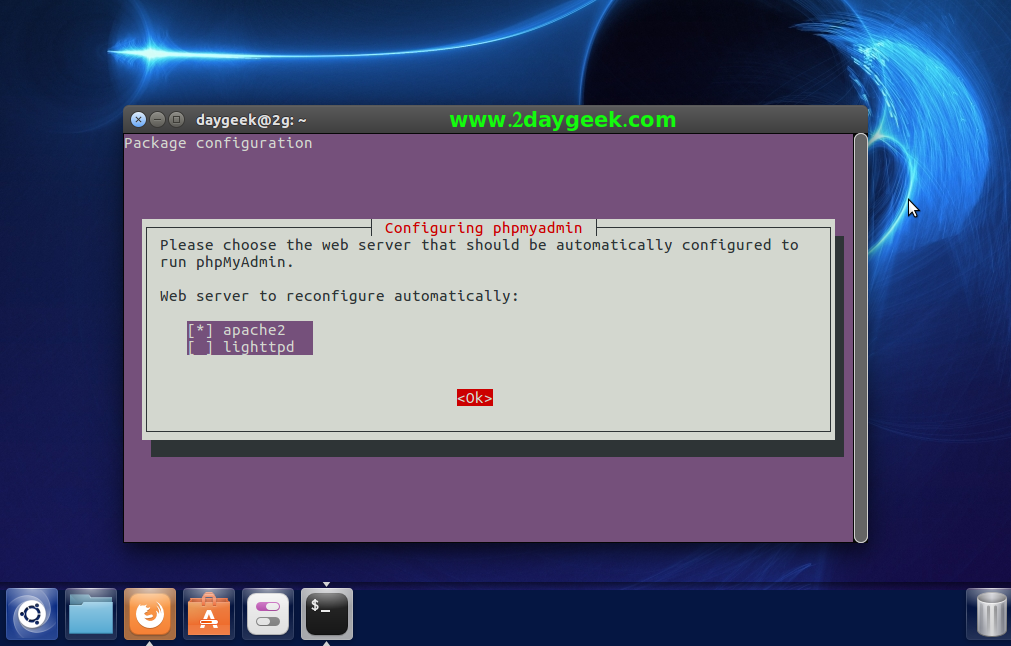
In my case, i’m using Nginx and its not listed here, so select the apache webserver to configure phpMyAdmin automatically. later we can create symlink.
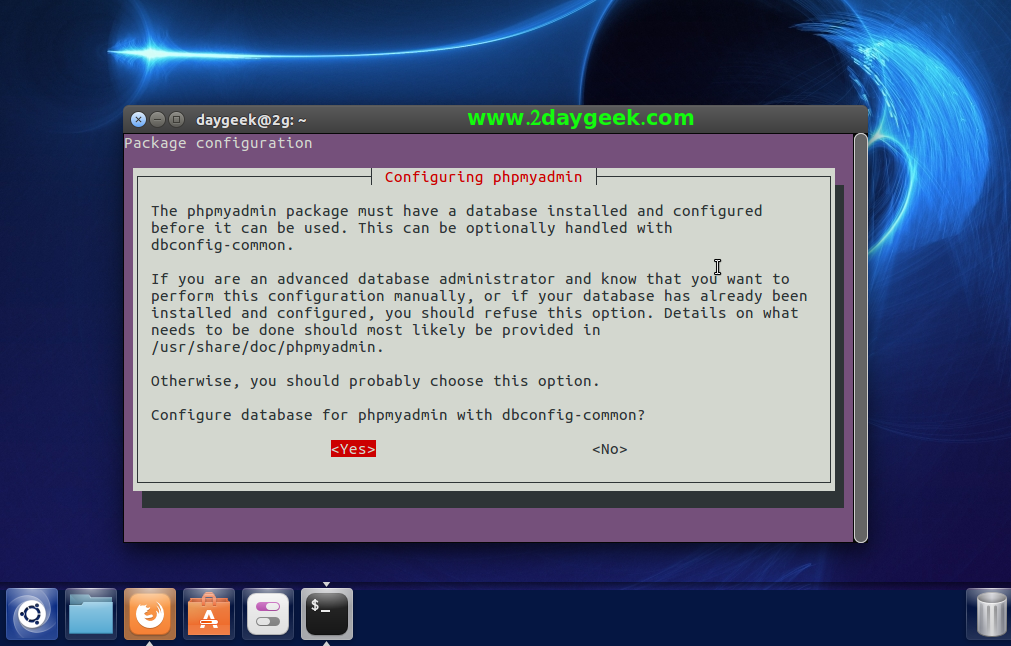
Make sure your system should have database installed (MySQL, MariaDB, etc) before proceeding phpMyAdmin installation. Here choose Yes to configure database for phpmyadmin with dbconfig-common.
Enter password for phpmyadmin database.
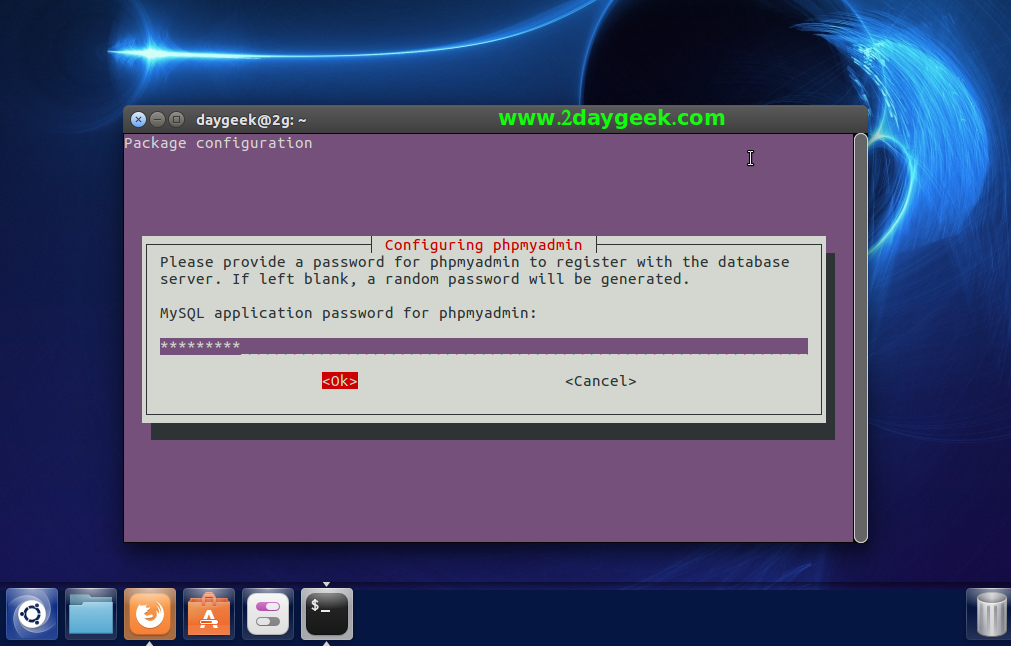
Confirm the password for phpmyadmin database.

Just create symlink from /usr/share/phpMyAdmin to /usr/share/nginx/html this will do the trick
[Create Symlink]
ln -s /usr/share/phpMyAdmin /usr/share/nginx/html

[Restart Nginx service]
$ sudo systemctl restart nginx.service    [For Systemd Systems]
$ sudo service nginx restart    	  [For Systemd Systems]
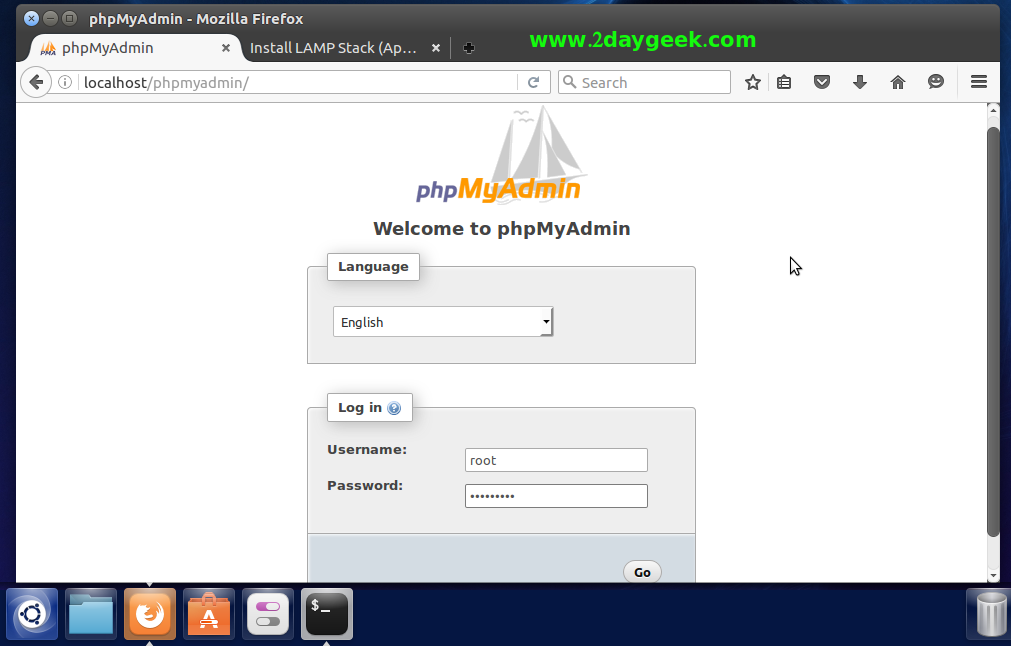
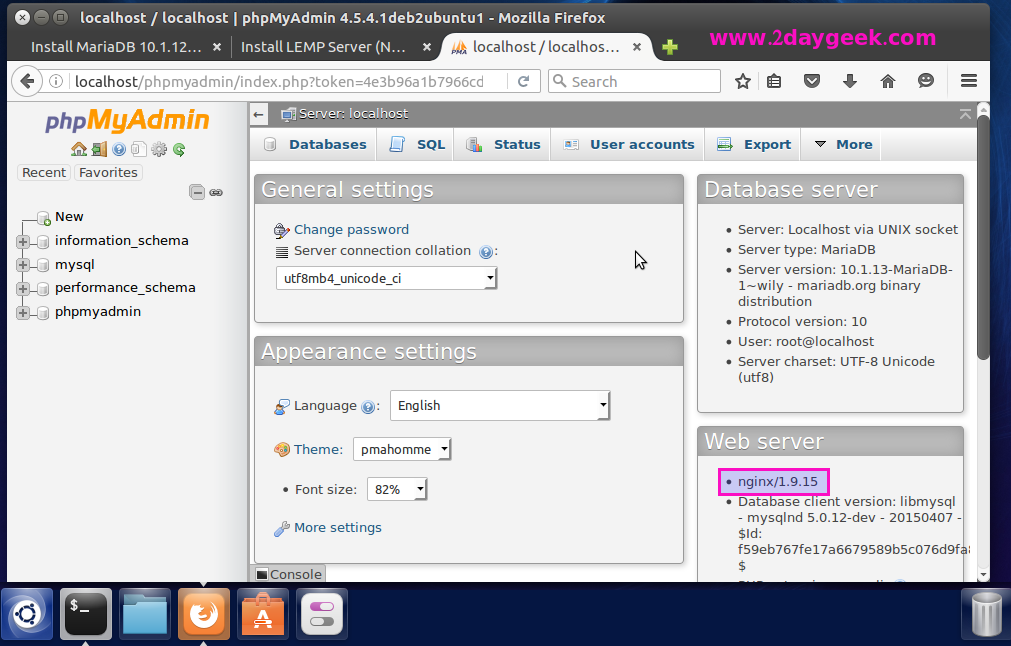
Open your web browser and navigate to http://localhost/phpMyAdmin or http://your-server-ip-address/phpMyAdmin or http://127.0.0.1/phpMyAdmin
Enter the Mysql root password to login phpmyadmin.
After logged into phpmyadmin, you will get the below screen.
We are preparing all articles in-depth to understand by all level/stage Linux administrators. If the article is useful for you, then please spend less than a minute to share your valuable comments in our commenting section.
Please stay tune with us…Good Luck.
Just got it working on AWS-EC2-Ubuntu16.04 + Worpress/vsftpd/phpmyadmin.
Thanks for the great LEMP Stack tuts.This one only worked for me without major problems.
The more detailed codes would be great to beginners like me.
Belows are the codes that I had to create.
1. sudo -s & passwd for root : in the beggining
2. service nginx restart : after nginx installation
3. Symlink for phpmyadmin : 404 result. It don`t work for me for some reason. So I manually installed it with newest one and it worked.