Have you ever had the opportunity to resize an active root partition in Linux? If not, don’t worry, today, we will be discussing it. Disk partitioning is one of the best topics in Linux.
In this article, we will teach you how to resize the active root partition in Linux using the ‘GParted’ tool. Let’s assume you only have 30GB disk and you have configured the entire disk as a single partition while installing the Ubuntu operating system.
Now, you want to create a separate partition from that root partition for another purpose. If yes, you need to resize it. This is not limited to the root partition, and you can resize any partition available in the system.
If you have LVM configured on your system, you do not need to worry about file system resizing, as LVM allows you to resize the file system whenever you need it.
Resizing an active root partition is not a good idea, as it can lead to system crashes if you make a mistake. However, we are going to do this because there is no way to free up the file system.
Note: Make sure you back up important data before performing this operation, as your data can be easily retained in the event of a failure such as a power outage or a system restart during operation.
What is Gparted?
GParted is a free partition manager that enables you to resize, copy, and move partitions without data loss. All features of the GParted application can be used by using the GParted Live bootable image. GParted Live is a cross-platform tool that can be used on Linux, Windows and Mac OS X.
Checking disk space usage in Linux
Active partitions can be found in the Linux system using the df command. The following output clearly shows that we have only one partition with 30GB of space.
$ df -h
Filesystem      Size  Used Avail Use% Mounted on
/dev/sda1        30G  3.4G 26.2G  16% /
none            4.0K     0  4.0K   0% /sys/fs/cgroup
udev            487M  4.0K  487M   1% /dev
tmpfs           100M  844K   99M   1% /run
none            5.0M     0  5.0M   0% /run/lock
none            498M  152K  497M   1% /run/shm
none            100M   52K  100M   1% /run/user
Checking disk partition in Linux
Disk partitions in Linux system can be verified in many ways, we will use ‘fdisk’ command to check the disk partitions in the system.
$ sudo fdisk -l
[sudo] password for daygeek:

Disk /dev/sda: 33.1 GB, 33129218048 bytes
255 heads, 63 sectors/track, 4027 cylinders, total 64705504 sectors
Units = sectors of 1 * 512 = 512 bytes
Sector size (logical/physical): 512 bytes / 512 bytes
I/O size (minimum/optimal): 512 bytes / 512 bytes
Disk identifier: 0x000473a3

   Device Boot      Start         End      Blocks   Id  System
/dev/sda1   *        2048    62609407    31303680   83  Linux
/dev/sda2        62611454    64704511     1046529    5  Extended
/dev/sda5        62611456    64704511     1046528   82  Linux swap / Solaris
1) Downloading GParted live ISO image
Make sure to copy the latest GParted ISO image from their download page then use the wget command to download it.
$ wget https://downloads.sourceforge.net/gparted/gparted-live-1.2.0-1-amd64.iso
2) Booting the system with GParted live media
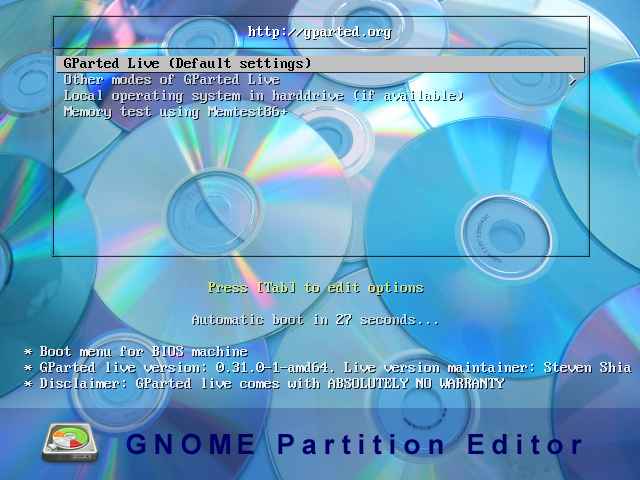
Boot your system with a GParted live installation media such as a burned CD/DVD or USB or ISO image. When you boot the system with GParted live media you will get an output similar to the below screen. Choose GParted Live (Default settings) and press Enter.
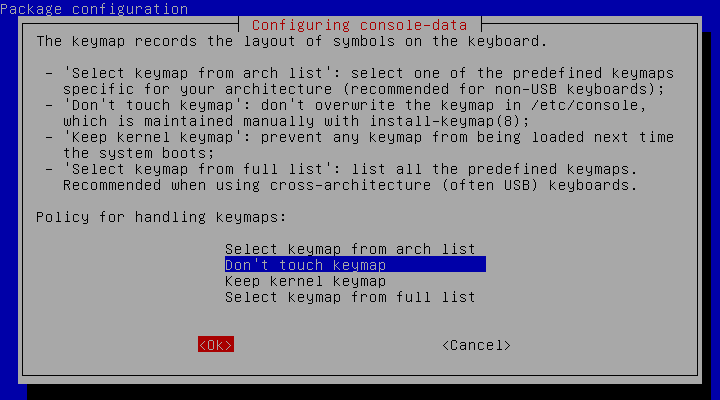
3) Keyboard selection
By default it chooses the second option, and press Ok to proceed:
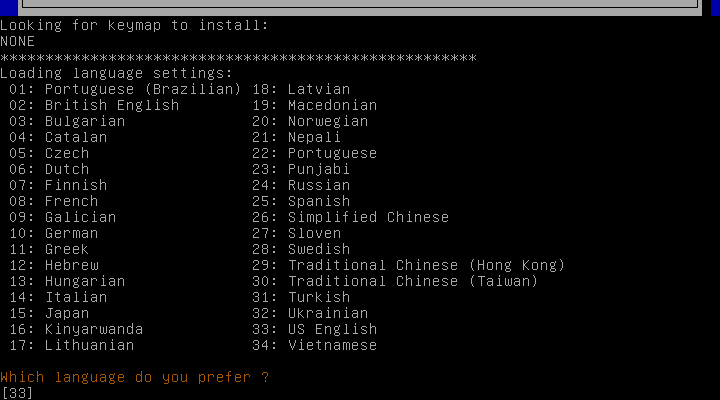
4) Language selection
By default, it chooses 33 for language that represents ‘US English’, and press Enter to proceed:
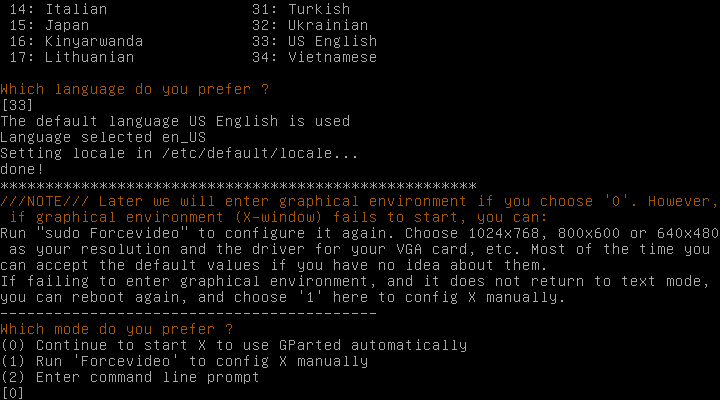
5) Mode selection (GUI or Command-Line)
By default, it selects 0 indicating GUI mode, and press Enter to proceed:
6) Loaded GParted live screen
Now, the GParted live screen is successfully loaded, and it displays the active partitions in the system:
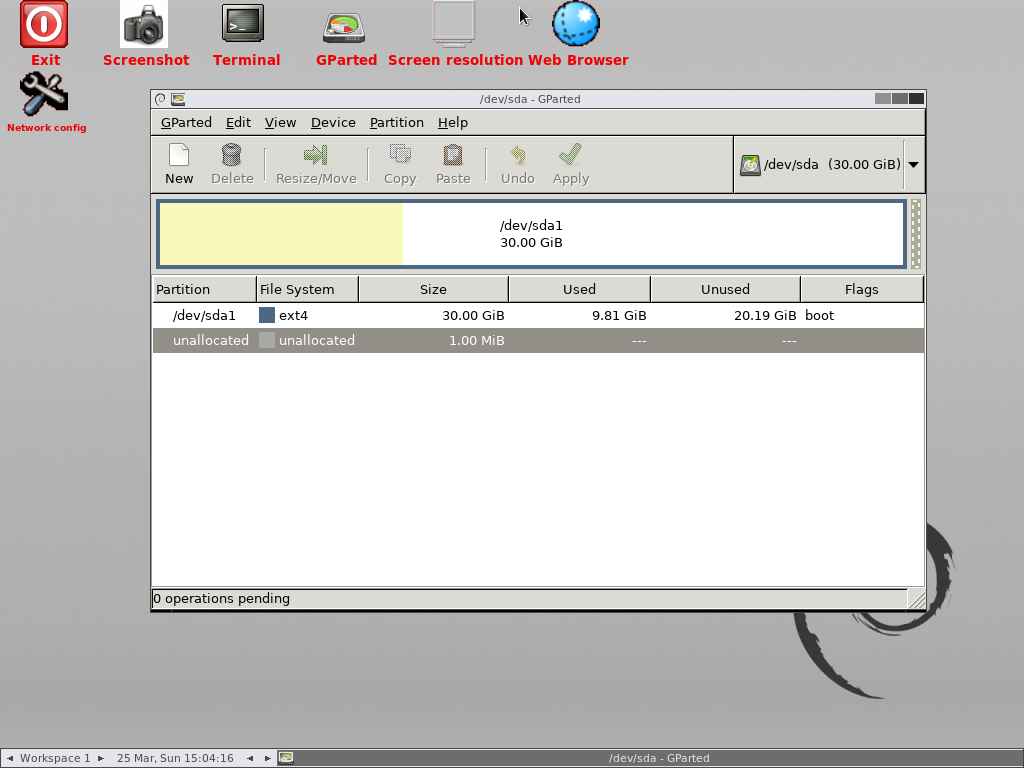
7) Resizing the active root partition in Linux
Select the root partition you want to resize. In this case, we only have one partition that belongs to the root partition, so we choose to resize it.

Press the Resize/Move button to resize the selected partition.
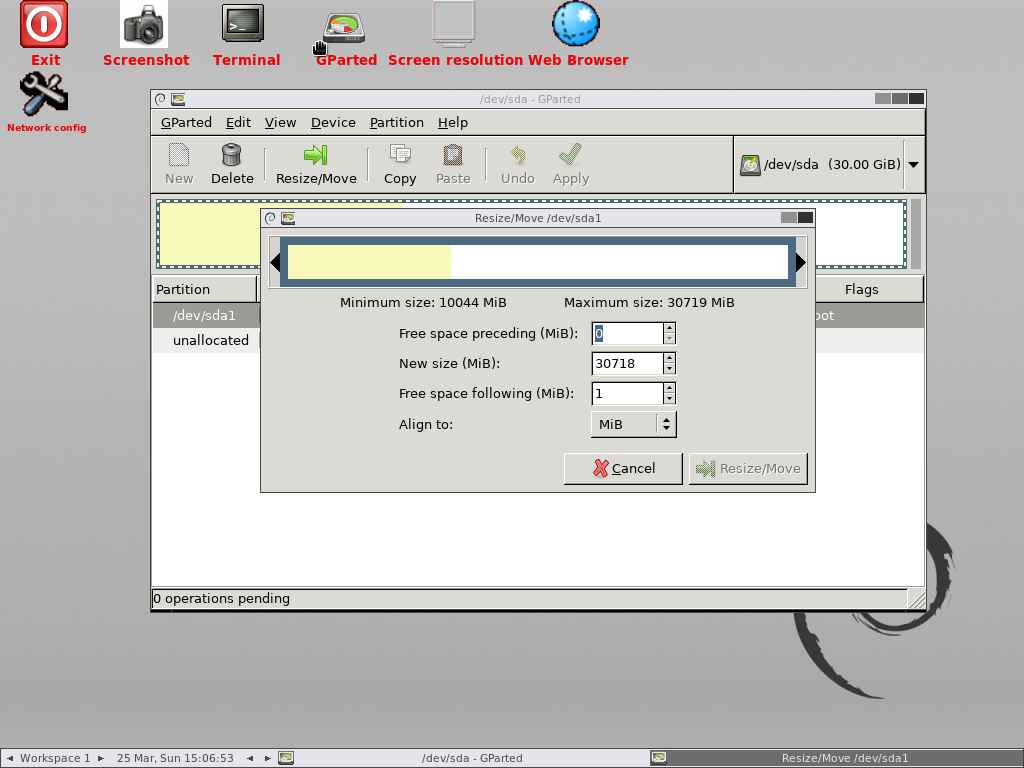
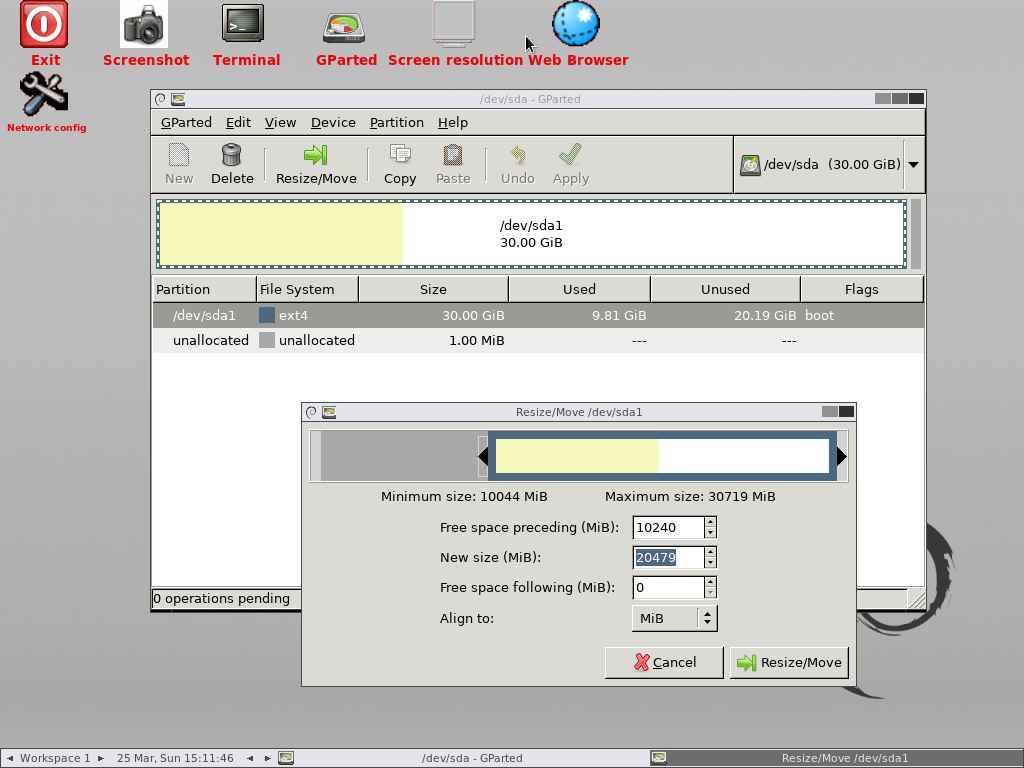
Enter the size that you want to take out from this partition in the first box. If you want to claim 10GB then add 10240MB in the first text box and leave the rest of the boxes as is, and press ‘Resize/Move’ button to proceed.
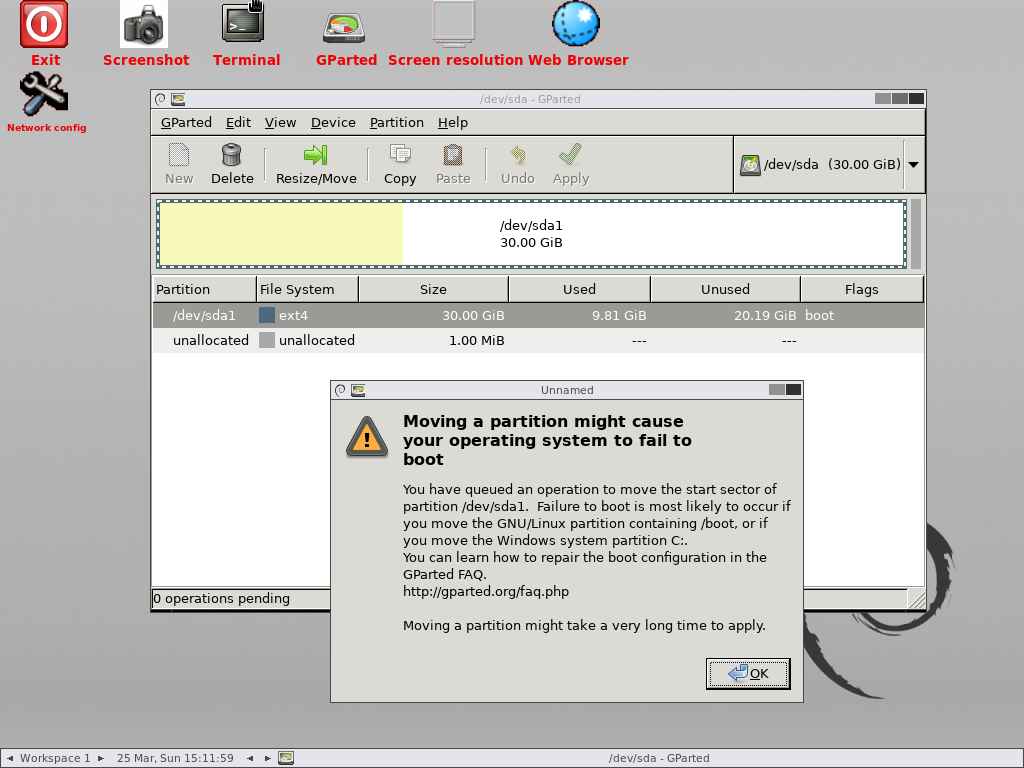
This will prompt you to confirm that the partition will be resized because you are editing the live system partition. Press the ok button to continue:
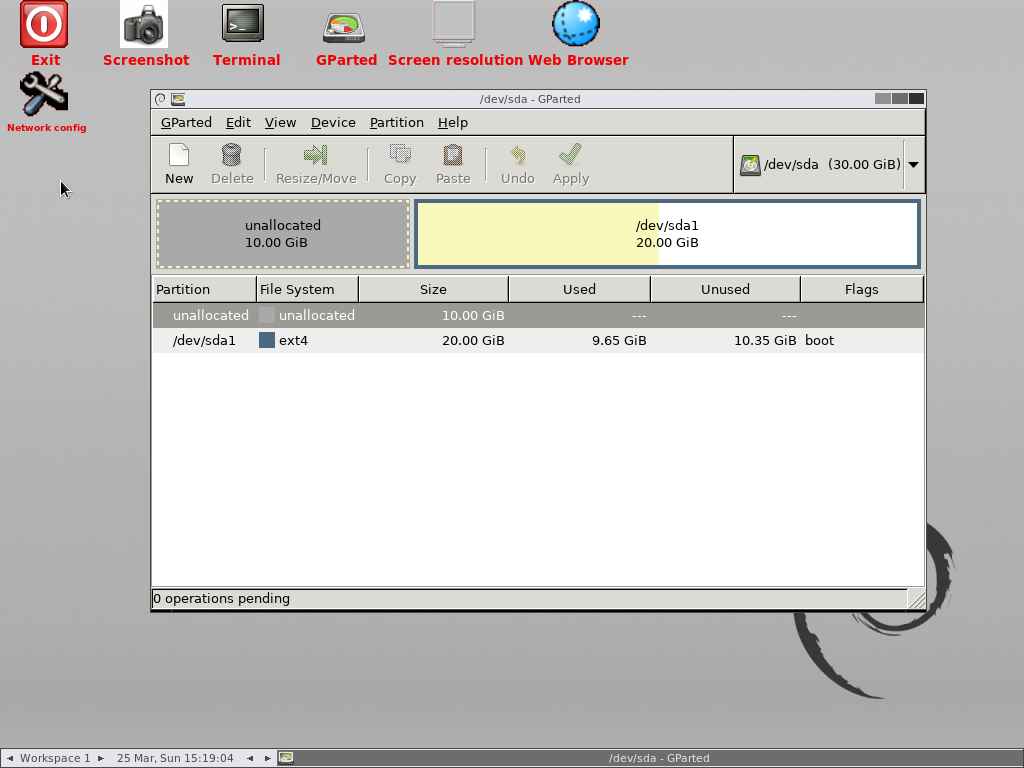
It has successfully compressed the partition from 30GB to 20GB and also shows 10GB of unallocated disk space:
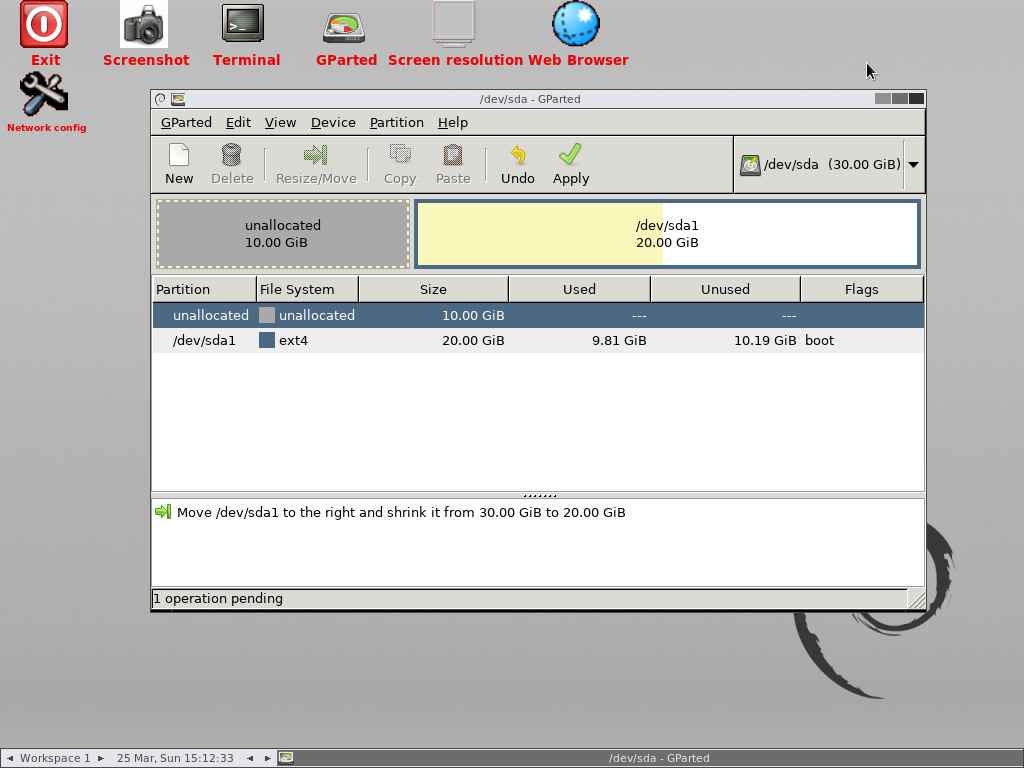
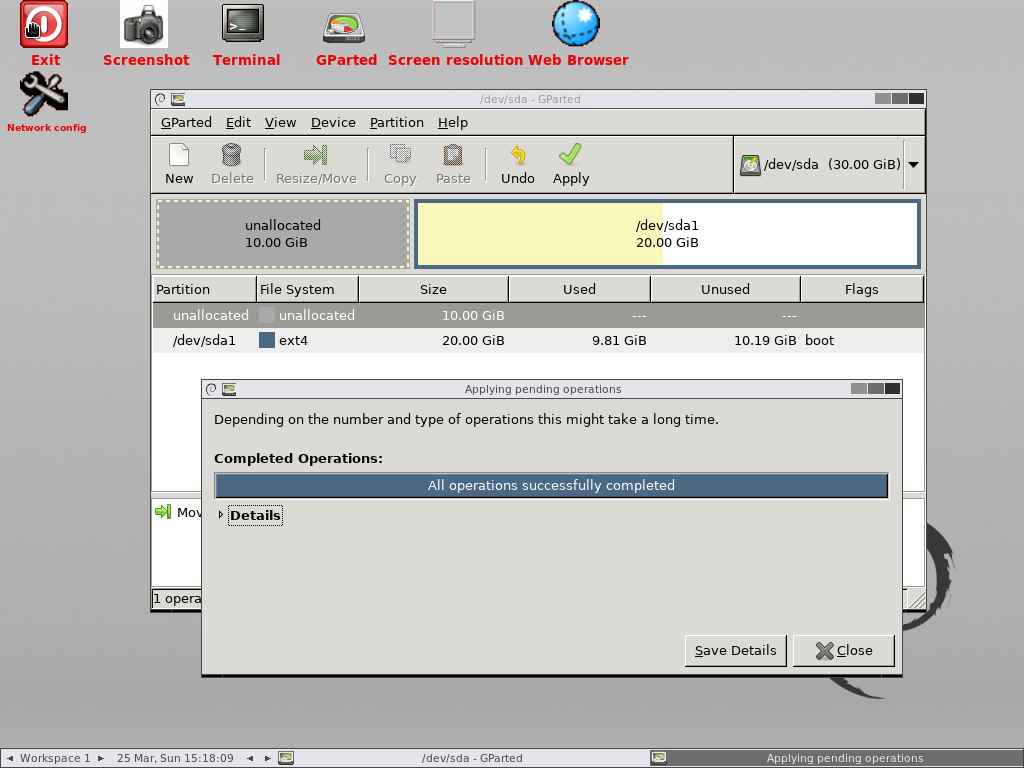
Finally, click Apply button to perform the remaining operations.
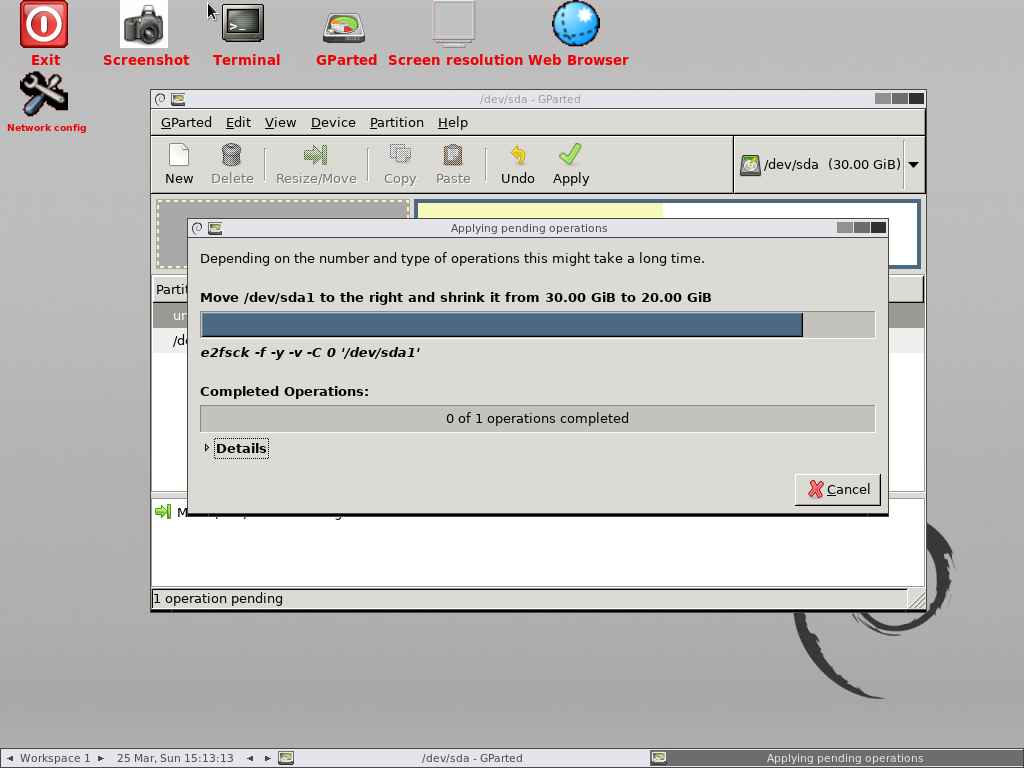
e2fscke2fsck is a file system check utility that automatically repair the file system for bad sectors, and I/O errors related to HDD.resize2fsThe resize2fs program will resize ext2, ext3, or ext4 file systems. It can be used to enlarge or shrink an unmounted file system located on device.e2imageThe e2image program will save critical ext2, ext3, or ext4 filesystem metadata located on device to a file specified by image-file.

e2fsck: The e2fsck is a file system check utility that automatically repairs the file system for bad sectors, and I/O errors related to HDD:
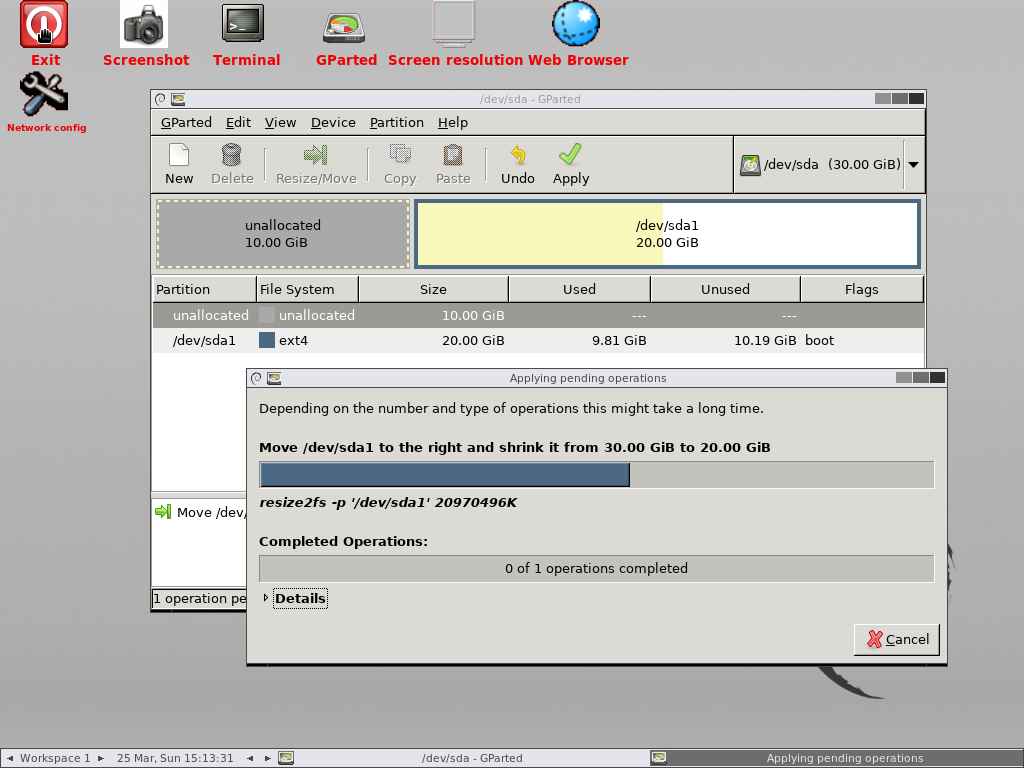
resize2fs: The resize2fs program will resize ext2, ext3, or ext4 file systems. It can be used to enlarge or shrink an unmounted file system located on the device:
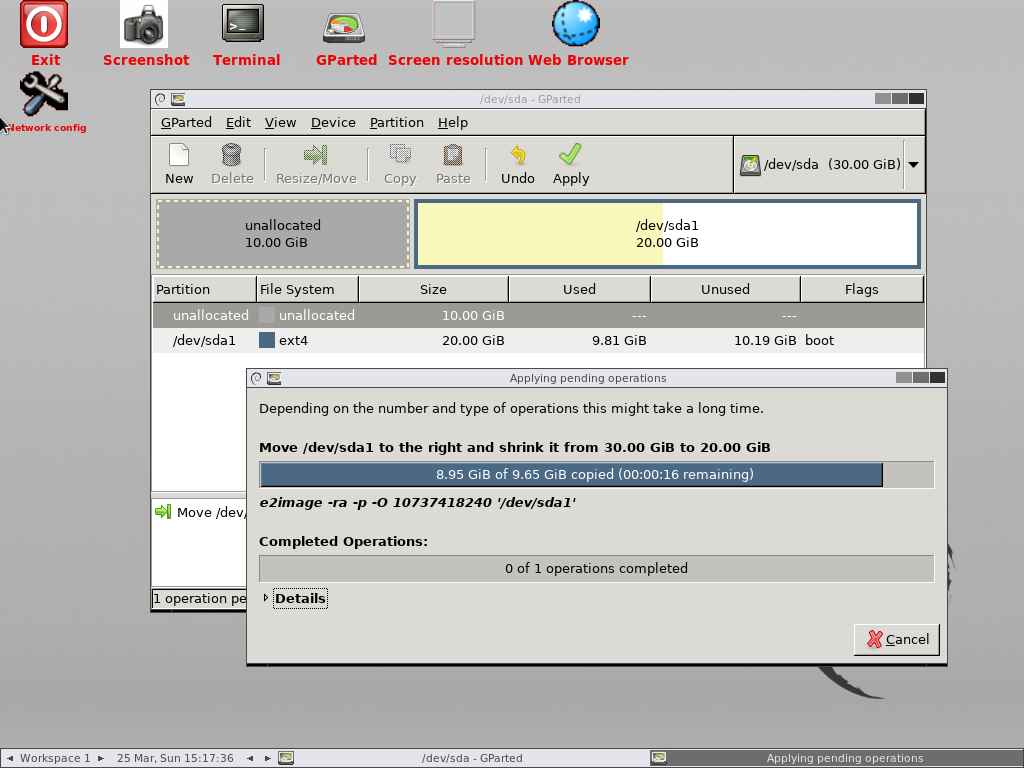
e2image: The e2image program will save critical ext2, ext3, or ext4 filesystem metadata located on the device to a file specified by image-file:
All the operations are now successfully completed. Now click close button to close the dialog box:
Now, I’m able to see 10GB of Unallocated disk partition as shown below:
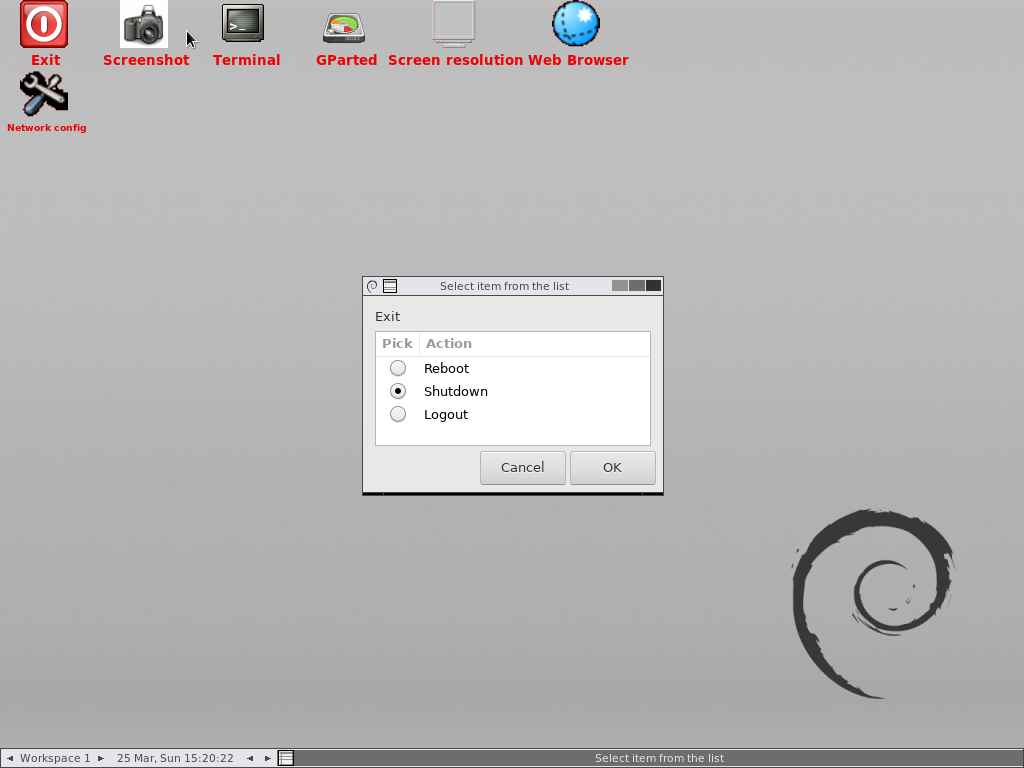
Reboot the system to check this:
8) Checking free disk space in the partition
Login again and use the fdisk command to find the free space available in the given partition. And you should be able to see the 10GB of unallocated disk space in this partition as shown below:
- Suggested Read: How To Manage Disk Partitions Using Parted Command
$ sudo parted /dev/sda print free
[sudo] password for daygeek:
Model: ATA VBOX HARDDISK (scsi)
Disk /dev/sda: 32.2GB
Sector size (logical/physical): 512B/512B
Partition Table: msdos
Disk Flags:

Number  Start   End     Size    Type     File system  Flags
        32.3kB  10.7GB  10.7GB           Free Space
 1      10.7GB  32.2GB  21.5GB  primary  ext4         boot
Amazing article, helps me a lot. Thanks bro!
@Marcio,
Glad that our article helped you.
I have a system with dual-boot and I decided to exclude the Windows partitions (2) and mantain only one partition with Linux (without SWAP). It is possible (I fear that will change de block ID and table partition and I cant’t boot the system)?
Can you use gparted from the already installed system? Does it have to be from a burned ISO?
Yes, we can use Gparted existing system.
Is there another option to increase/decrease the root partition other than gprated command.